
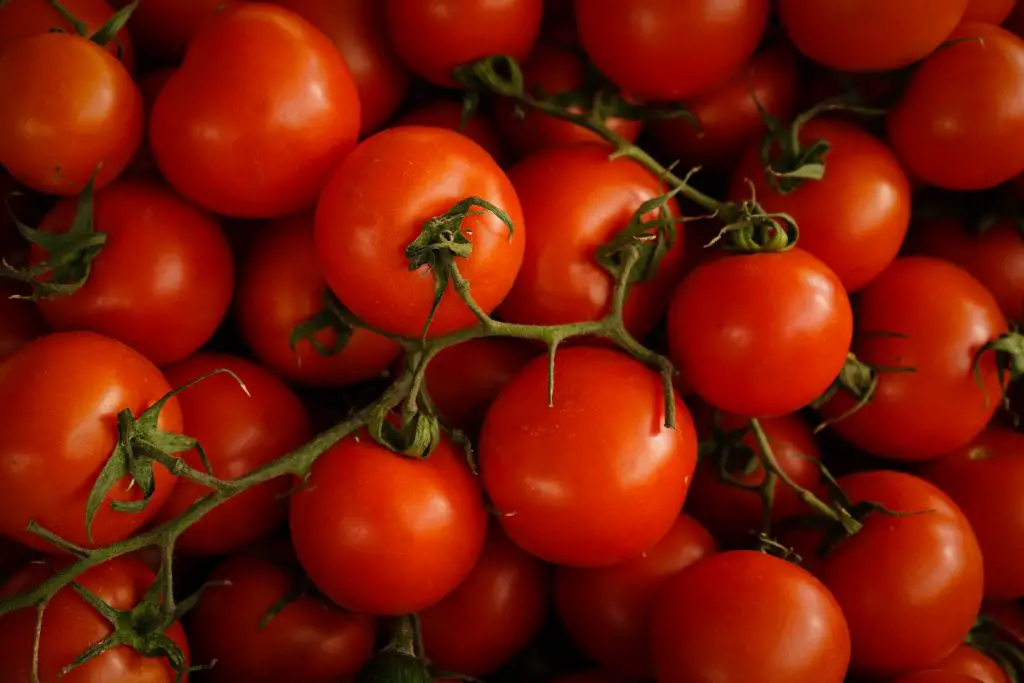
How Far Apart To Plant Cherry Tomatoes. Tomato plants are a fantastic crop to grow in your own backyard as they produce masses of fruit that tastes so much better than anything you can purchase from your local grocery store. However, of the tomato varieties that you grow cherry tomatoes are among the sweetest so if you’re planting some out in the backyard how far do you plant on the seedlings, and does it make any difference to the amount of tomatoes you get per plant?
The ideal distance to plant cherry tomatoes apart is approximately 2 ft (60 cm) within a row according to a Brazilian study that was published in 2010. This study found that reducing the spacing to approximately 16 inches (40 cm) reduced the yield by approximately 40% and spacing the tomatoes further apart at a distance of 2.5 ft (80 cm) did not significantly improve the yield therefore 2 ft (60cm) is the optimum distance. It was also observed that spacing of 2 ft (60 cm) also produced slightly larger fruit than any other spacing.
In addition to the spacing of the plant the other factor that was investigated was the pruning of the plant. The study found that the most effective way to grow the plants was to allow them to grow freely without pruning which is contrary to much of the advice that is given about planting tomatoes. In this particular study, the yield increased by approximately 15%.
How To Grow Tomatoes
Tomatoes are a member of the solanaceae family which includes plants such as peppers, eggplants, and potatoes. All of the plants within this family are frost-sensitive and generally require warm conditions to do well. As such they can only be grown through the warmer months of the year when conditions are frost-free.
What is the best month to plant cherry tomatoes?
Tomato plants are best planted in spring however you can plant a little bit earlier if you are growing the plants from seed and starting them off indoors. However, if you are purchasing seedlings from a garden centre it is best to do this towards the end of spring when the risk of frost is minimal.
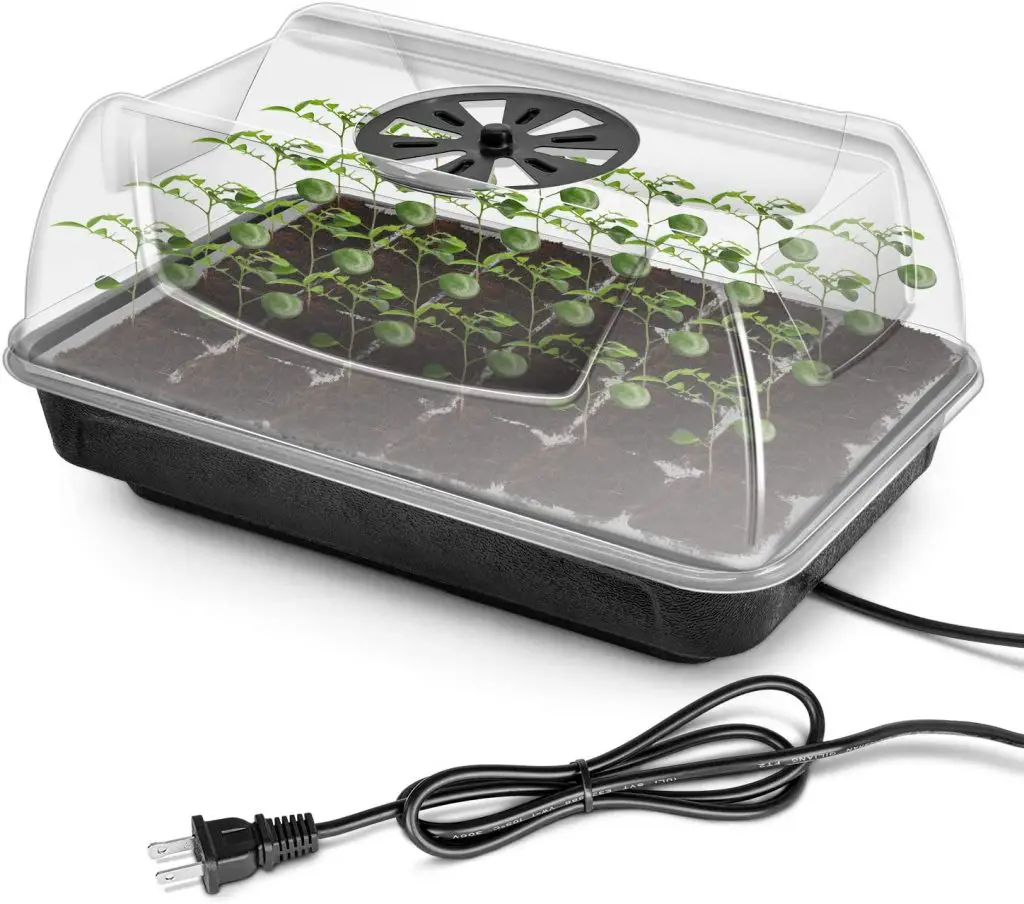
To start seedlings off early, which will produce an early harvest you can plant them approximately 6 weeks prior to the last frost date. However, to do this in a cold climate you will most likely require a heated propagation tray to ensure that conditions a warm enough.
If you considering purchasing a heated propagation tray the one we would recommend is the ipower germination kit because it is relatively affordable and features a removable seed tray and a humidity dome.
The removable seed tray will help to extend the life of the unit substantially because it is the component that is most likely to deteriorate first within the unit. Being able to replace this part will extend the life of the unit substantially. The humidity dome is also extremely beneficial for growing a seedlings as it will help to retain the heat and ensure that there is a consistent and warm environment for your seedlings to thrive. To see the latest price on Amazon click on the button below.
Get Off To An Early Start With A Heated Propagation Tray
To start the seedlings off in a seed tray start by filling it with a good quality seed raising mix and then place 2 to 3 seeds in each cell to ensure that you get germination of at least one plant. If all the seedlings come up you can thin them out to leave the strongest one.
The seeds should be planted at a depth of approximately 0.5 inches and then watered in well to ensure that the soil remains moist. In most cases, you can expect to see the seedlings appearing in 7 to 14 days however this will vary depending upon the temperature.
Seedlings typically need to spend approximately 4 to 6 weeks in the seed tray before they reach a large enough size that they can be planted out to the garden.
Due to the frost-sensitive nature of the plants, transplantation should not occur until you are 100% certain that there will be no further frosts occurring. If you are in any doubt about this it is better to wait longer for the weather to warm up further rather than have seedlings damaged by frost.

Grow Your Own Food At Home
Caring For Tomato Seedlings
When the seedlings have reached the point at which they are ready to be put out into the garden it is important to select a warm sunny location that gets between 6 to 8 hours of sunlight per day. Additionally, this location should ideally have rich moist, and free-draining soil as tomatoes a relatively heavy feeders.
If you are uncertain about the quality of the soil that you have it is advisable to add a bag of compost to the soil and mix it in well before placing the plants in the ground. As mentioned above the ideal distance to plant the seedlings in the ground is around 2 ft (60 cm) apart
In terms of staking tomatoes, I generally prefer to use a relatively tall trellis rather than stakes because it provides many more points to tie the tomato plants into.
The traditional approach to caring for tomatoes is to regularly pinch out side shoots which are the limbs that form on a 45-degree angle between the main stem and side branches. This is done to reduce the degree of foliage produced and also make the plants easier to manage. This is because they can become a tangled mass if you allow them to grow without being pruned however research does indicates that you do get more tomatoes if you were allowed them to grow wild.
However, one important caveat to this is that if you live in an area that is relatively cool in summer it is generally advisable to remove side shoots as the plant will not produce much fruit if you do not do this because it will spend most of its time producing foliage rather than fruit and flowers.
I personally do to tie up the tomato plants and remove side shoots so there is only two to three main stems on any one tomato plant even though I live in a relatively warm climate. I do this simply because it makes the garden look nicer and easier to deal with however how you approach this is entirely up to you.
If you undertake the traditional method you will need to visit the tomato plants regularly to ensure that the side shoots are removed and any new growth is tied into your support structure as it can get away from you if you are not consistently looking after your plants.
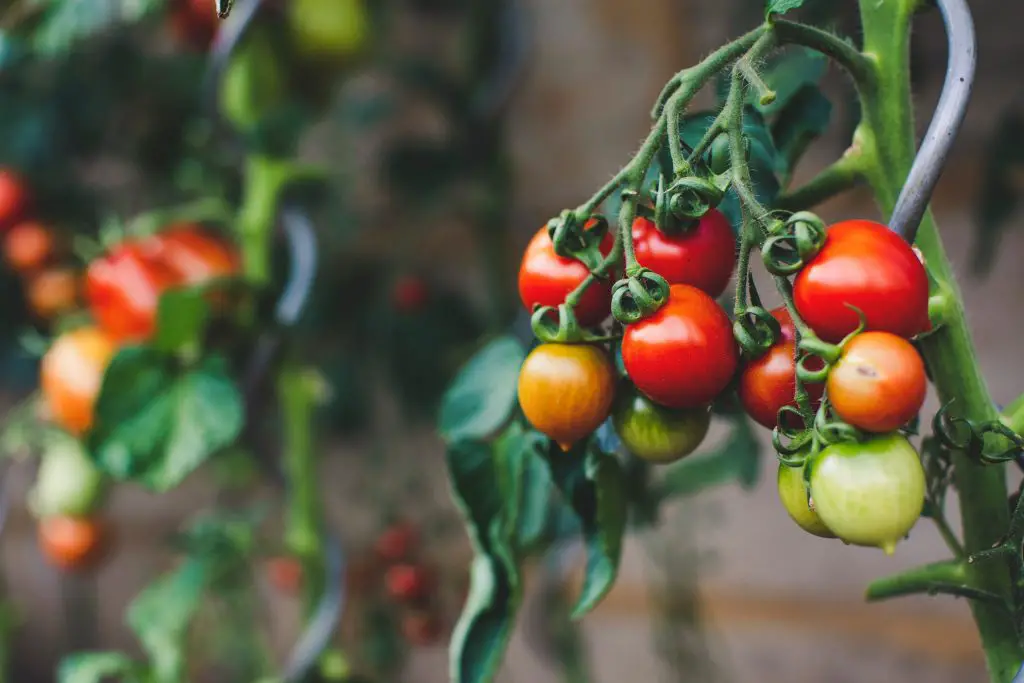
Once the plant begins to develop significant foliage it will begin to produce flowers followed by fruit this typically will not start to occur until the weather really warms up in midsummer and you can expect to receive a harvest in late summer or early autumn which will continue until the first frost arrives.
To maximize your yield it is advisable to regularly pick any fruit that appears until approximately 4 weeks prior to your first frost. At this stage, you should be starting to prepare your plant for getting the remaining fruit off it within the next 4 weeks.
To ensure that the plant concentrates its energies on ripening existing fruit and not producing more flowers or foliage the top of the plant should be removed.
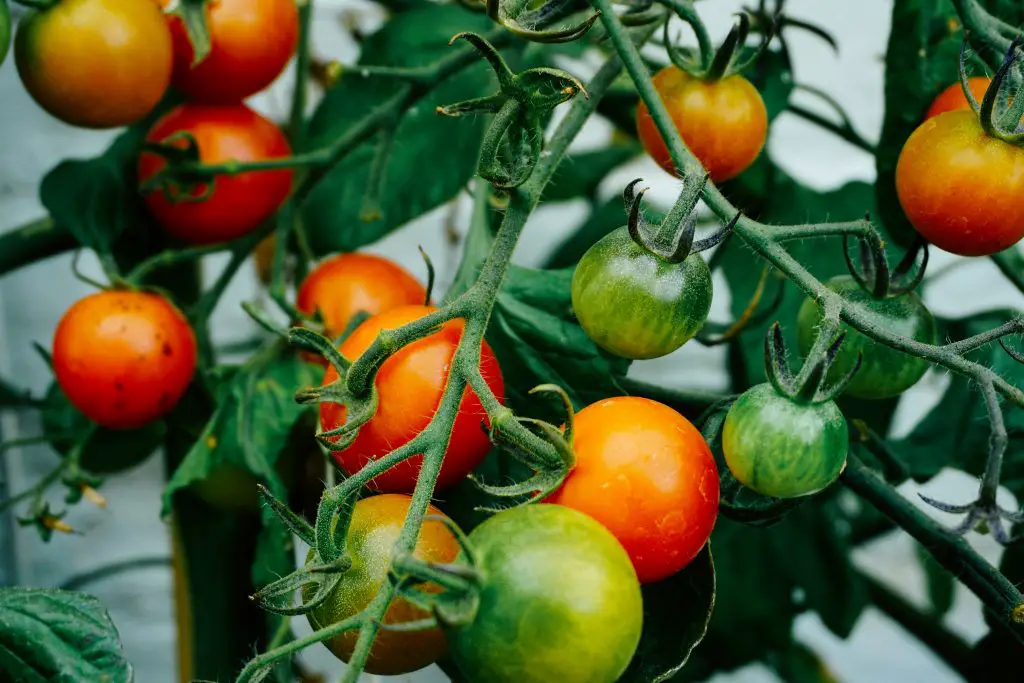
When the first frost arrives it is time to remove the entire plant and any fruit that is on the plant whether it is ripe or not. Any green fruit can be ripened on a window sill over time provided that it is not too small when picked.
If the fruit is too small it will remain green, however, it can still be used in things such as green tomato relish to ensure that you can use all of the fruit that is produced.
I hope that you found this article useful and have great success with your cherry tomatoes if you have any questions or comments please leave them in the section below.
Relevant Articles
Why Do Cherry Tomatoes Taste Better Than Regular Tomatoes?
How Tall Do Cherry Tomato Plants Get? What Sort Of Support Structure Is Needed?
Can You Plant Seeds From A Store Bought Tomato? (Is It Possible?)
Can You Plant Tomato Seeds Directly In The Ground? (How To Succeed)
