
How Much Can You Harvest From One Hops Plant? If you have a garden, and you make your own homebrew then it might be worth considering growing your own hops. But the obvious question is how much does a Hop plant produce?
A mature Hop plant will produce around 1 to 2 lbs (0.5 to 1 kg) of dried hops per season according to Purdue University. To reach maturity it typically takes between 4 to 5 years with the yields commonly starting at around 20% of the expected yield of a mature plant in the first year. You can expect the yield to increase by around 20% of the mature yield each year until the plant reaches maturity.
Do You Need More Than One Hops Plant To Produce A Crop?
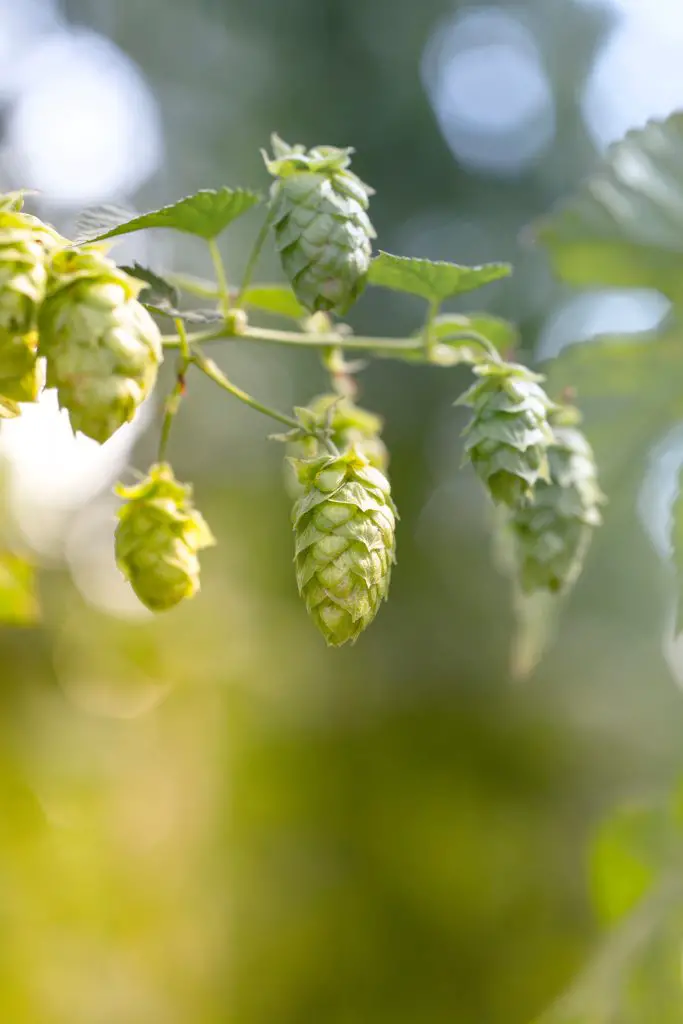
To produce a crop for home brewing you need to only one plant, however that plant needs to be female. The part of the plant used in brewing is the female flower which is sometimes referred to as the cone of the plant. A picture of a female flower is shown in the image below.
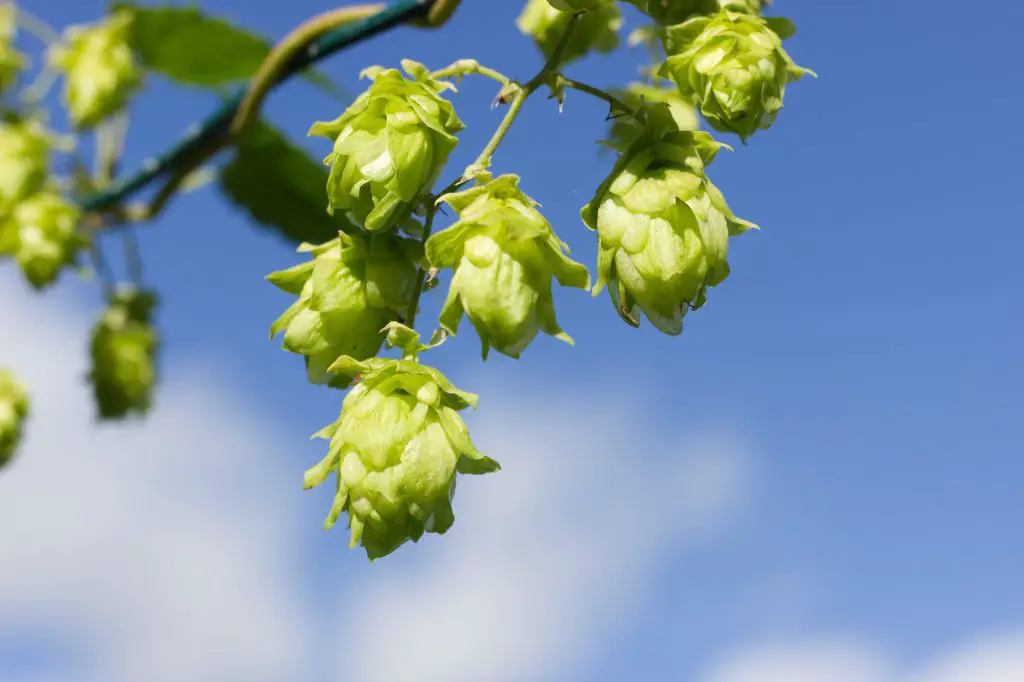
The presence of male plants in the localized area where you are growing will have a negative effect on the quality of the cones for brewing purposes. According to Michigan State University if pollination occurs in the cones the seeds will negatively affect the flavor of the beer.
As hops are wind-pollinated the male plants need to be reasonably close to the female plant to pollinate it which reduces the chances of plants on neighboring properties affecting your crop.
However, there have been occasions where varieties such as ‘Cascade’ have produced male flowers on a female plant. The male flowers produced in these cases have been shown to be sterile. This means that if you observe this on your plant don’t worry about it as no seeds, that can affect flavor, can be produced.
What Conditions Can Hops Grow In?
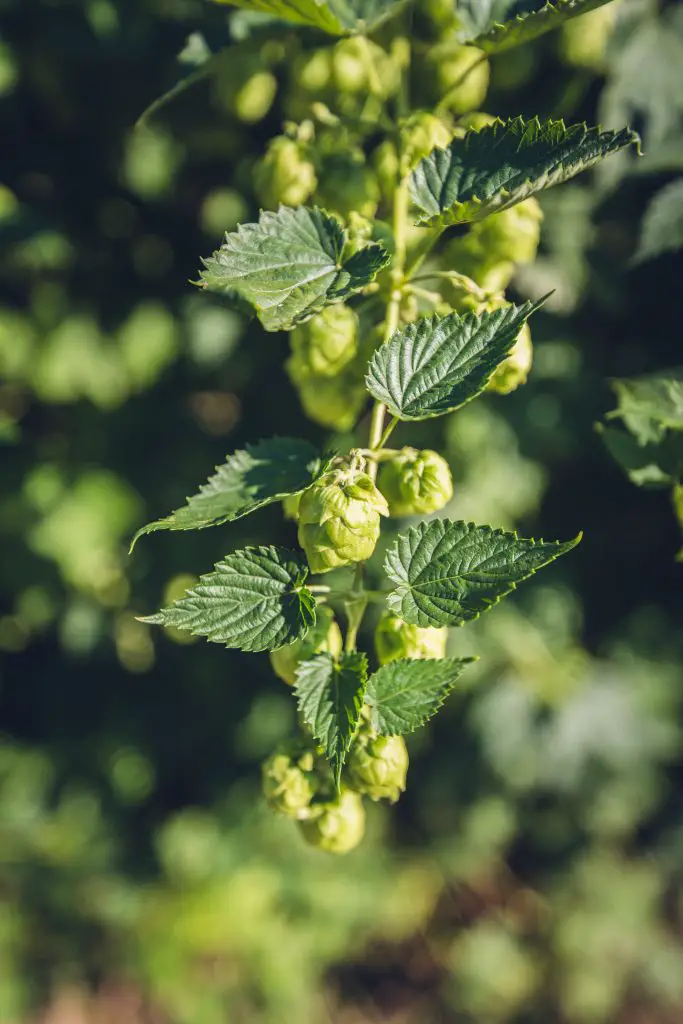
Hops are a relatively hardy plant that is suitable for growing in zones 5 to 9. It is a deciduous vine that can grow up to 25 ft long and requires a substantial support structure for the plant to grow on in order to optimize the yield produced.
The plant can withstand temperatures as low as -4°F (-20°C), however, in these conditions, the ground where the plant is located needs to be covered with an extra thick layer of mulch to protect the plant from the worst of the weather.
How To Grow Hops
The hop plant is a perennial plant that is deciduous and produces a vine each year before dying back at the end of each season. They can be purchased as a section of Rhizome from Amazon, click here to see the latest price. The best time to purchase and plant hops plants is in spring around the time of the last frost.
What Is The Best Location For Hops Plants?
Hop is a flowing plant that prefers a relatively sunny location with 6 to 8 hrs of direct sunlight per day. Additionally, it is important to select a location where a support structure can be erected.
The support used can be as simple as a trellis mounted on a wall or a larger structure grown connected to your house such as a pergola. However, the support structure needs to be relatively strong as mature Hop vines can become quite heavy, it is not uncommon for them to weigh 20 lbs (10 kg) or more.
What Are The Best Soil Conditions For Hops Plants?
Hops plants will tolerate a wide range of soils but generally do best in well-drained soils that have plenty of organic mature and are slightly acidic, a pH of around 6.5 is ideal.
To check the pH of the soil it is best to use a pH meter as they are cheaper to buy, generally easier to use and will last longer than pH strips, click here to see the latest prices on Amazon.
If the pH is outside the desired range the pH of the soil can be adjusted by adding lime to increase the pH or sulfur to reduce the pH. Any additions that are made should be dug into the soil.
Additionally, the least preferable growing condition is a location that has poor drainage and remains sodden for long periods of time. This should be avoided as the rhizome of the plant has the potential to rot.
If the soil in your garden is heavy clay-based soil it is advisable to adjust the soil to improve drainage and avoid problems.
To modify the soil gypsum can be incorporated into the soil to act as a “clay breaker” reducing the size of the clumps of clay. Large amounts of compost and agricultural grit should be added to further improve drainage.
If the drain of the soil conditions remains a problem a planting mound may be created to elevate the height of the rhizome in the soil and improve drainage.
How To Plant Hops
Once the soil has been prepared and the support structure is in place it is time to plant the rhizomes. The rhizomes should be planted at the base of the support structure 4 to 6 ft (1.2 to 1.8m) apart. If you are planting different varieties of hops it is advisable to plant them a little further apart.
The rhizomes of the plant should be planted at a depth around 4 inches (10 cm) and the fertilizer should be added to the surface along with a thick layer of mulch to prevent moisture loss.
The plant should then be watered well and regularly watered through the spring and summer as the conditions become drier. This is most important in the first season or two as the plant’s roots are yet to become established.
As the plant begins to produce vines in the spring the new growth can be trained onto the support structure by tieing it in with twine or string. This may need to be done regularly over the growing season to ensure the plant remains upright.
As the Hops is a vigorous plant its roots or rhizomes will get larger each year which can lead to the plant spreading into unwanted areas of your garden. To avoid this problem the rhizomes can be split up at the end of each season to prevent the plant from spreading too far.
Any sections of rhizomes removed from the soil can also be potentially used to propagate the plant. If your intent is to propagate the plant, sections that are 4 to 6 inches are ideal for this purpose. This is best done just before the start of the growing season when the plant is largely dormant.
How To Harvest, Dry And Store Hops
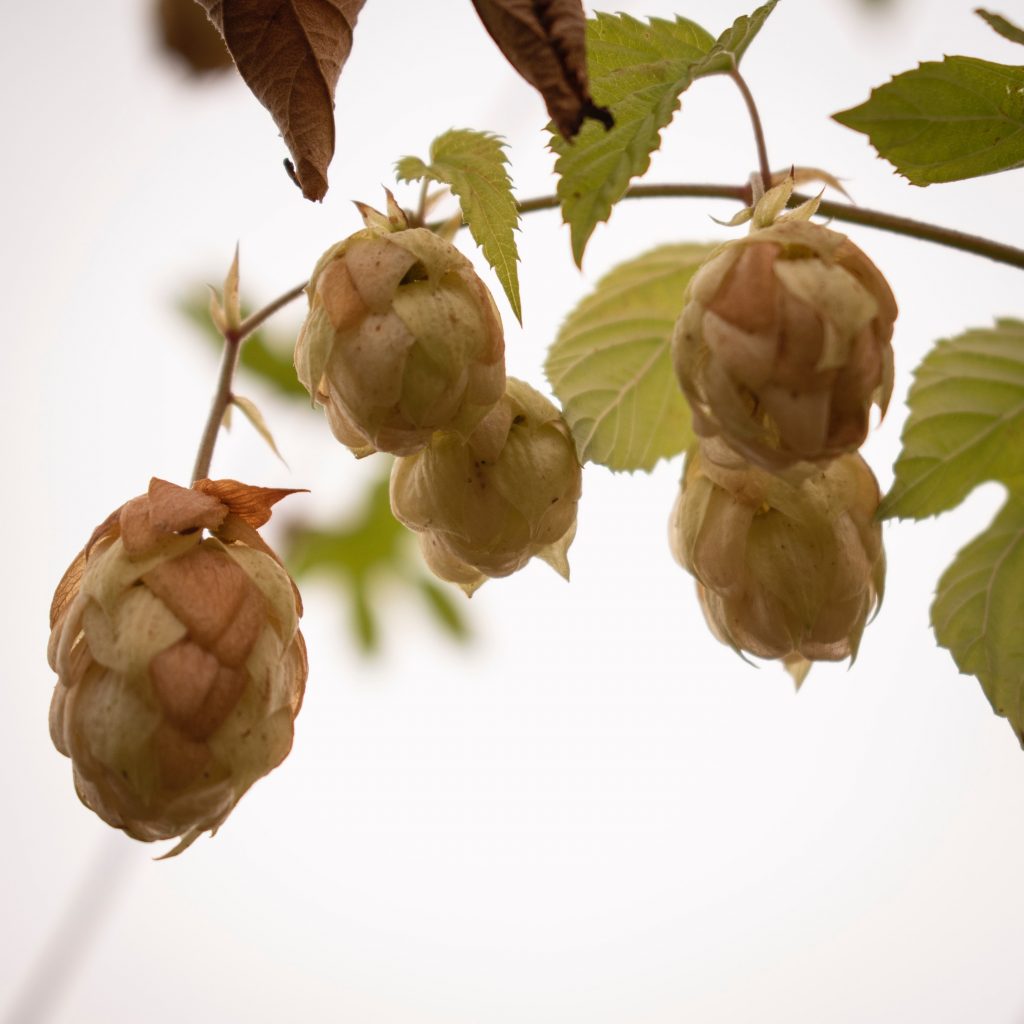
Hops in most regions need to be harvested in late summer or early spring. There are several signs that the plant is ready to harvest. The first is that flowers will develop a relatively pungent that smells like a combination of cut grass and onions.
Another way to test the ripeness of the cone is to give it a light squeeze. If the cone springs back into shape it is ready to harvest. The hop should also have a paper-like quality at the tip of the cone and be sticky to touch.
Once harvested the hops can be used directly in the brewing process through it is most common to use dried hops in the beer-making process.
If you are using fresh hops in the brewing process you typically need to use 5 times the quantity by weight as dried hops to achieve the same flavors. The reason for this is because fresh hops typically contain 80 percent water.
How To Dry Hops
If the hops is being used at a later time it needs to be dried to allow them to be preserved. To do this successfully the temperatures used to dry the hops should not exceed 140°F (60°C) as temperatures greater than this will start to affect flavor.
The easiest way to dry the hops is in a food dehydrator because the temperature can be controlled more accurately. However, as most food dehydrators have trays that stack above a heat source you will find that the trays closest to the heat source will dry fastest. To ensure that all the trays are dried evenly you will need to rotate the trays periodically.
There are several different models on the market that vary in price quite substantially. I personally just use the lower-cost ones as they work fine and the current model I have has lasted me a number of years. To see the latest prices on Amazon click here.
The other option is to use an oven however I have found that gas ovens do not work well for this purpose because it is difficult to maintain the temperature at 140°F (60°C). If you are using an oven make sure you are regularly checking on the hops.
The other option is to dry them naturally by spreading them over a flywire screen in a warm location. To speed up the drying process the screen should be elevated to allow airflow underneath the hops.
Irrespective of the drying method used the moisture content below 10% is required to prevent molding. The easiest way to test this is to try breaking the central stem of the cone, you should be able to snap it in half.
Storing Dried Hops
To maximize the shelf-life of the dried hops it is best to store them in a resealable bag or in a vacuum bag in the freezer. Under these conditions, the hops will last approximately 2 years. If the hops are stored in a fridge they will last around 6 months.
