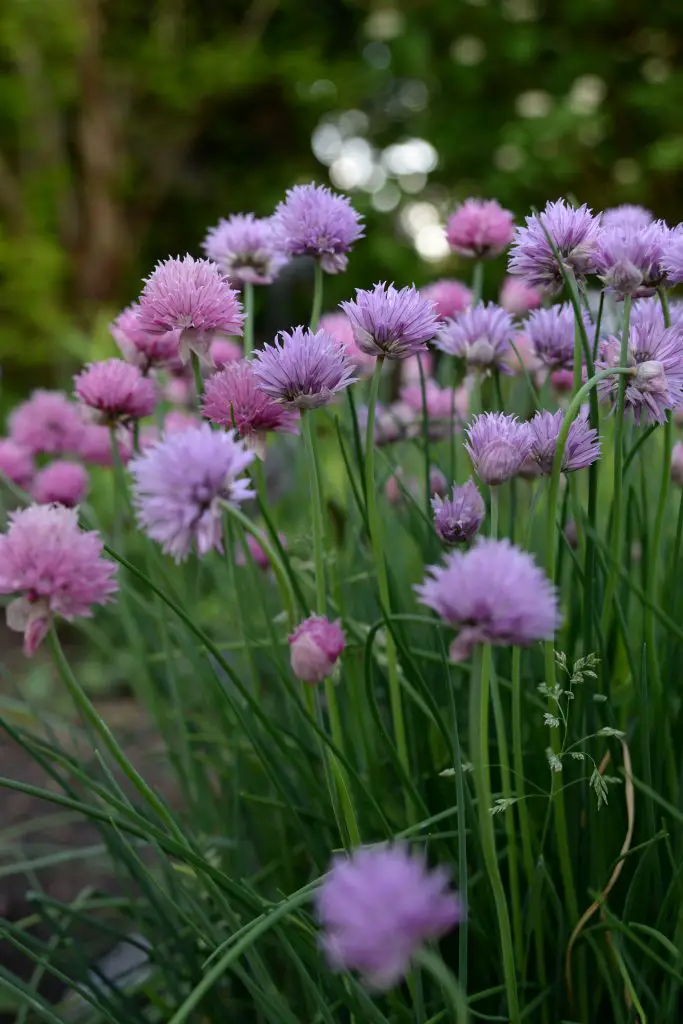
How To Grow Chives From Cuttings? Chives are a popular herb that is used widely in cooking in dishes such as scrambled eggs to add flavour and character to the dish. So if you want to grow your own rather than buying it from the grocery store, can it be grown from cuttings?
In my experience growing chives from cuttings is really difficult and all the different attempts I have made, which have included propagation in soil and water, with and without rooting hormone have failed. When placed in water chives quickly yellow within a week or two and fail to produce any sign of root formation. Easiest way to produce plants is with seed or division of an existing plant.

Growing Chives From Seed
Plants from seed can be produced relatively easily within 1 to 2 months. To achieve this it is best to starting out with a single pot rather than using seed trays as it provides the opportunity to produce reasonable sized clumps. Growing clives in a relatively large clump will make it easier to harvest them later on as well as providing the option to divide the plant into smaller clumps later if desired.
When filling the pot up with a growing medium it is best to use a seed raising mix rather than potting mix or garden soil. The reason for this is that potting mixture has a relatively coarse texture that does contact the surface of the seed as well as seed raising mixture. Garden soil is also not recommended because it contains weed seeds that can compete for nutrients with the chives.
When sowing seeds it is best to be relative liberal with the application or them. I personally aim for lots of 30 to 40 seeds per pot and I usually plant up 3 or 4 pots at a time to ensure that the I have a constant supply of chives. The seeds are sprinkled on the surface and then a light dusting of seed raising mixture is applied over the top of the seeds.
Once the seed are sown the pot should be left in a warm location that gets some sunlight such as a window ceil. However, it is advisable to aviod locations that get the hot afternoon sun as that can cause the soil to dry out rapidly which will effect the germination rate.
Seedlings should begin to appear after 7 to 14 days however this can vary depending upon the ambient temperatures. They will usually take 6 to 8 weeks to reach a reasonable size, at which the chives can be either planted in the garden or they can be left in a pot.
When planting chives out into the garden they prefer a warm sunny location that has rich, moist but free draining soil. However, chives are tolerant of a range of soil conditions.
In terms of ongoing maintenance chives generally need very little apart from the occasional thinning and removal of old dead or dying foliage.

Harvesting Chives
There no specific time that chives need to be harvested. They can usually by harvested around a month or so after the plant has been transplanted, at this stage they will typically be at least 6 to 8 inches tall. To remove leaves it is best to use a pair of scissors or a sharp blade. Cuts should be made at around 1 to 2 inches above the ground.
When cutting the chives it is best to remove only part of the plant as this will ensure that leaves are available for harvest at a later time.
You will generally find that the number of leaves produced will be higher in its second year, however the plant will also start to produce some flowers which should be removed as this will encourage the plant to continue produce leaves for harvest.
Dividing Chives
Once you chive bunches become sufficiently established and are of a reasonable size you can consider dividing them into smaller clumps, as alternative method of propagating the plant. To divide the clumps it is best to dig up the plant and remove it from the garden.
At this stage a shovel can be used to slice the chives into clumps that approximately the size of a fist, as this will allow each clump to produce a reasonable sized harvest byitself. Once divided the plant can be relocated to your preferred position in the garden.
