
How To Harvest Kale To Keep It Growing: Kale can be harvested about three months after the planting of the seed, when picking leaves of a reasonable size ie. the size of your hand or larger. However, it is possible to harvest earlier if ‘baby’ leaves are preferred, but the amount of leaves you will get will be pretty small.
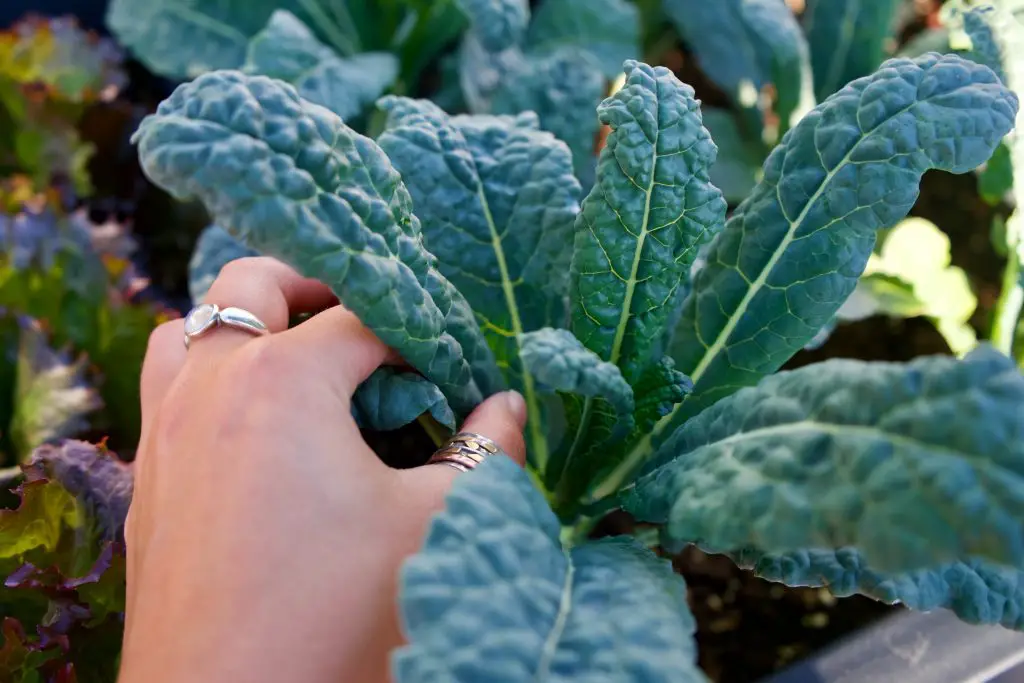
To avoid damaging the plant in the harvesting process to ensure an ongoing harvest, it’s important to pick the oldest leaves first. These will be the leaves nearest to the bottom of the plant, which are normally the largest. These are best removed by pulling the leaf downward gently, as this is normally sufficient to remove the leaves without the use of a knife or scissors. Do not, under any circumstances cut the stem off at the top, as doing so will put an end to any growth, and is likely to kill the plant.
Kale produces leaves on a central stem. New leaves on the plant are produced at the top of this stem. The stem will continue to grow taller and to make more leaves, throughout the plant’s life. Removal of the top of the stem, will prevent the on going production of leaves, and stop you from being able to take an ongoing harvest. If the production of new leaves remains undisturbed, it possible to take a continuous harvest from the plant, over a period of 6 months, including over the Winter period.
While freezing temperatures kill many types of plants, it actually can improve the taste of Kale, according to NC State University Cooperative Extension. A frost increases the amount of sugar in a Kale plant’s leaves, resulting in a sweeter flavour. However, Kale won’t make it through Winter, in every region. In regions where the temperature is regularly below 0°C (32°F), it is unlikely to survive, for the whole Winter. For these areas, growing in pots is a possible option, as it allows the plants to be moved indoors, to avoid extreme weather. Details on how grow Kale in pots, is provided at the end of the article.
How To Extend The Harvest Period
To extend the life of your Kale plants, in the garden, in difficult climates cold frames, cloches and hoop houses can be used to protect your Kale plants, from the worst of the weather. The covers and frames prevent cold winds from getting to the plants, by providing a degree of insulation for the plants.
At the opposite end of the spectrum, in hot weather, the leaves of Kale can become tough and bitter. If seeds are sown in Spring, in a warm climate by the mid-summer, the quality of the leaves will have deteriorated. However, the plant is not a complete write off, at this stage. The majority of the leaves on the lower part of the stem, can be removed leaving a few leaves at the top of the stem. The plant can continue to grow and will start producing leaves of a better quality, as the weather cools down.
If the need to remove all the leaves arises in mid-Summer, it is a good idea to sow Kale seeds as a back-up, to ensure that you are able to harvest high quality Kale leaves, through the growing season.
How To Grow Kale
Kale is a member of the Brassica family, along with Cauliflower, Broccoli and Brussels Sprouts. The plant originated in the Mediterranean, along with many of the other members of the Brassica family. It has a long history, and has been cultivated for food, for at least 4,000 Years.
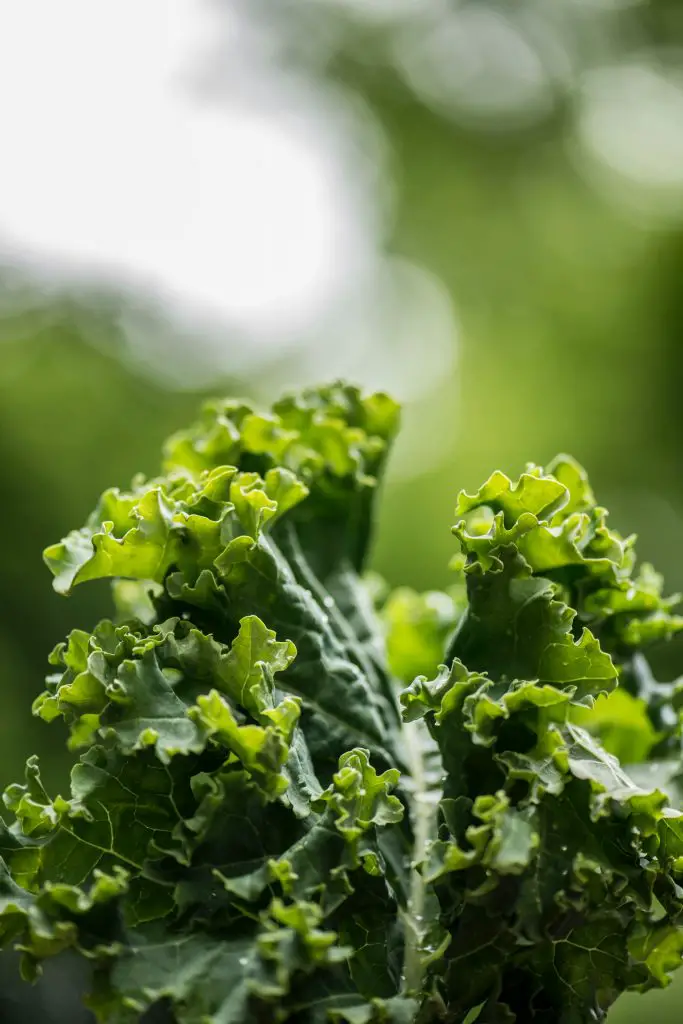
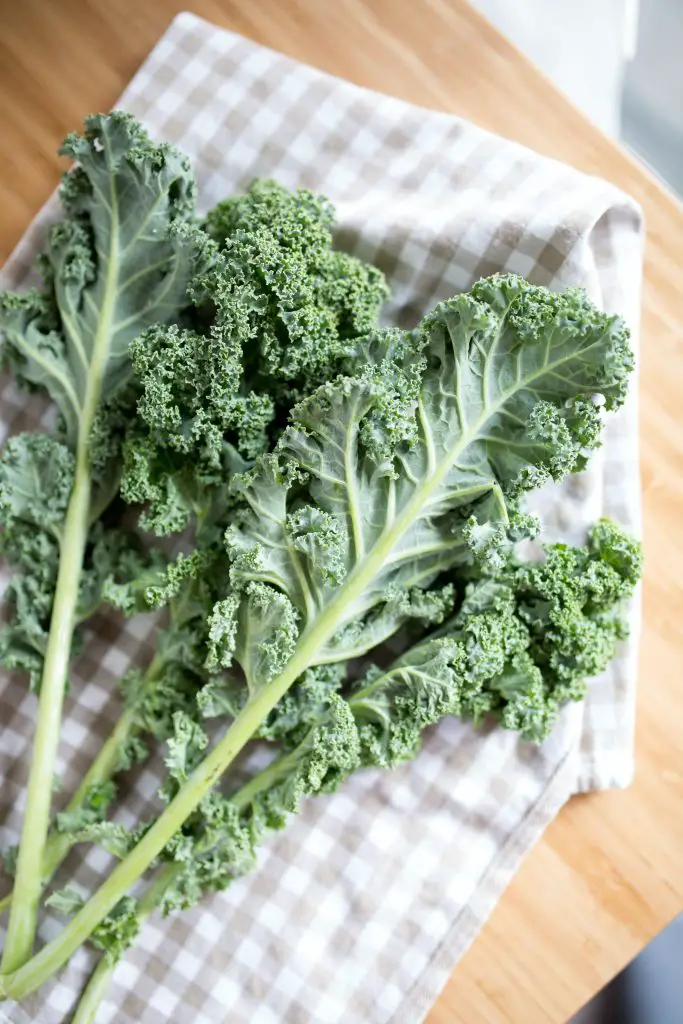
Kale may be classified by its different leaves, which include Curly-Leaf (Scots Kale, Blue Curled Kale), Bumpy-Leaf (Black Cabbage, better known by its Italian translation ‘Cavolo Nero’ or Tuscan Kale), Plain-Leaf (Flat-Leaf types like Red Russian), Leaf and Spear (a cross between Curly and Plain Leaf) and Ornamental, which is less palatable. Many of these varieties may be purchased online from Seeds Now, Seeds for Generations or St Clare Seeds in the US. In the UK Thompson & Morgan carry a very wide variety of seeds.
Kale is a particularly hardy vegetable, that has been used traditionally to help fill the “hungry gap” in Spring, a period of the year when little else could be harvested. This is particularly the case, in regions where the Winters are mild. Kale is a hardy plant that can tolerate temperatures as low as -15°C (5°F), and becomes sweeter when exposed to heavy frost. In these regions, it is possible to have harvests that will be available during Autumn and Winter, before the plant sets seed in late Spring.
To establish the plant, it is best to sow seeds into trays, rather than directly into soil, because it provides an opportunity to protect the young plants from slugs and snails. Kale, along with most leafy greens, are highly susceptible to attack when they young, however once they reach a height 10-15 cm (4-6 inches), the slugs and snails tend to be less interested in the plant.
Whether you choose to plant directly or sow seeds, it is highly recommended that protective measures be implemented, on the same day that seeds or seedling plants go in the ground, as slugs and snails have been known to decimate an entire crop, in a single night. This protection, can be in the form of commercial pallets or a home-made remedy, such as coffee grounds and beer traps.
Sowing of seeds should be done in either Spring or Summer, if planting before the last frost, it is best to plant undercover. When planting into trays, the seedlings will be ready in around 4-6 weeks, and can be planted out, at a spacing of 40cms (16 inches).
Kale grows best in full sun, but will tolerate partial shade as well. Kale prefers a moist soil with lots of organic matter, and a soil pH of 6.0-7.0, is ideal. To find out more about how to measure a soils’ pH and adjust it, click here. Kale generally requires little attention throughout the growing season, other than a regular visit to harvest the leaves, throughout the season.
How To Grow Kale In Pots
If space is an issue, Kale can be grown in a pot or container. When choosing a container, it needs to be a reasonable size, around 50-60 cm (20-24 inches) in diameter, is usually sufficient. The reason for this, is that Kale needs to have enough room for the roots to grow, additionally, it reduces the tendency of the pot to dry out, which is often a major problem when growing in containers.
The rate of evaporation can be reduced, by minimising the amount of direct sun hitting the side of the container. One easy way to do this, is to place several pots together in a clump. The addition of water crystals to the soil in the pot is also beneficial, in maintaining soil moisture for an extended period of time. They are available on Amazon.
Once a container has been selected, fill it with multi-purpose compost. Sprinkle the seeds on the surface and cover with a fine layer of compost, or place seedlings into the growing medium and ensure you water regularly. As there is a limited amount of nutrients in the pot, it will be necessary to add fertiliser. It is recommended, that a hand full of chicken manure be added to the surface of the soil every 1-2 months, and a liquid seaweed be applied every week or two. This will ensure the plant has everything it needs to provide a crop for several months.
