
How To Prevent Weeds From Growing. For many gardeners, maintaining a weed free garden, seems almost impossible. It is like finding a pot of gold at the end of the rainbow. However, there a number of different strategies that can be employed, that will allow you to maintain a large vegetable garden, without spending hours controlling weeds.
The most effective strategy I have found, is to use the “no-dig” approach to gardening, which, if applied consistently, will dramatically reduce the volume of weeds you need to deal with. This approach, combined with regular removal of weed seedlings before they set seed, will allow you to maintain even the largest home vegetable patches, with less than 30 minutes of weeding a week.
What Is No-Dig Gardening?
In a word “No-Dig” gardens means literally, that you do not dig in the garden. Instead, you simply place a layer of compost onto the soil’s surface and plant into the compost. This concept flies in the face of conventional gardening wisdom, which encourages gardeners to aerate the soil, adding a range of soil conditioners, such as fertilisers and compost. These conditioners are then dug into the soil before planting.
The advantage of the No-Dig approach is;
- Less work (less weeding and digging).
- The output is equal or higher than using conventional garden methods*.
- Soil management approach is simple and easy to follow.
- It is a lower cost than conventional garden methods (less inputs).
- It can be applied to existing and new gardens.
- It is Organic.
* Charles Dowding, the leading authority on No Dig gardens, has published a study on Dig Vs No Dig Gardens, over a 7 Year period, that demonstrates that the yield from a No Dig Garden, is approximately 10% higher. https://charlesdowding.co.uk/no-dig-trial-2013-2019-current-year-at-top/.
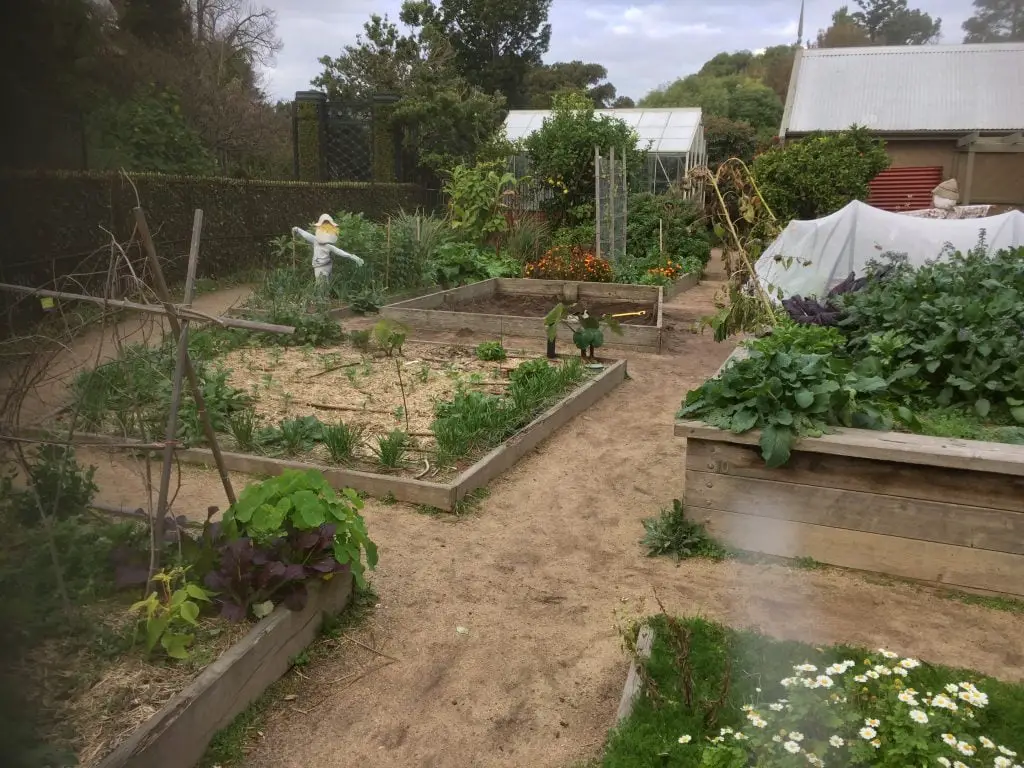
When starting out as a beginner, the best option is to start with one bed. The reason for this, is that it allows you to focus your effort on establishing and managing that bed, if you are building a garden from scratch. While No Dig gardening is less work in the long term, in the early stages it requires you to be very vigilant about the removal of weeds. To read more about this you can purchase Charles’ book which is available on Amazon.
Additionally, growing food in a small area often, is more productive than having weeds occupying the empty spaces on a larger area. Most gardeners will enjoy being in a smaller, weed free space where there is less weeding and bed preparation.
Starting A New No Dig Garden
The first step undertaken when creating a new garden bed, will depend upon the quantity and type of weeds present in the ground. Perennial weeds such as Brambles are best removed by hand, because they have a tendency to pop up through the mulch, before they die.
However, if removing them by hand is not a viable option, it best to start by laying down Plastic, Old Carpet or Tarpaulins (or any thing that excludes light) for 8 weeks or so. This will give you a head start on killing off the weeds.
To start, build your garden by laying down a layer of cardboard, taking care to ensure that there are no gaps for light to get through to the ground. The layer of cardboard should cover any areas being used as paths, and also include a 15 cm (6 inch) boarder, around the outside of the bed. The reason for the boarder, is that grasses have a tendency to invade your beds if they are right next to them.
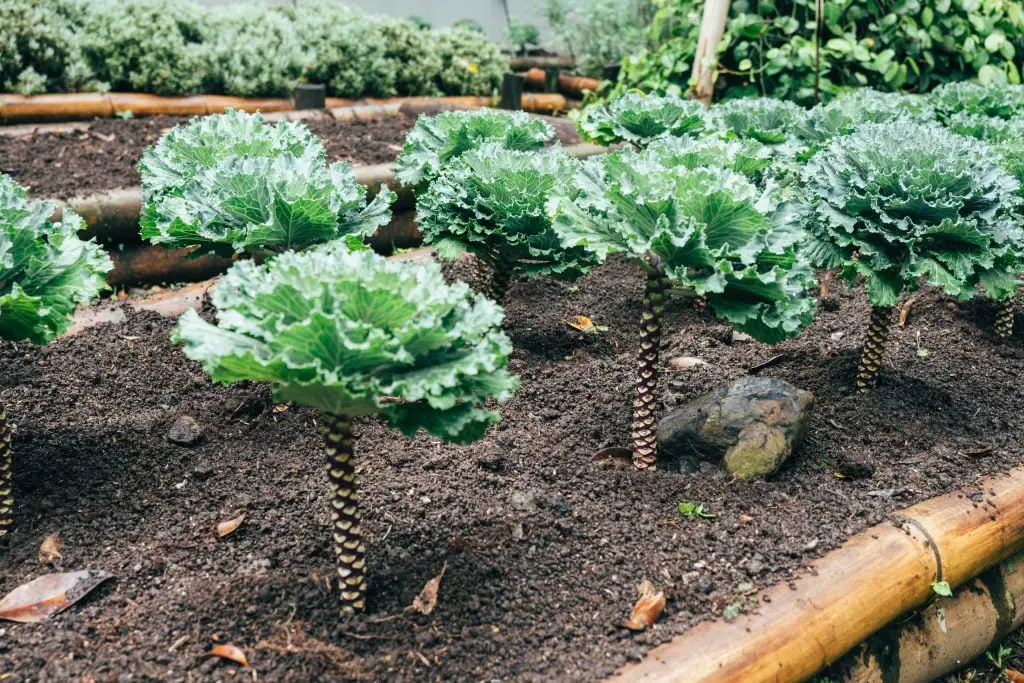
The next step is to place compost on top of the cardboard that is sufficiently thick, to allow you to plant directly into it. The ideal depth is 15 to 20 cm (6 to 8 inches), as it is common for the compost layer to settle over time. A layer of this depth will allow you to plant immediately.
The cardboard below the compost is a temporary weed barrier, that will progressively degrade, over a period of 2-3 months. This will allow the roots of any plant to travel through that barrier over time, having established itself initially in surface compost.
Maintaining The No Dig Garden Bed
Having established the No Dig garden bed, the first 6 to 9 months of its use is the period where you must be most vigilant. The grasses and weeds may attempt to re-sprout through any gap in the mulch or cardboard. These gaps are typically created as the cardboard begins to breakdown, particularly on any paths or the edge of the bed.
To prevent grasses from becoming re-established, remove the weeds as they appear. However, it is important to note, that it is not necessary to remove the weeds, roots and all. Simply remove the tops of the weeds and reapply cardboard, if there are any gaps that are allowing light through. The presence of the weed roots in the soil, in the long term, will aid soil fertility.
This process will need to continue for the first 6-9 months or so, until the weeds have been completely killed off. In some cases, if the weeds are particularly tenacious, it may take into a second season, to completely kill them off.
Once the cardboard has done its job, you will have created a weed free bed that is easy to maintain and grow food into. While there will always be weeds introduced to the beds by birds, or wind blowing the seed across them from other places, these are relatively easy to control.
Maintaining Paths And The Edge Of The Garden Beds
To maintain a weed free environment, consideration must also be given on how to manage paths and the edges of the beds, as weeds have a tendency to exploit any gaps. For paths, it best to spread a thick layer of wood chips, 5 to 10 cms (2-4 inch) thick, is ideal. This needs to be reapplied on a regular basis to ensure light continues to be excluded.
When considering the edge of a garden bed, many people believe that it is necessary to have a solid object, like a sleeper, bordering the garden beds. This is certainly not the case, and there are actually several disadvantages to have a solid structure bordering the bed, which are as follows;
- Structures such as sleepers and paving, are relatively expensive.
- They provide greater access for grass, bordering the bed, to reinvade the growing medium. Many vegetable gardens have grass that runs up to the edge of the structure.
- The structures often provide habitat for slugs and snails, allowing them to hide.
As such, we generally don’t recommend edges, but rather to maintain a 15 cm (6 inches) border, which can be considered to be like a moat, protecting a castle. As long as this border is maintained along with paths, your beds will remain largely weed free.
No Dig Vs Dig Beds
For those who have gardened previously, the No Dig beds have a few characteristics that are different to conventional beds. The most noticeable difference, is that the soil often feels relative firm or even hard. This is a characteristic that often concerns traditional gardeners, who worry about root system’s capacity to penetrate the soil.
This belief is unfounded and has no real basis, and is largely based on gardening tradition, rather than anything else. All of the vegetables we grow, originated in uncultivated soils. Without the capacity to penetrate firmer soils, the plants simply would not have survived.
Maintaining A Weed Free Vegetable Garden
To continue to maintain a weed free vegetable garden throughout the growing season, there are a number simple strategies that can be employed, to ensure that you are spending the majority of your time, planting and harvesting food rather than weeding.
Maintaining Adequate Spacing Between Plants
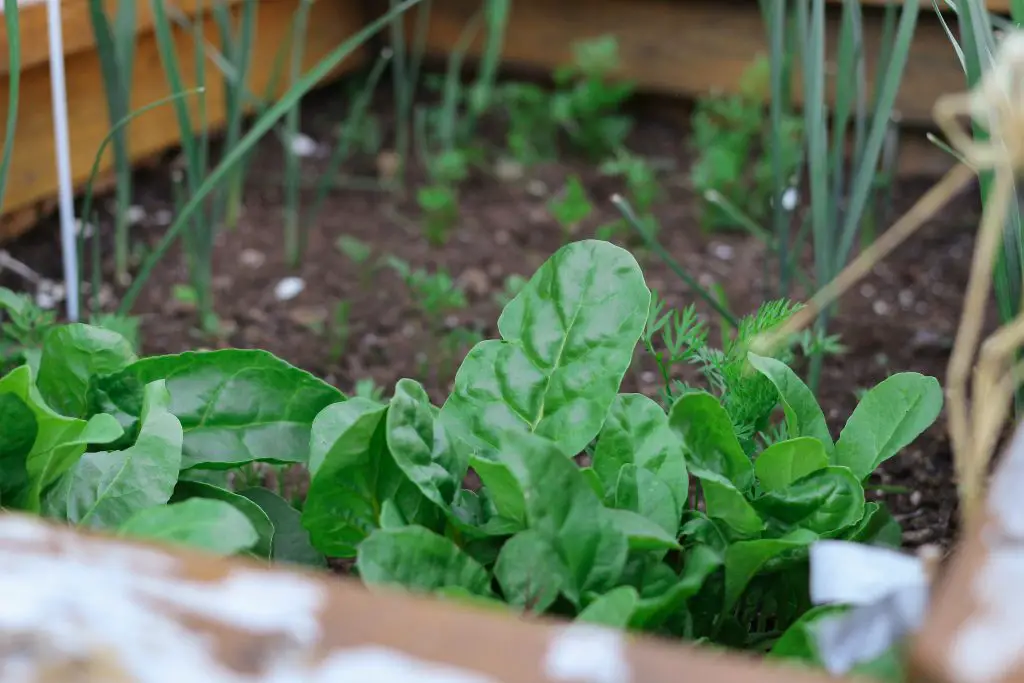
Maintaining adequate spacing between plants at first, may seem to have little to do with maintaining a weed free garden. However, the way that you arrange plants within your vegetable garden, effects how easily you can access the garden and with what tools.
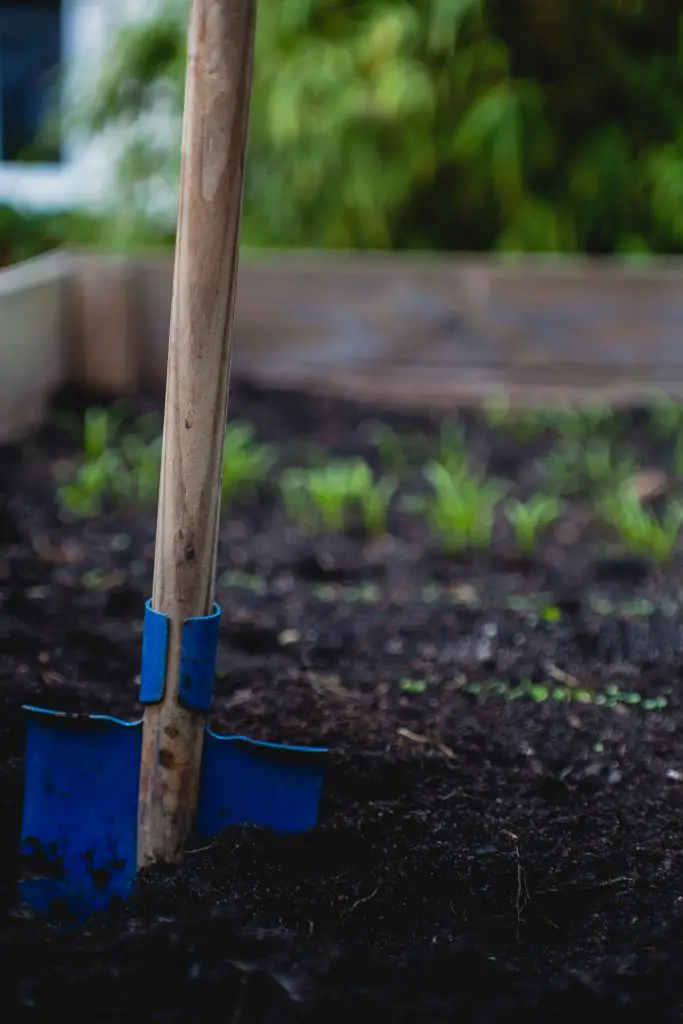
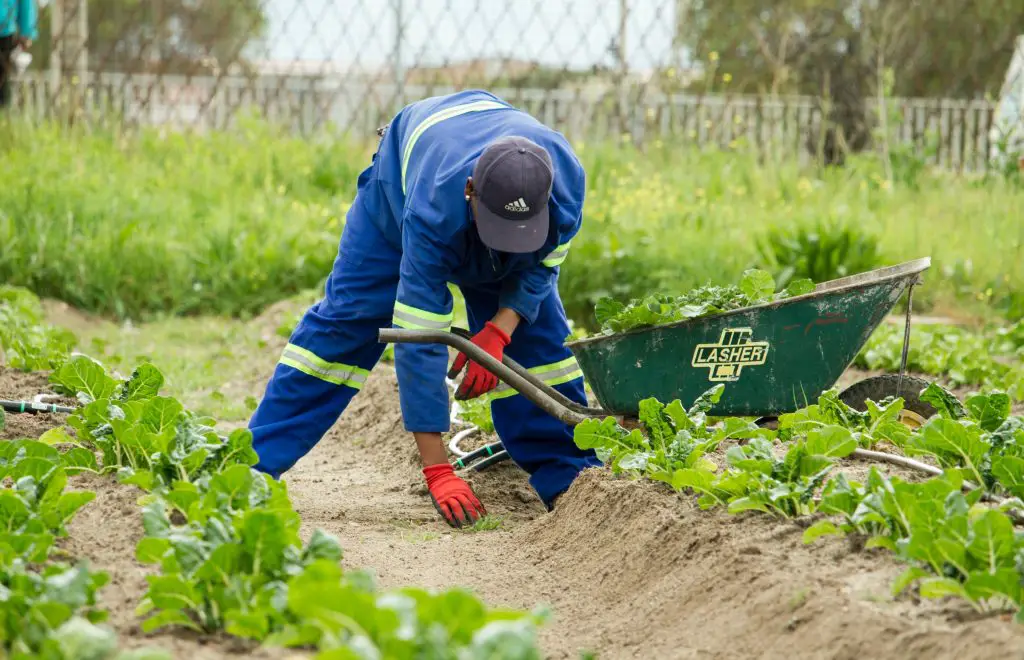
In a garden with tightly packed vegetable seedlings, it is difficult to access weeds and can only be done by hand. Weeding by hand is time consuming, and should be avoided, whenever it is practically possible. The most efficient way to remove small weed seedlings, is with a Dutch Hoe.
A Dutch Hoe is a garden tool, that has a flat blade that is around 10 cm (4 inches) wide, normally. The blade is used to skim just below the surface of the soil, allowing small weed seedlings to be removed, quickly and simply. In my own garden, this process will take less than 5 minutes to complete for a 4 sqm (43 sqft).
To maintain consistent spacing, it is best to use a flat board, that is around 15cm (6 inches) wide, with the spacing distances pre-marked on the side of it. The width of the board is important, as it allows the gardener to walk on top of it, while making holes for the seedling with a dibber, without compacting the soil.
The pre-marked spacing I have on my board is 25cm, 30cm, 40cm and 50cm (8, 12, 16 and 20 inches). I never use less than a 25 cm (8 inch) spacing between rows or individual plants, because it becomes difficult to use a hoe. I find that using a board ensures that I am consistent in my spacing of seedlings, and I avoid the temptation to try and cram too many seedlings into the garden bed, which causes more work later on.
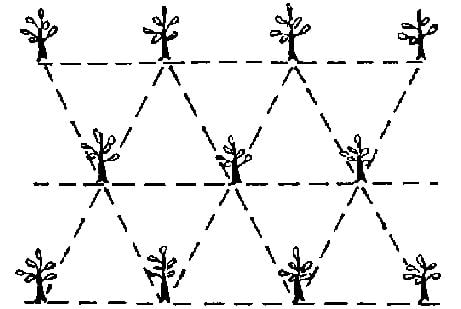
To optimise the number of plants that can be fitted into a space, I use equidistance spacing, which is efficient, but also produces a symmetrical pattern that ensures they appear in straight lines, from several different directions. An example of how the planting pattern is laid out, is shown below.
Remove The Weeds Regularly
During the growing season, a lot of time is spent tending and harvesting crops. When visiting the garden, make sure that you are checking for, and removing weeds as they arise. When small, most weeds are easy to remove. This avoids the weeding becoming a major chore that gets put off, making it an even larger job than it would otherwise be.
The regular hoeing of the ground with a Dutch Hoe, is particularly effective at removing or at least disrupting weeds, when they are very small, preventing them from getting established.
These practices over time become increasing effective, as it allows any weed seeds present in the soil to be reduced, and eventually removed completely. This will reduce the frequency of maintenance over time.
Reapply Compost Annually
With a No Dig garden, the application of a compost, once a year, is important in ensuring that your vegetable garden remains relatively weed free. The compost serves to replenish the soil and act as a mulch. It is best to apply a 5 to 10cm (2 to 4 inch) thick layer of compost as it is enough to reduce weeds in Autumn.
The reason that Autumn is ideal, is that it enables the garden to be weed free, throughout the Winter period. Purchased compost is ideal, as it is generally weed free. However, if you are using home made compost, it may be a little more problematic, as many home compost heaps do not have sufficient volume to develop a high enough temperature, to kill any seeds that are present in the compost.
Compost heaps require temperatures around 60C, to kill weed seeds. To achieve this, a compost heap needs to be approximately 1 cubic metre in volume.
