
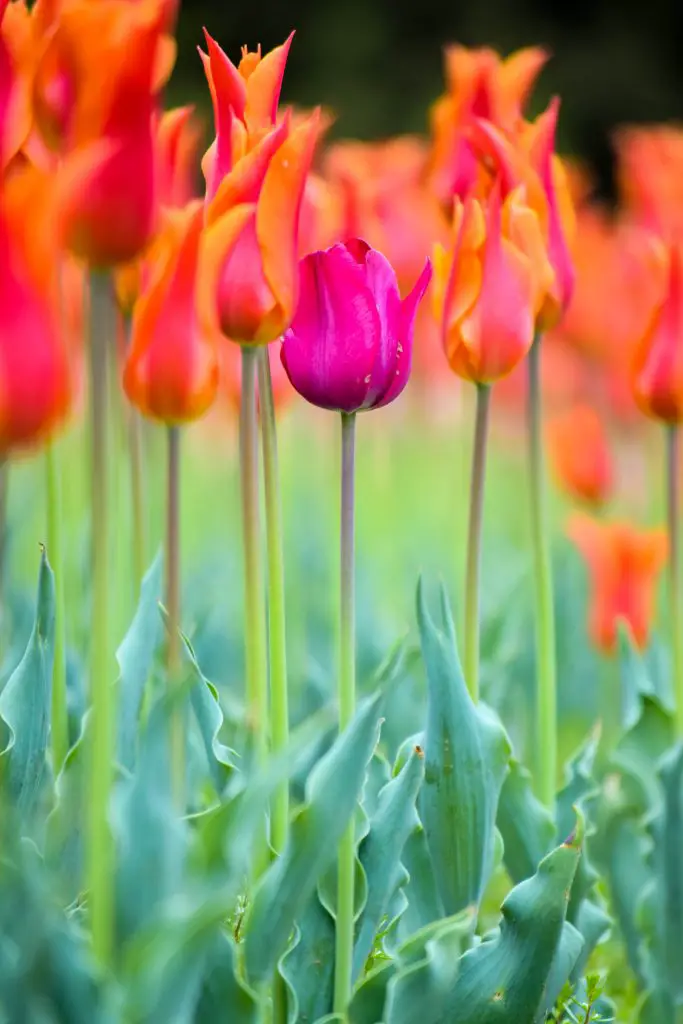
What To Do With Tulips After They Bloom? Tulips are one of the most popular Autumn planting bulbs grown in the world. They produce a beautiful display in early spring before the flowers finish after a few weeks. But, what do you do with them after they bloom?
After the tulip flowers are finished it is important to allow the foliage to die back naturally as this allows the stored energy to return to the bulb for next year’s flower. Only when the foliage has turned brown can you remove it however the spent flower heads can be removed immediately. The tulip bulbs themselves can be left in the ground in most regions as tulips are hardy down to zone 3.
However, if you live in zones 9 or 10 it will be necessary to lift the bulbs after flowering and refrigerate them around two months prior to planting. The reason for this is that for tulips to flower properly they need to have a period of cold temperatures to trigger the bulb to convert the stored carbohydrates into glucose.
The creation of glucose has two important effects; the first is that the glucose depresses the freezing point of water within the bulb making it less likely to freeze solid and damage the bulb. The second key function of the release of glucose is that provides the energy source of the production of the foliage and flower.
What Are The Conditions That A Tulip Needs To Flower?
For the tulip to produce a high-quality flower the bulb needs to be exposed to temperatures below 55°F (13°C) for approximately 12 to 14 weeks which limits its growth to cooler climates. However, in those warmer climates, it is possible to trick the bulbs into blooming by placing the bulbs into a refrigerator in mid-Autumn.
To ensure that the bulbs remain in good condition it is important to place them in a paper bag or even an egg carton. This ensures that the bulbs have adequate ventilation to aviod any chance of the bulb rotting. Additionally, it is important to ensure that the bulbs do not have any close contact with ethylene producing fruit such as apples as they will negatively affect the bulb.
How To Plant Tulip Bulbs
The best time to plant the bulb is dependant upon the climatic conditions in which you live. For those living in cooler climates, it is best to plant the bulbs in mid Autumn a few weeks before the big freeze arrives.
If you are planting tulips in warmer climates where they are being kept in a fridge the ideal time to plant bulbs is in the coldest part of the year, which is typically in mid-winter. When planting the bulbs in these climates do not allow the bulb to warm up, take it directly from the refrigerator to the ground. The reason for this is that if they are allowed to warm up it will trigger the production of stems too early in the season.
When it is time to plant the bulbs they should be planted at a depth of 4 to 6 inches deep. This can be done using a spade however if you are planting a lot of bulbs you should consider investing in a bulb planter. There are short-handled bulb planters that are relatively cheap and also long-handled versions that cost a little more but will save your back. The longer handle ones are also easier to use when the ground is relatively firm because you can use your foot to drive the bulb planter into the ground. Click on the links to see the latest price on Amazon.
In terms of locations, the bulbs should be planted in a sunny location that gets at least 6 to 8 hours of sun per day. The tulips also prefer moist but well-drained soil, areas that remain soggy should generally be avioded as there is potential for the bulb to rot in the ground.
However, if the bulbs are planted in free draining or dry locations it is important to ensure that the soil remains moist. Moisture retention can be improved by applying a thick layer of mulch.
Looking After Tulips
In terms of looking after tulips, there is little maintenance required other than to ensure that the bulbs remain moist throughout the flowing period. Once the flowers have died back the flower heads can be removed. As mentioned earlier in the article it is important to ensure that the foliage remains intact until it begins to yellow. A week or 2 after that occurs the foliage can be cut down to the ground for next year.
At this point, it is advisable to insert a stake into the ground so you don’t inadvertently place another plant on top of the tulip bulbs. In the fall it is beneficial to apply fertilizer to ensure that the bulbs have plenty of nutrients for the following season.
In warmer climates where it is necessary to bring the tulips inside it should be done only after the foliage has died completely back. When digging them up it is important to be careful not to damage them by using a hand trowel rather than a shovel which has the potential to cut the bulbs in half.
It is best to dig a trench around the outside of the tulip bulb and then gently lift the bulbs using your fingers to prevent any damage. Once the bulbs have been removed from the ground brush off the dirt and remove any remaining foliage with pruning shears.
To avoid the bulbs drying out they need to be stored in a container containing slightly damp sand, peat or sawdust. The tulip bulbs should then be placed in the material so that only the pointy end of the bulb can only just be seen.
When placing the bulbs in the box it is important to ensure that the bulbs do not come into contact with each other. The reason for this is that if one of the bulbs starts to rot it will not affect other bulbs in the container. The container should be placed in a dark sheltered location with a temperature between 60 and 70°F (15 to 21°C).
The bulbs should remain in the box until mid-Autumn where they can either be planted out into the garden or placed in the fridge if you live in a warm location for 2 months or so before planting them out in the garden in mid winter.
Tips For Creating Extending The Flowering Display
If you are wanting to make the most of spring-flowering bulbs I would be planting them in pots rather than into the garden for a couple of reasons. The first is that the pot can be moved into position when the flowers are at their absolute best and then removed when the flowering has finished. This avoids the need to have to wait for the foliage to die off.
The second advantage of planting in pots is that it is easy to plant the bulbs in layers to create successional flowering within one pot. By selecting early and late flowering spring bulbs you can create this effect. To see the approximate order flowering of different bulbs click here. As you will see from the list of bulbs there is any number of combinations that can be used.
I personally suggest snowdrops, tulips, and dutch iris. The reason for this is that the Snowdrops are the smallest plant, followed by tulips which are bigger and will appear second. The dutch Iris’ is the tallest and will appear last. The foliage from each successive plant will hide the dying foliage of the previous flower maximizing the flowering period and the visual appeal.
