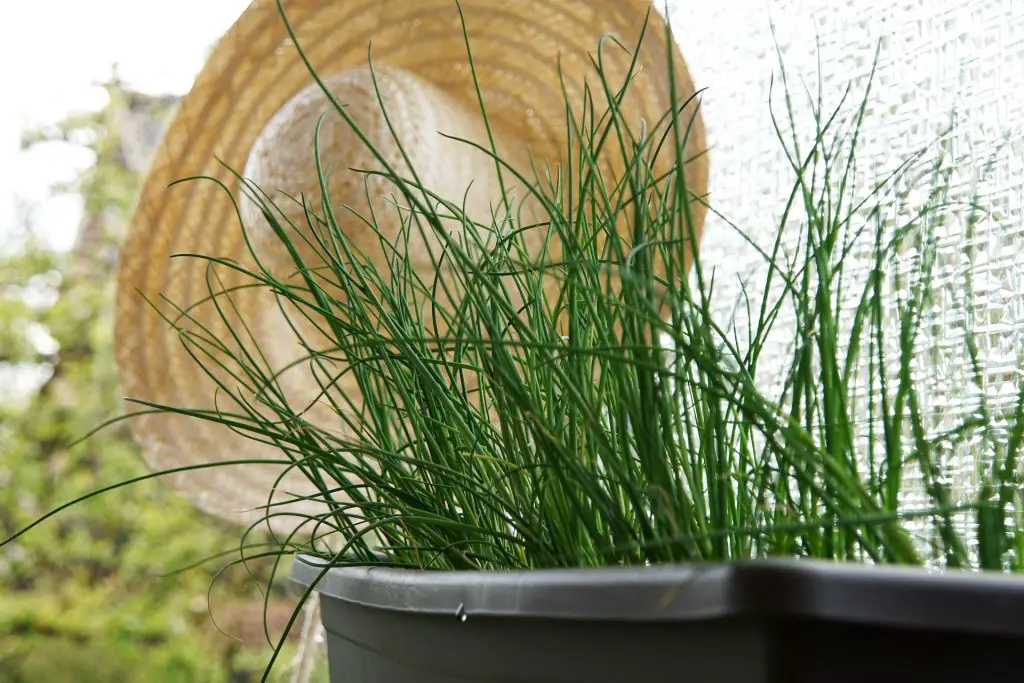
Why Do My Chives Look Like Grass? There is nothing better than harvesting fresh chives from your garden and using them in your scrambled eggs. However, I have noticed recently that the leaves of the chives have become thin and flat rather than cylindrical and hollow. What has happened and is there something wrong?
Chives plants can, over time, develop flat leaves rather than cylindrical leaves after the plant has been repeatedly harvested over a season or two. It is also more likely to occur after flowering. These flatter leaves are still quite edible but the texture of leaves is tougher and generally not as nice to eat.
To avoid this problem I generally replace the chive plants every season or two to maintain a quality supply of the herb. There are two main ways in which I maintain my stocks of plants. The first is dividing the clumps of chives at the end of each season.
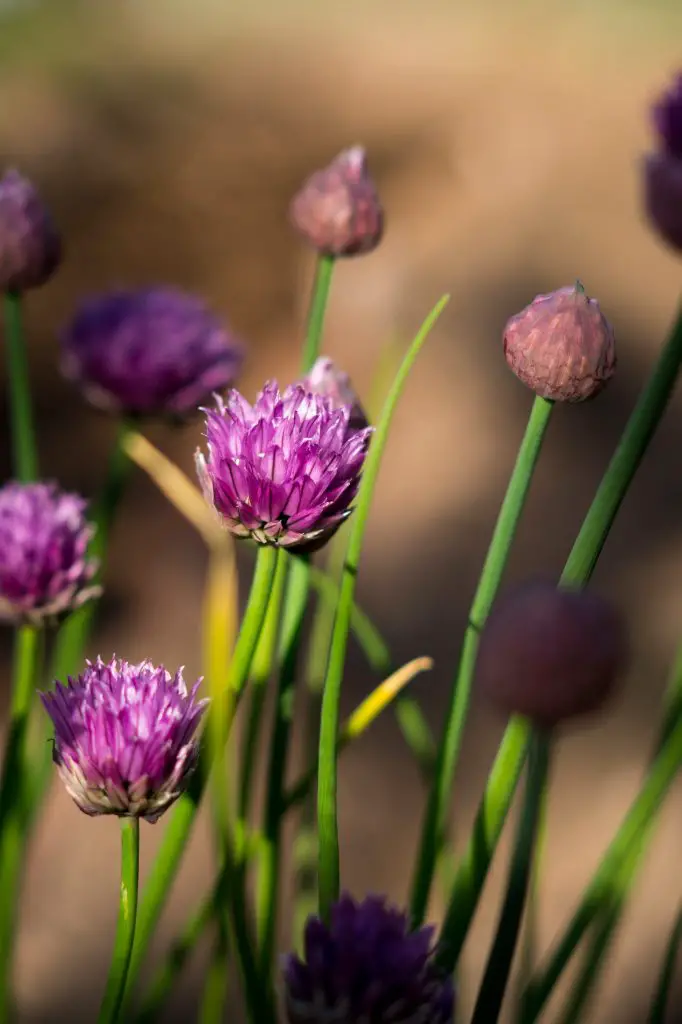
The second is to simply plant more seeds every season or allow the plant to self-seed. Self-seeding occurs when the plant produces flowers, which usually occurs in late spring or early summer. The flowers, which are initially purple will fade in color and dry out.
This normally takes until late summer or autumn to occur, at this stage the plants will contain seeds that can be collected or simply allowed to fall onto the ground. My personal preference is to collect the seeds because there is a tendency for the plant to spread into undesirable areas of the garden. The most common of these being into your lawn.

How To Grow Chives
Chives are a hardy herb that grows in similar conditions to onions. They survive in a variety of temperature ranges, but they produce the best at 12 to 23°C (55 to 75°F), and most varieties are hardy to -6°C (20°F). Chives are generally planted, in moderate to cool climates, in early Spring, depending on what your climate will allow.
The seeds are broadly available on Amazon or you can purchase them from a seed specialist such as Thompson & Morgan who is based in the UK.
Chives can be sown directly into the ground, however, it is recommended that you start Chives in modular trays as it allows the growing conditions to be controlled. When multi-sowing Chives seeds, ideally aim for 15 to 20 seeds per module to create clumps of chives.
The advantage of sowing in clumps is it makes it easier to transplant the seedlings and it also makes harvesting easier later on. Additionally, sowing in clumps also makes it easier to control weeds because the clumps may be spaced a reasonable distance apart allowing a Dutch Hoe to be used to remove weeds. This is much faster than hand weeding.
If planting in trays, Chives seedlings can be planted out after 4-6 weeks, however, it is possible to leave them in the trays for a much longer period of time, if space is not yet available in the garden as they are more forgiving than many other plants. When transplanting clumps into the garden, a spacing of 30 cm (12 inches) is recommended as this will provide an opportunity for the clump to expand over time.

Chives are generally tolerant of a wide variety of soils but do best in moist well-drained soil that is slightly acidic. Chives prefer a pH range of 6.0 to 6.5. To test the soil pH it is best to use a pH meter rather than pH stripes. pH meters are easier to use, more accurate, and cost less. To see the latest price on Amazon click here.
If the soil is alkaline sulfur may be added to reduce the pH. Additionally, it is recommended that organic compost or manure be added as it often beneficial in retaining moisture and feeding the plant.
In terms of location, Chives prefer a warm sunny location that gets at least 6 to 8 hours of sun per day. To ensure that the soil remains moist plants should be watered regularly and a layer of mulch should be applied to improve moisture retention.
Additionally, it is important to ensure that weeds are kept clear of the plant as they will complete for nutrients over time.
Chives can be harvested and eaten at any stage throughout the season once the plant reaches a reasonable size. However, it is generally recommended that you wait until the plant has become established. Additionally, it is best to harvest only a third of the plant at a time to ensure that it does not become too stressed.
