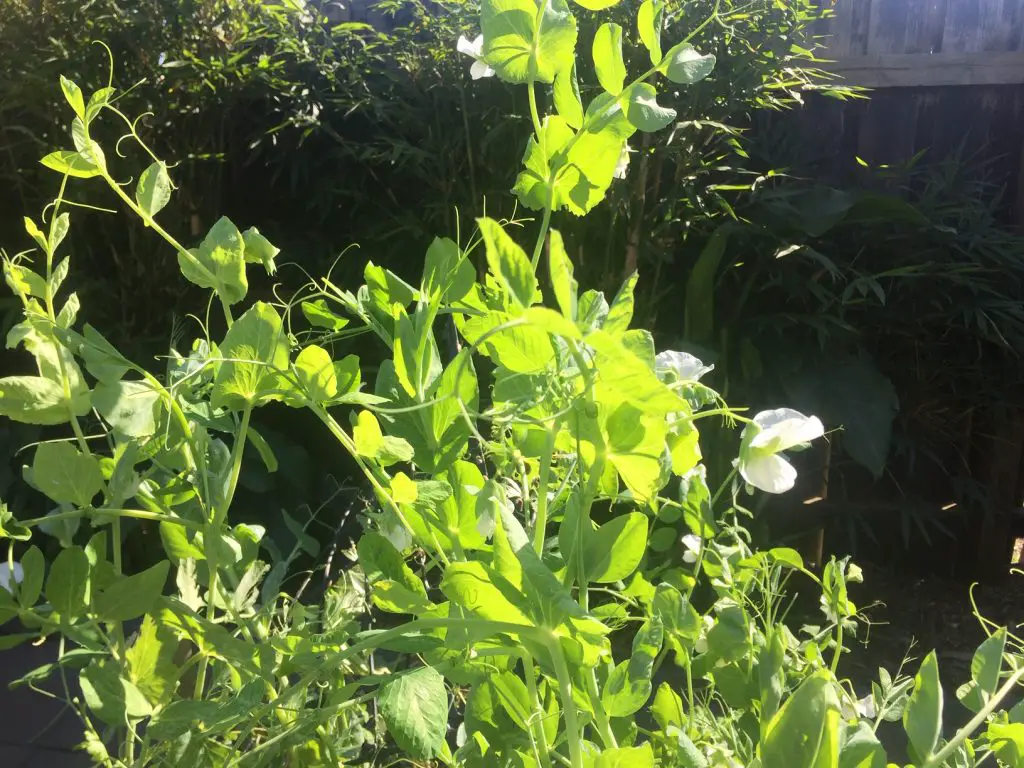
What Climate Do Snow Peas Grow In? Snow Peas are one of the most rewarding crops to grow in the garden, due to the quantity and quality of the produce that you get. The pods are crunchier and sweeter than anything that you can purchase from the supermarket, and it can be eaten raw as a snack, put into salads, or cooked in stir-fries.
Snow Peas are a frost-tolerant vegetable, that can be grown in Zone 3 to Zone 11. It generally prefers to be grown in the cooler months, when grown in milder climates, such as Zone 9 and 10. In these regions, Snow Peas can be grown from Autumn, through to late Spring.
Snow Peas can tolerate temperatures of around -2°C (28°F), without suffering any damage. At temperatures between -2°C and -6°C (28 to 21°F), the Snow Peas will suffer minor damage, and they will survive in temperatures down to -15°C (5°F), though the damage to the plant will be more substantial, if these temperatures are sustained for a period of time. For more information on how you can protect plants from extreme weather, go to https://planyourpatch.com/what-is-the-lowest-temperature-vegetable-plants-can-tolerate/.
How To Grow Snow Peas
Snow Peas are a reliable and easy to grow crop, that can be grown throughout the cooler months of the year. Snow Peas prefer to grow in temperatures below around 21°C (70°F). However, the first sowings of seeds can be in periods before the temperature falls below 21°C (70°F), provided, that the temperatures do not remain elevated, as the plant progresses beyond the size of a seedling. Generally, for most climates with mild Winters, the first sowing can occur in late Summer or early Autumn.

For those in milder climates, it is generally recommended that several succession sowings be completed, to ensure that Snow Peas are available throughout the season. To do this, it is recommended that at least 3 sowings be done, in late Summer, mid Autumn and late Winter.
The Summer sowing will produce a crop in mid to late Autumn, and possibly into Winter, depending upon your climate. The Autumn sowing will grow more slowly, producing a crop in early Spring and the Winter sowing will produce a crop in late Spring.
Plants can be established, either by direct sowing into soil, or they can be planted in modular trays with two seeds per cell. The lowest cost option to buy seeds is through Seeds Now, however, St Clare Seeds also offers a few less common varieties that you might want to try. Get more information on the available varieties try visiting our vegetable database which has information on hundreds of vegetable varieties.
As a general rule, I tend to sow outdoors in late Summer and Autumn, and indoors in Winter. If planting outside in early Spring, Snow Peas can go into the ground as soon as it thaws, even if more snow is in the forecast, provided the ground does not remain sodden.
If grown in modular trays, the Snow Pea seedlings will take between 4-6 weeks to develop to a sufficient size to be planted out into the garden. Snow Peas prefer moist soil, with plenty of organic matter, as such it is recommended that the compost be added to the soil, prior to planting. Snow Peas prefer slightly acidic soil with a pH between 6.0 and 7.0. To learn how to test the pH of your soil and adjust it, go to https://planyourpatch.com/why-is-ph-important-in-soil/.

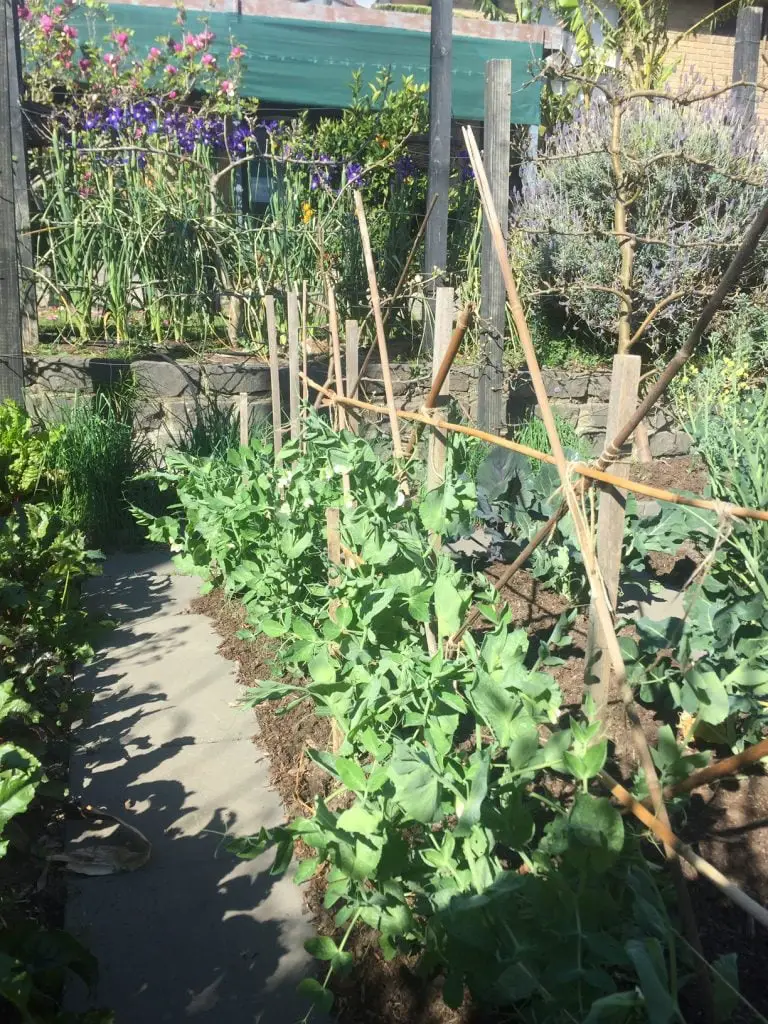
Once established, the Snow Pea plants will require a support structure for the tendrils to latch onto. The size of this structure, will be dependent upon the type of Snow Pea grown. Dwarf varieties grow to around 90 cm (3 ft), while climbing varieties will grow to 150-180 cm (5-6 ft).
Irrespective of the structure used to support the Snow Peas, the plant will require encouragement to latch on to the support structure, as it is common to have vines spilling out onto the path. To do this, it is best to tie a string around the outside of a row of plants to pull them toward the structure. This may need to be done multiple times throughout the season, at different heights of the structure, to keep the plants under control.
Harvesting and Saving Seeds
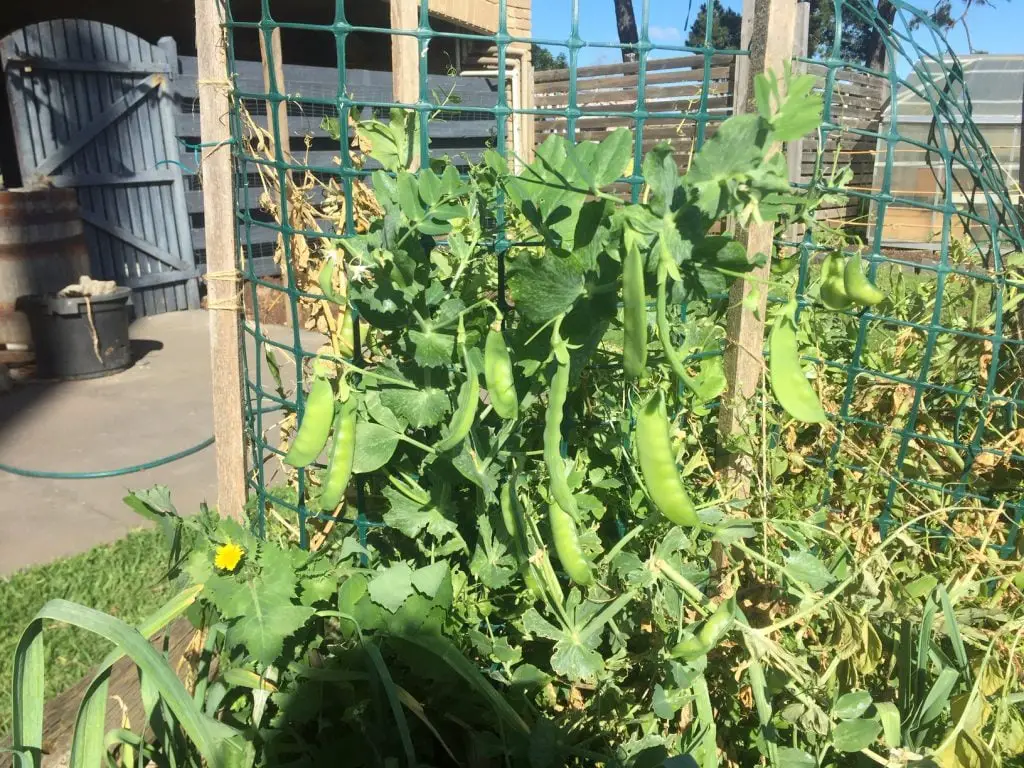
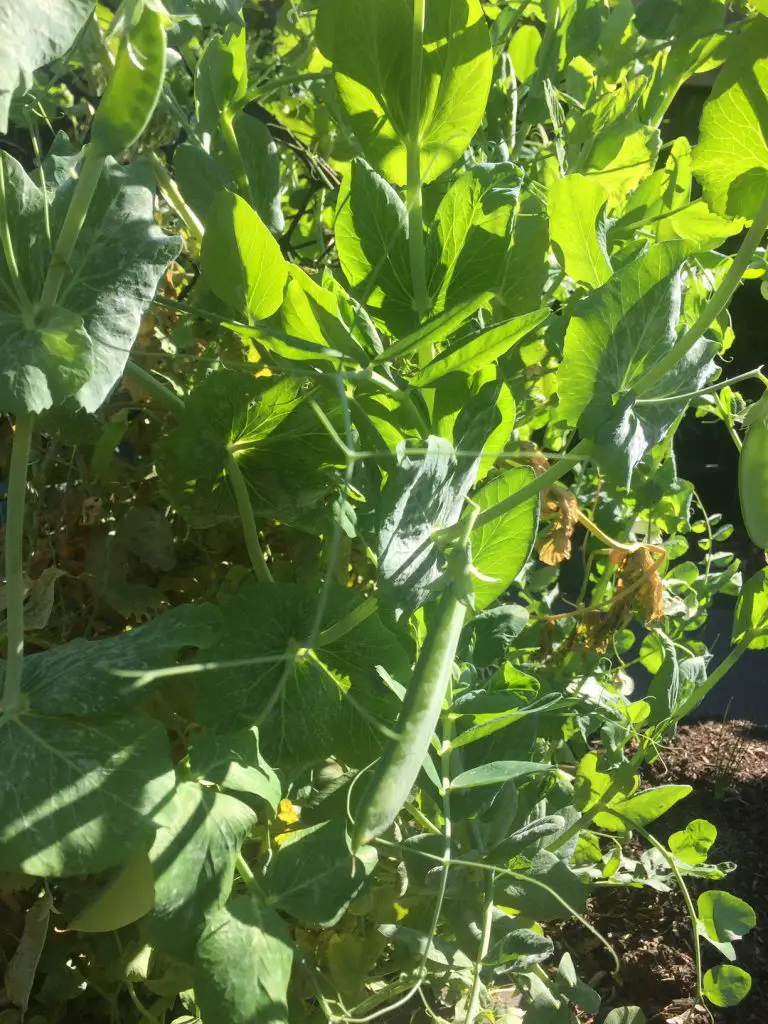
Snow Peas can be harvested when your Pea pods reach a size of about 3 to 4 inches (7.5 to 10 cm) long. At this stage, the small Peas inside will be just beginning to swell. Snow Peas should be harvested regularly, at least once or twice a week, as this will encourage the plant to continue to flower and produce pods. Typically, the harvest period will last 6 to 8 weeks before the plant begins to die back.

When harvesting is largely completed, it is good idea to allow the plant to remain in the ground for a few weeks, as this provides an opportunity for any remaining pods to reach their maximum size and dry out. These pods can be collected for seeds at the end of the season, when the plant is removed.
The remaining pods that you didn’t harvest, usually, because you didn’t notice they were there, are often sufficient to produce enough seed for the following year. However, if additional seed is required, leave a few more pods on the plant.
If the pods are not sufficiently dry when the plant is removed, they can be laid out in a dry location for a week or two, before placing them into a paper envelope. There is no need to remove the Snow Peas from their pods at this stage.
When removing the plant, it is easiest to cut it off at ground level with a pair of secateurs, as leaving the roots in the ground will aid soil fertility. This is because legumes take Nitrogen from the air and store it in the root nodules, and over-time the roots will decay, releasing the Nitrogen into the soil. To learn more about this, go to https://planyourpatch.com/what-is-crop-rotation-and-why-is-it-important/.

Storing Snow Peas
Snow Peas are best picked and used immediately, however, they can be stored for a short period of time in the fridge. Snow Peas are ideally stored in a cool and moist place, at a temperature of approximately 4°C (40°F). They are typically best stored in a plastic zip lock bag. Under these conditions, the Snow Peas can be stored for approximately 1 to 2 weeks.
Snow Peas can also be frozen for longer term storage, however, they need to be blanched prior to freezing. The reason for this, is that it will halt enzyme activity within the Snow Peas, preventing a loss of texture and colour. If you are unfamiliar with how to blanch, the steps are provided below;
- Step 1: Wash the Snow Peas and Remove the Ends.
- Step 2: Blanch the Snow Peas by bringing a large pot of water to boil. Fill a large bowl with ice water, just prior to starting the blanching process. Once the pot is boiling, put the Snow Peas into the water. Cook for 1 minute, then remove from the pot and immediately plunge the Snow Peas into the ice water to cool, for around the same amount of time as the blanching, and then drain thoroughly.
- Step 3: Prepare the Snow Peas for Freezing, Then Freeze. Pack all of your blanched Snow Peas into plastic bags, or suitable containers. Ensure each bag or container is labelled with dates.
