
What Is The Lowest Temperature Vegetable Plants Can Tolerate? There are some pretty extreme climates, in which people create vegetable gardens. In these really cold climates, one of the most important things to understand, is what is the lowest temperature a plant can actually tolerate, before it dies.
For plants that are not frost tolerant, the answer is pretty straight forward, any temperatures around 2 to 4°C (35 to 39°F), which is typically the temperature at which a frost forms. For these plants, it is common to see blackening of leaves after a frost event. For those plants that are frost tolerant, the answer is a little less straightforward, however, the temperature tolerance typically varies between -7 to -18°C (0 to 20°F), depending on the vegetable.
The table below provides the temperature tolerance for a range of vegetables, and a guide as to which vegetables can remain in the garden, throughout the season.
| Crop | Min. Temp. (°C) | Min. Temp. (°F) | Start Growing Well Ahead* | Store in the Garden | Early Spring Harvest |
| Beetroot | -9 | 15 | x | x | x |
| Broad Beans | -9 | 15 | |||
| Broccoli | -12 | 10 | x | ||
| Brussels Sprouts | -12 | 10 | x | ||
| Cabbage | -12 | 10 | x | x | x |
| Carrots | -9 | 15 | x | ||
| Cauliflower | -12 | 10 | x | ||
| Celeriac | -7 | 20 | x | x | |
| Celery | -12 | 10 | x | x | |
| Fennel | -7 | 20 | |||
| Garlic | -18 | 0 | |||
| Jerusalem Artichokes | -18 | 0 | x | x | |
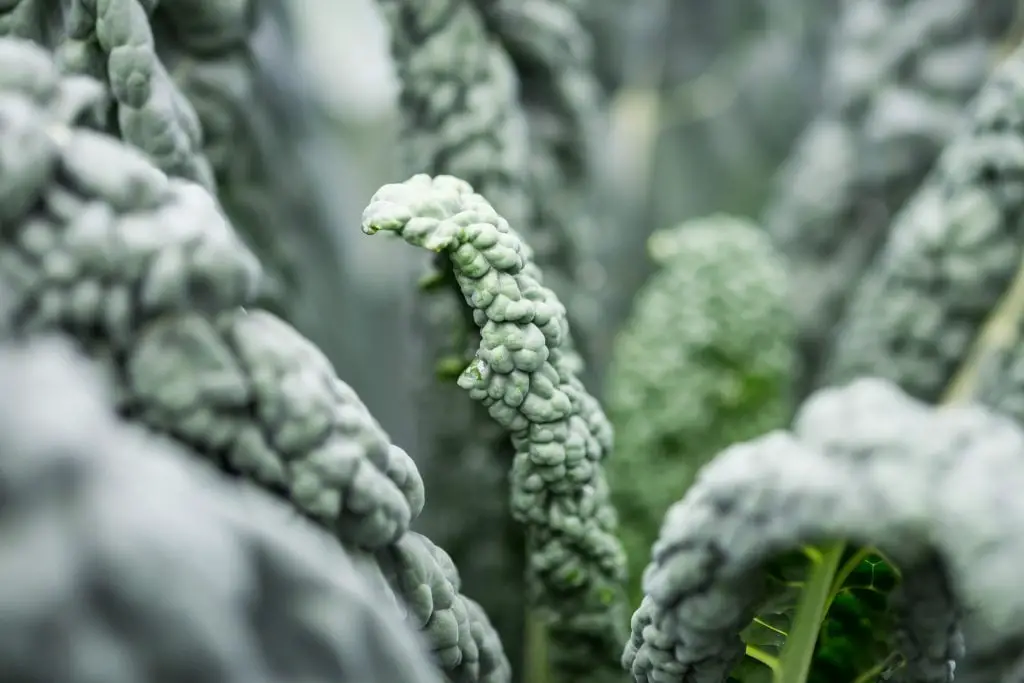
| Kale | -18 | 0 | |||
| Kohlrabi | -9 | 15 | x | ||
| Leek | -18 | 0 | x | x | |
| Lettuce | -9 | 15 | x | ||
| Onions | -18 | 0 | x | ||
| Parsley | -18 | 0 | x | x | |
| Parsnips | -18 | 0 | x | x | |
| Radishes | -12 | 10 | x | x | |
| Rutabaga | -7 | 20 | x | ||
| Silverbeet | -12 | 10 | x | ||
| Spinach | -18 | 0 | x | ||
| Turnips | -12 | 10 | x |
*For those vegetables that require planting well before the period of frost, it typically means that, for a harvest to be taken in Winter, the plant needs to reach a reasonable size before temperatures get too cold. At daytime, temperatures of less than 15°C (59°F), the growth really starts to slow down.

If these plants are planted too late in the season, it will result in the plants being less tolerant of the extreme temperatures. However, if the plant survives, it will resume in Spring, allowing for an early harvest in Spring.
Frost Sensitive Vegetables
The growth of frost sensitive vegetables is restricted to the frost free periods of the year. A list of the most common frost sensitive vegetables, is provided below.
| Frost Sensitive Vegetables |
| Climbing Beans |
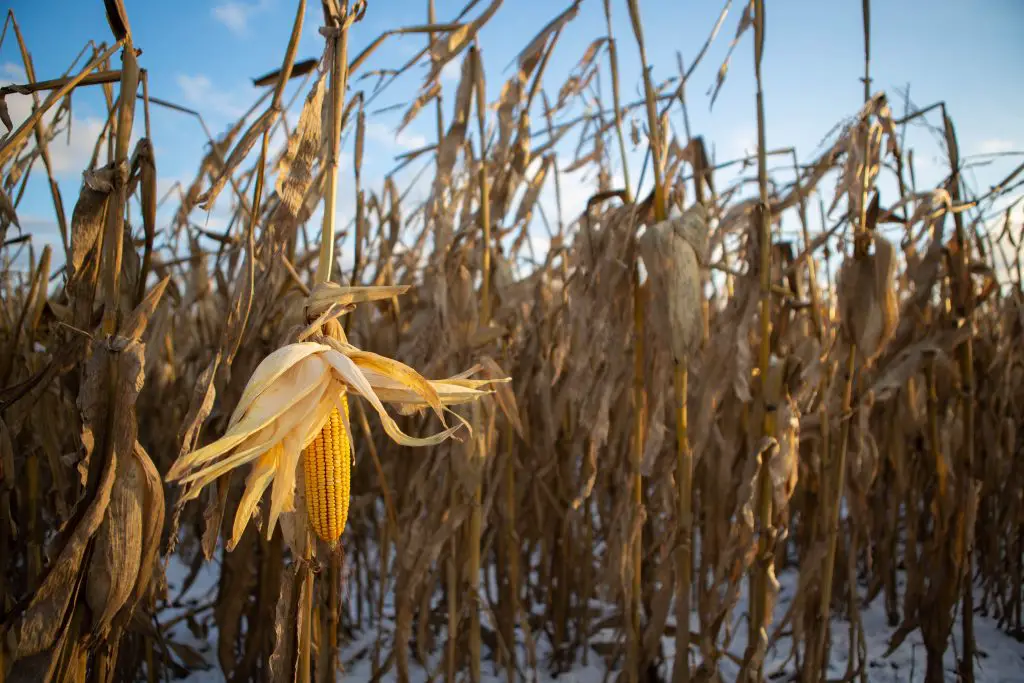
| Corn |
| Courgette |
| Cucumbers |
| Dwarf Beans |
| Eggplant |
| Okra |
| Melons |
| Peppers |
| Potatoes |
| Pumpkin |
| Sweet Potato |
| Tomatoes |
Extending The Season In Your Garden
The period over which vegetables can be grown, can be extended by using a temporary structure such as a Cloche, Cold Frame or Row Covering.
Cloches and Row Covers
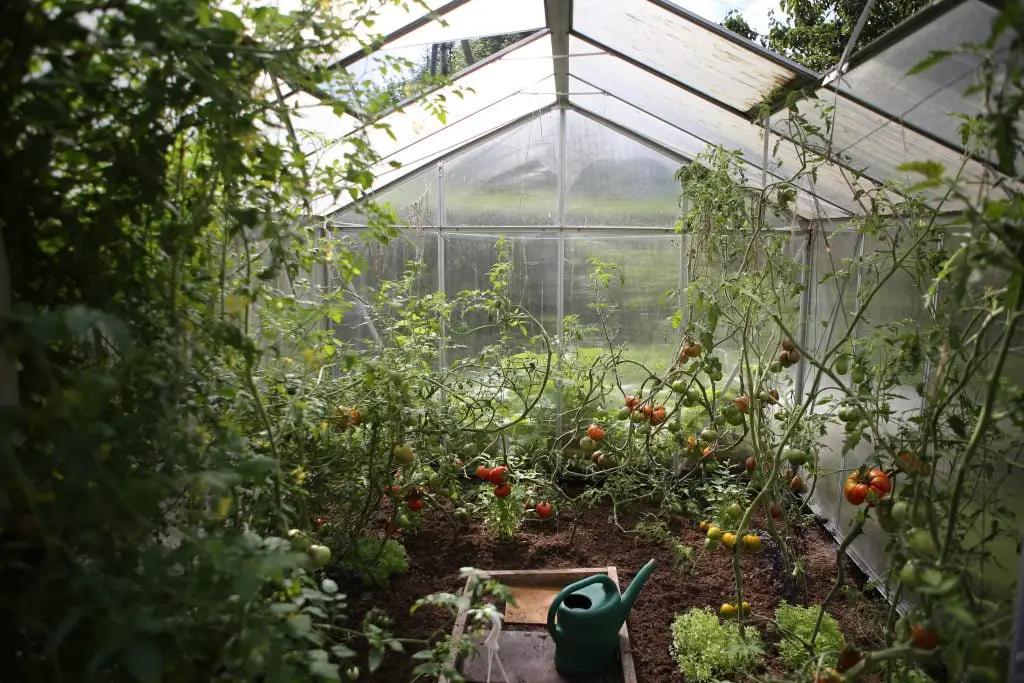
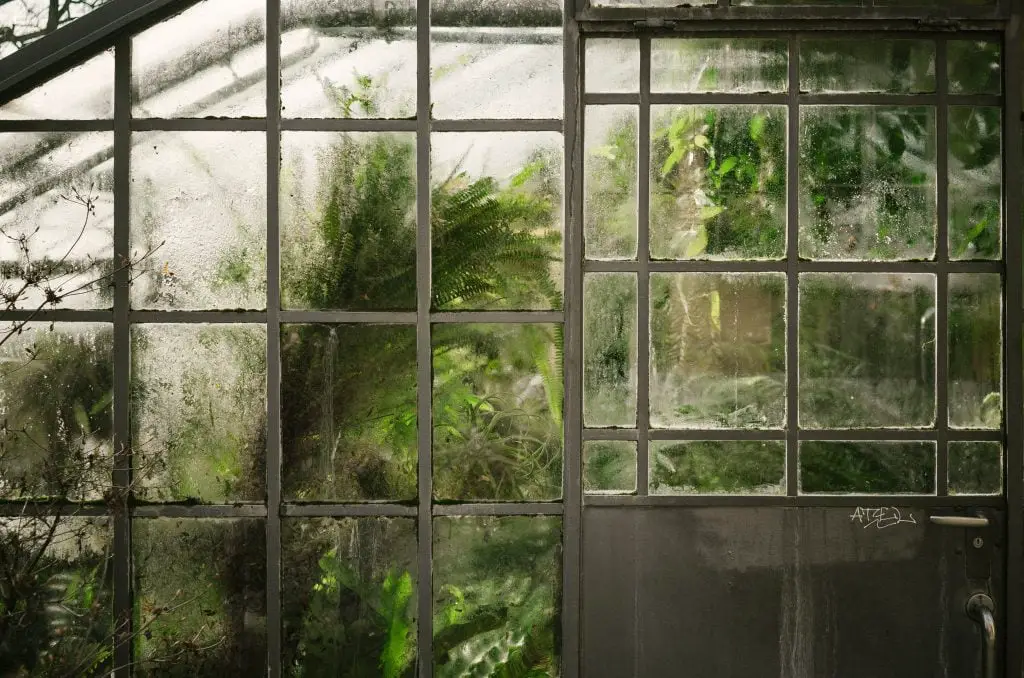
Cloches are small portable protective structures, made of glass or rigid transparent plastic. The Cloches that were originally developed in France in the 19th Century, were bell-shaped, glass jars that were placed over an individual plant, to protect them from the elements.
Cloches function in the same way as greenhouses and poly-tunnels, but on a small scale. They extended the season by trapping solar radiation and moisture evaporating from the soil and plants, however, unlike cold frames and mini-greenhouses, they are easy to move around.
Today the term now encompasses tunnels and other temporary structures, that are used to protect rows of low growing vegetables, fruit and cut flowers.
Cloches and row covers are most commonly used at the start of the season to cover seedlings, to accelerate the development of frost sensitive plants such as Aubergines, Tomatoes and Peppers. Cloches also offer a good environment for cuttings and germinating seed.
Advantages
Temperature – The use of Cloches, increases the temperature of the soil by up to 10°C, in the localised area. In Spring, this will help to accelerate the germination of direct-sown crops by 10-14 days. It also reduces the amount of heat lost at night, resulting in an earlier harvest, usually 3-4 weeks with most crops. In the latter part of the season, it will also extend the cropping season by 3-4 weeks.
A useful tip when using Cloches at the start of the season, is to put them in place, at least one week before any crops are transplanted or sown into the soil. This will allow temperatures underneath the Cloche to rise, before planting, accelerating the rate of germination and growth in the first week or so.
Weather Protection – Another important role Cloches play is to protect the plants from the physical battering associated with hail, snow and wind. Cloches prevent the hail from damaging young plants directly, but also reduces the indirect damage to soil structure and the contamination of plants, caused by soil being splashed onto the leaves. Protection from wind also increases the growth rates and leaf surface area. This promotes the production of softer leaves, which increases the quality of the harvest in leafy crops such Lettuce and Spinach.
Pest and Disease Protection – Cloches provide a physical barrier against a range of pests, which include slugs and snails, birds, rabbits and deer. Cloches will provide some protection against insects, but will not completely eliminate any problems caused.
Disadvantages
While cloches are generally beneficial, there are a couple of disadvantages. Humidity levels within Cloches are higher, which encourages the growth of weeds. It also creates an ideal environment for some diseases, such as Powdery and Downy Mildew. Pollination of some fruit plants, can also be effected. This can be overcome by hand pollination and using Cloches with good ventilation.
Single Plant Cloches – There are a number of commercially available Cloches on the market, however, they can be made easily from materials that will be laying around your home. Any transparent or semi-transparent plastic containers, such as a 2 Litre Soft Drink Bottle or 3-4 Litre Milk or Fruit Juice Container, would be suitable for this purpose. Simply remove the base of the container with a knife or a pair of scissors, and place it over the top of the seedling with the lid removed. It isn’t the most attractive look, but it works.
If you want a more attractive Cloche, plastic and glass versions are commercially available to buy, that vary in size from 15 cm to 30 cm (6-12 inches) high. The cost of these types of materials varies from $2-$3, up to $20-$30, depending on the quality of Cloches purchased.
However, I would recommend looking at homewares stores, such as Ikea, rather than specialty garden suppliers. These types of stores, offer a range of glass Cloches, designed for cakes, that are perfectly suited to the garden. At the time of the writing of this article, Cloches could purchased for around $10US at Ikea.
It is important to note, that the key disadvantage of glass Cloches, apart from price, is that they require storage, when not in use. If you have a number of Cloches, this is potentially problematic.
Tunnel and Row Cloches
Tunnels are usually made out of a series of small individual hoops, constructed from plastic, high gauge wire or metal rods. The frames are covered with either fleece or a plastic sheet, or some sort. They can be purchased as a kit or as individual components.
Cold Frames are another useful tool that can be used to extend the season, that is relatively inexpensive. Like Cloches, Cold Frames rely on the sun to create an artificially warm space. The ideal location for a Cold Frame, is on a Southern Facing Site (in the Northern Hemisphere), to ensure maximum exposure to sun.
Frames can be built from a range of materials, however frame kits are commercially available. When building them yourself, it is common to make them out of old pallets. If you choose to do this, hardwood pallets are preferable, as they will last longer. For the lid, it is common to use old glass doors however, materials such as Poly Carbonate Sheeting will also work just as well.
There is no standard size for a Cold Frame. The size depends on the nature of the materials you have at hand, the amount of available space, and the crops being grown. However, the width of the Cold Frame should allow you to reach all parts of the interior for weeding and plant care. The Cold Frame design, ideally also allows for passive solar energy storage. One way to achieve this, is by placing black containers filled with water in the frame, to absorb heat during the day, and release it at night.
The front of the Cold Frame should be lower than the back, to tilt the lid of the Cold Frame. This will maximise the light entering the Cold Frame.

