
Are Jerusalem Artichokes Easy To Grow? Jerusalem Artichokes is not the first vegetable that immediately comes to mind with most vegetable gardeners. Many gardeners have either not heard of them or confuse them with the unrelated Globe Artichoke.
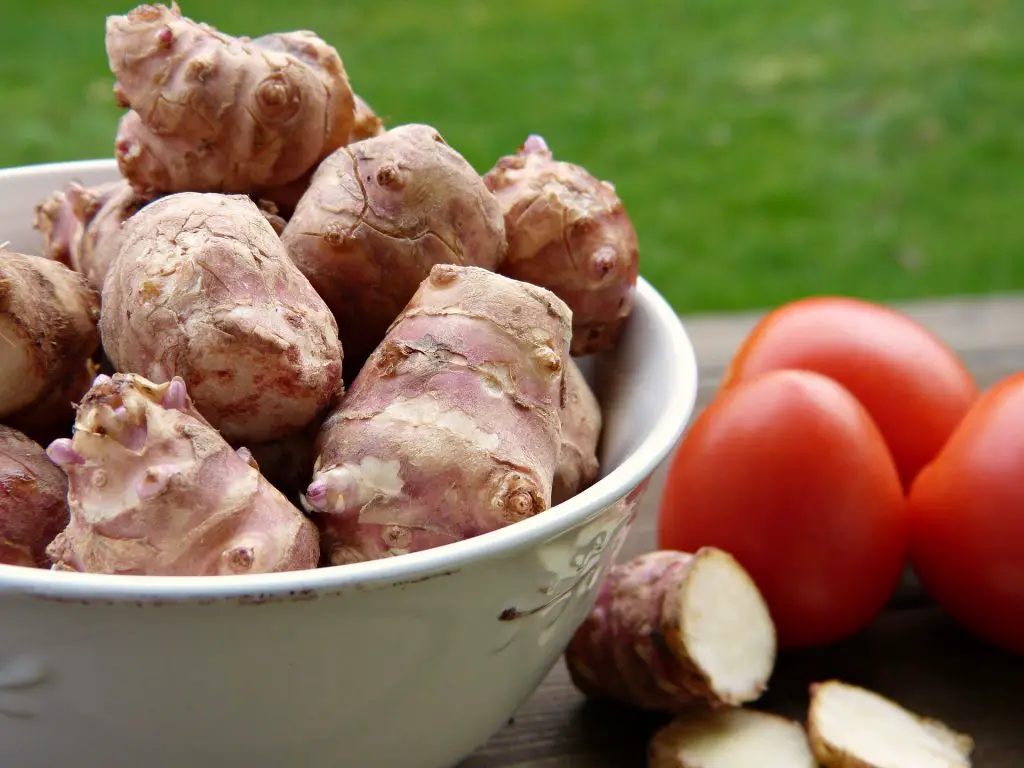
Jerusalem artichokes, also known as Sunchokes, are a root vegetable that is native to North America. They are one of the easiest vegetables to grow and can be treated in a similar manner to potatoes. Existing tubers can be planted 5 to 10 cm (2 to 4 inches) deep around 60 cm (2 ft) apart and they will produce a crop with little or no further intervention.
However, be aware that once you have Jerusalem Artichokes they are difficult to remove and are considered invasive by some people. But despite this they have some distinct advantages over potatoes.
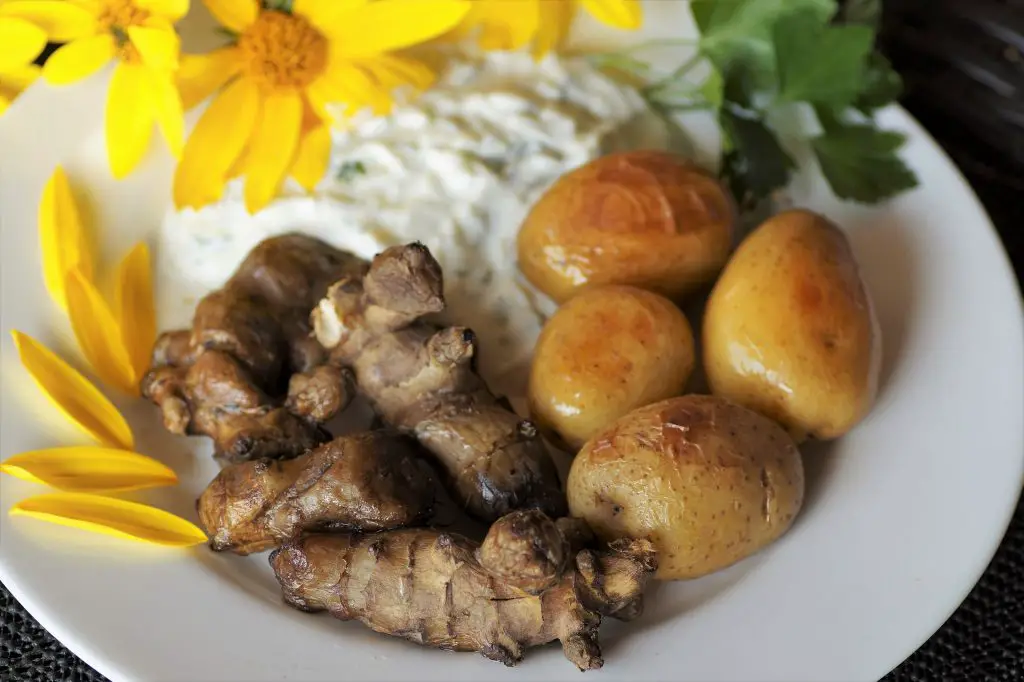
For those people that are diabetic they are high in insulin that suppresses blood sugars naturally. As such they make a good alternative to potatoes as they can be cooked in a similar manner. However, this health benefit is reduced if the tubers are stored as the glycemic index raises to a similar level to potatoes overtime.
How to Grow Jerusalem Artichokes
As mentioned previously Jerusalem Artichokes are an extremely easy vegetable to grow. They are not fussy and the plant will tolerate just about any climate and will grow, in full sun to partial shade. Additionally, they will do well in most soil types but will produce best in rich free draining soils that are not compacted.
As Jerusalem Artichokes are perennial plants it is best to dedicate an area of your garden to them as it is almost impossible to remove every last tuber from the ground. This means they will keep coming up year on year in the same location.
If you are planting them for the first time it is best to plant them a few weeks before the last frost date. Basically, around the same time, you would normally plant potatoes. In terms of soil preparation, there is very little that needs to be done as the plant is extremely tolerant of different soil conditions.
However, we generally recommend applying the No Dig method to the garden bed mainly because it is quick and easy and will suppress weeds. To apply this method start by applying a thick layer, 5 to 10cm (2-4 inches), of compost to the existing bed once a year. The layer will serve to feed the soil as well are acting as a mulch to suppress weeds. This method can also be applied to the creation of a new bed. To read more about this click here.
When planting Jerusalem Artichokes it is best if each tuber you are planting has at least one “eye.” The tubers should be planted around 7 cm (3 inches) deep and around 30cm (1 ft) apart.
Over the next few months, the Jerusalem Artichokes will produce stems that are approximately 2 metres (6 to 7 ft) tall before flowering in late Summer. When considering a location to plant them be sure to select a location that won’t result in the rest of your crops being shaded out.
During the growth period, there is very little maintenance required. The main thing to do is ensure that the bed remains weed-free particularly when the plants are small. As there are virtually no pests and disease issues associated with Jerusalem Artichokes they can be relied upon to produce a harvest every year.
However, to make 100% certain you have Jerusalem Artichokes for the following year throw a tuber or two back in the ground when completing the harvest.
Companion Planting With Jerusalem Artichokes
While it is advisable to dedicate an area in the garden to Jerusalem Artichokes this does not mean that you can not grow other things in the same space using companion planting. One example of this is a variation on the Native American Three Sisters technique in which the Jerusalem Artichokes replace corn. Traditionally, in this technique Corn, Pumpkin, and climbing or Pole beans are grown together.

The Pole beans provide add nitrogen to the soil while Corn (or in this case Jerusalem Artichoke) provides support for the beans and the pumpkin acts as a ground cover.
Other suitable companion plants that may be also used include;
How To Harvest And Store Jerusalem Artichokes
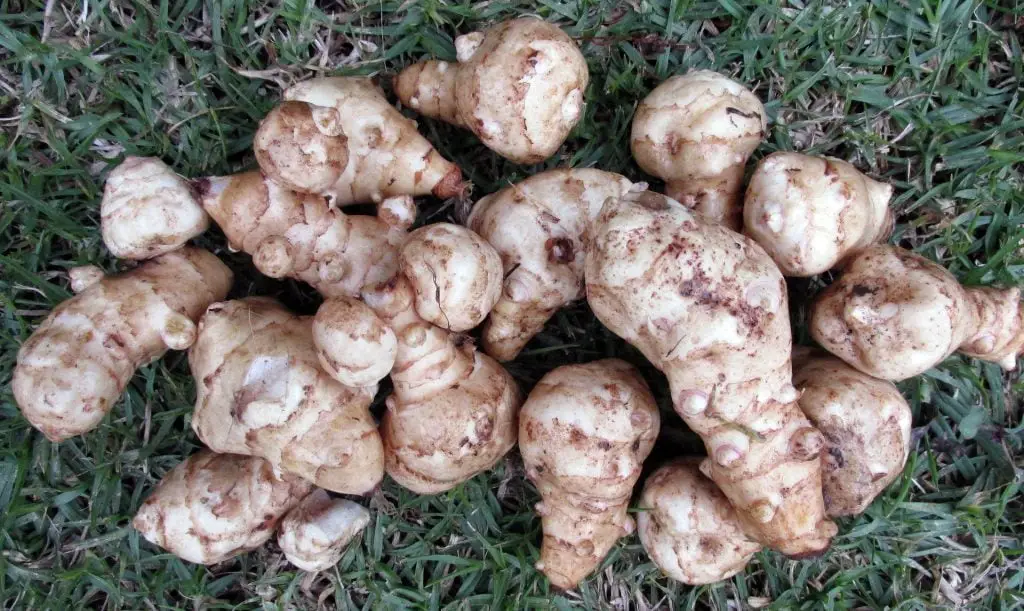
The time to harvest Jerusalem Artichokes is when the foliage begins to die back in mid to late Autumn after the first frost has occurred. This is the preferred time to harvest the vegetable as the frost makes the tuber sweeter, however, it is possible to harvest the vegetable earlier than this.
To extend the harvest in regions with cooler winters it is best to apply an additional layer of mulch to the ground. This will prevent the ground from freezing for a little longer allowing the tubers to be harvested for a few more weeks.
The extension of the harvest period is something that is well worth doing as Jerusalem Artichokes, do not store as well as potatoes. If you intend to store them it is important to handle them with care as they have a tendency to bruise easily.
Jerusalem Artichokes are best stored in a cool, dry, and well-ventilated area away from light. This can include storage in a refrigerator but they also need to be wrapped in dry paper towels to absorb any excess humidity and sealed in a plastic bag. In these conditions, they can be stored for 3 to 4 weeks.
The alternative is to place them in a container of damp sand in a cool room such as a basement. At temperatures approaching freezing the tubers will store for a couple of months.
Other methods such as canning and freezing do not work well with Jerusalem Artichokes because they tend to become discolored and the texture deteriorates.
Can I plant Jerusalem Artichokes From The Grocery Store?
Jerusalem Artichokes are relatively rare and can sometimes be difficult to purchase from a garden center. However, Jerusalem Artichokes can be purchased online through Amazon. Alternatively, they can be purchased from a farmer’s market. These tubers can be used for eating as well as planting.

