How Long Does It Take Pea Seeds To Germinate? Peas are an extremely popular vegetable to eat at home and it was the most dominant vegetable in the British diet before the introduction of potatoes in the 16th century. As a result of this popularity, peas are often grown at home and one of the most common questions that is asked is how long does it take for peas to germinate?
Peas will take approximately 7 to 10 days to germinate at temperatures of 59°F to 68°F (15 to 20°C) according to a study published by the University of California. However, the rate of germination is significantly affected when the temperature Falls to 41°F (5°C) through seeds will still germinate unlike some vegetables. A table showing the speed of germination is provided below for reference.
| Days To Germinate | Temperature (°F) | Temperature (°C) |
| Not Tested | 32 | 0 |
| 36.0 | 41 | 5 |
| 13.4 | 50 | 10 |
| 9.4 | 59 | 15 |
| 7.5 | 68 | 20 |
| 6.2 | 77 | 25 |
| 5.9 | 86 | 30 |
| Not Tested | 95 | 35 |
| Not Tested | 104 | 40 |
Peas prefer relatively cool conditions and therefore are most commonly grown in autumn and spring when the weather is milder. Once the temperatures reach greater than 68 to 77°F (20 to 25°C) consistently the pea plants will stop flowering and start to die back signaling the end of the pea season.
Therefore, it is most common to sow the seeds in late winter or early spring and then have a second sowing in late summer which will allow the peas to grow through the autumn before it gets too cold for flowering.
Peas are most commonly directly sown into the soil as they tend to sprout very quickly, however, if you live in an area where it is extremely cold the seeds can also be grown in trays in preparation for planting out into the garden later on. Sowing into seed trays is also beneficial in the warmer months because it does reduce the amount of time that the plants spend in the garden.
This can be advantageous because at the height of summer there is often little space available in the vegetable garden so planting them into seed trays will help you get them going while waiting for space to free up.

How To Plant Peas
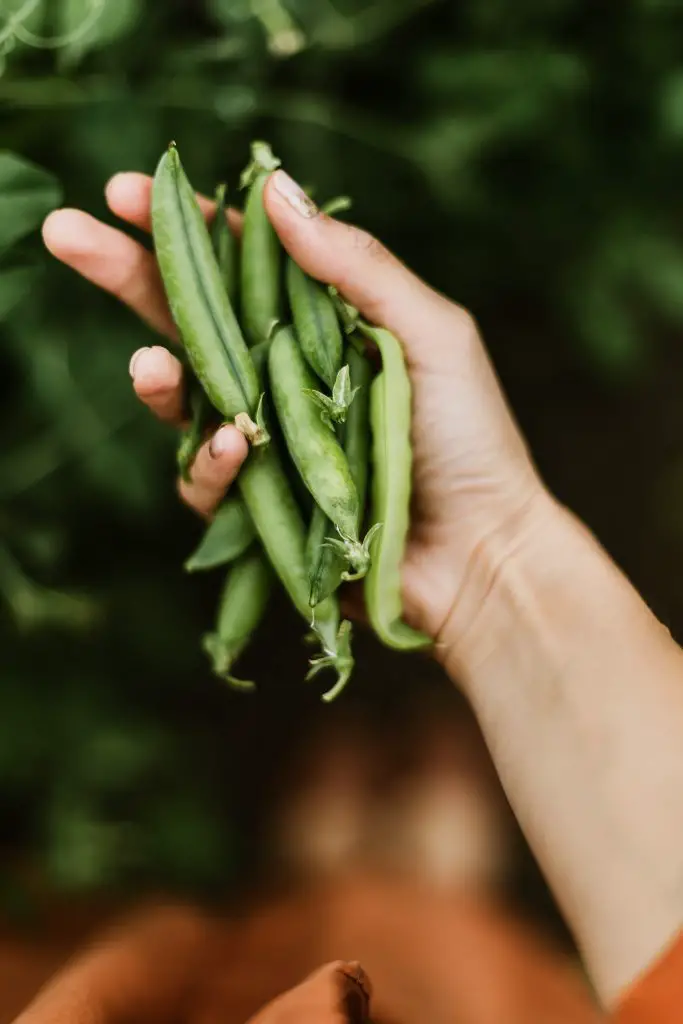
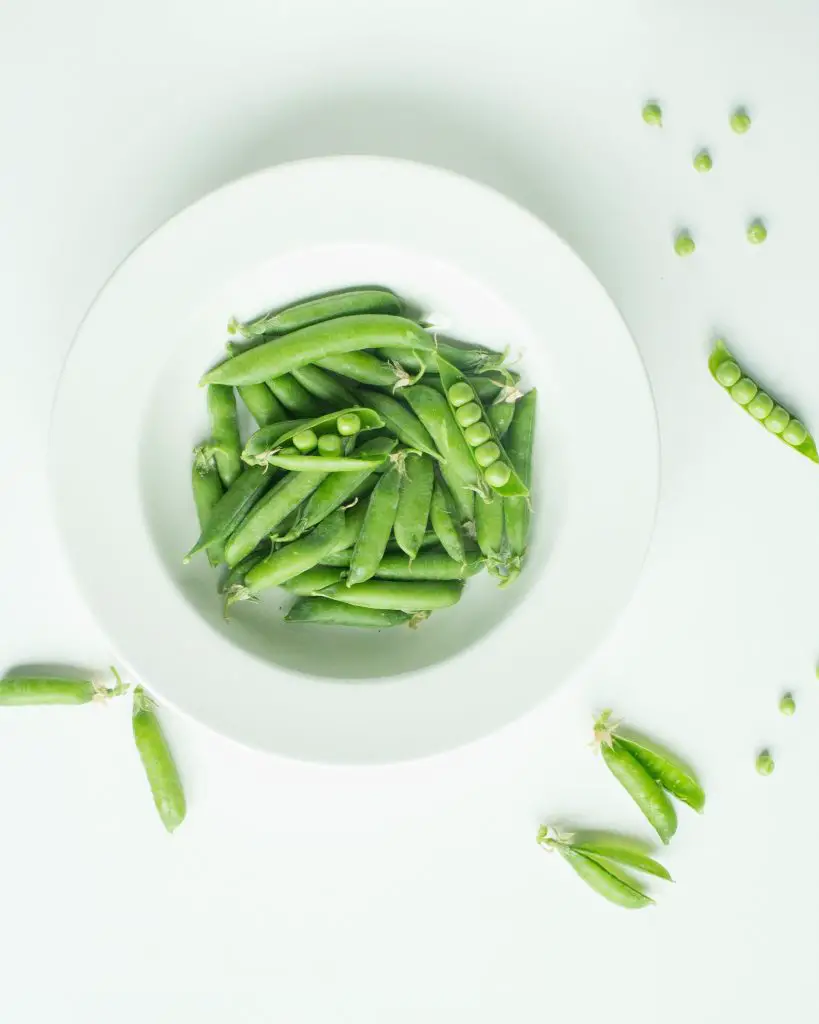
Peas are generally a very easy vegetable to grow irrespective of the type of pea that you grow whether it is snow peas, snap peas, or peas for shelling. I personally favor snow peas and snap peas for the simple reason that you can eat the peas without having to shell them which is an extremely time-consuming task.
However, irrespective of the type of pea that you choose to grow the process of growing them is largely the same. As mentioned above peas can be sown directly into the garden and they will grow quite happily. The easiest way to do this is to create a furrow that is approximately an inch deep and then sprinkle the peas into the furrow and cover them over at a depth of an inch or so.
If you are growing peas in a seed tray it is recommended that you plant 2 to 3 seeds per cell into a good quality seed raising mix. Generally, the peas will germinate relatively quickly and you can usually get away with not placing slug or snail bait around these plants because they’re not as attractive to eat as many other vegetables.
However, birds and mice have been known to eat the seedlings so one of the methods that is used to keep these types of animals out is simply to place sticks onto the area where the peas have been planted, the more prickly the better.
In terms of soil conditions, peas are very forgiving and will generally grow in most types of soil and will be beneficial for that soil as they are nitrogen-fixing plants which means that they take nitrogen from the air and deposited it in the soil through their root system. However, if you do want to improve the soil we recommend adding a bag of compost prior to planting.

Most peas that are grown will typically reach a height of anywhere between 3 and 6 ft depending upon the specific variety which means that they do need a support structure to keep them upright which will make the pods easier to pick. The most common method that is used to do this is using a trellis which is usually pegged up along the line of the planting with stakes.
However, one of the problems with using a trellis is that the pea plants have tendrils that will cling to the trellis. However, they are usually not strong enough to hold the plant in place by itself when it reaches full size. This means that it is common to see pea plants flopping over onto the ground. To prevent this most people end up tying horizontal lines of string across the face of the trellis to keep plants upright as tying them individually is usually too time-consuming.
An alternative method to this is to simply use posts along the planting line every 2 to 3 feet. Horizontal string lines approximately 4 inches above the ground can then be run between the posts on both sides of them creating parallel lines that can be used to hold a plant in place. As the plants get progressively taller a new line can be added to the post another 4 inches above.
This method will keep the pea plants in position without the need to use a trellis and is a method that I have seen being used by well-known gardener Charles Dowding.

Harvesting Peas
The pea plants will produce flowers after a time which will be quickly followed by the formation of pods. The pods will initially look flat similar to a snow pea before the peas inside begin to develop seeds. If you are growing snap peas or shelling peas generally you need to wait until the pod is a width slightly thicker than a pencil before harvesting.
The peas can be eaten directly from the plant which is when they’re at the sweetest. This is because the sugars within the peas will quickly convert to starch over time once the pods have been picked. It is, therefore, best to pick and eat the pods immediately.
In terms of the frequency of picking it is best to pick every couple of days once the pea plants begin to produce pods as this will encourage the formation of additional flowers. The harvest period for peas will generally not last 4 to 6 weeks before the plants stop producing.
During this period it is advisable to put aside at least some of the pods to collect seeds for the following year. To save the seeds all that needs to be done is to place the pods in a dry location and allow them to dry which will take several weeks. At this point, seeds can be snapped out the pods which will form the seeds for the following year.
I hope you found this article useful and have great success growing peas at home, if you have any additional questions or comments please leave them in the section below.
Relevant Articles
How Many Snow Peas Does A Plant Produce?
Can You Plant Peas From The Grocery Store?
What’s The Difference Between Sweet Peas And Green Peas? (What You Need To Know)
What Is The Sweetest Pea To Eat?
