How Many Garlic Bulbs Can You Grow From One Bulb? Garlic is one of those herbs that are extremely easy to grow and require little effort year on year to produce a crop. However, it is often difficult to work out how many bulbs of garlic are needed to be saved or purchased to ensure that you have enough garlic to plant for the following year. To calculate this you need to know how many new Garlic bulbs can be created from each existing bulb.
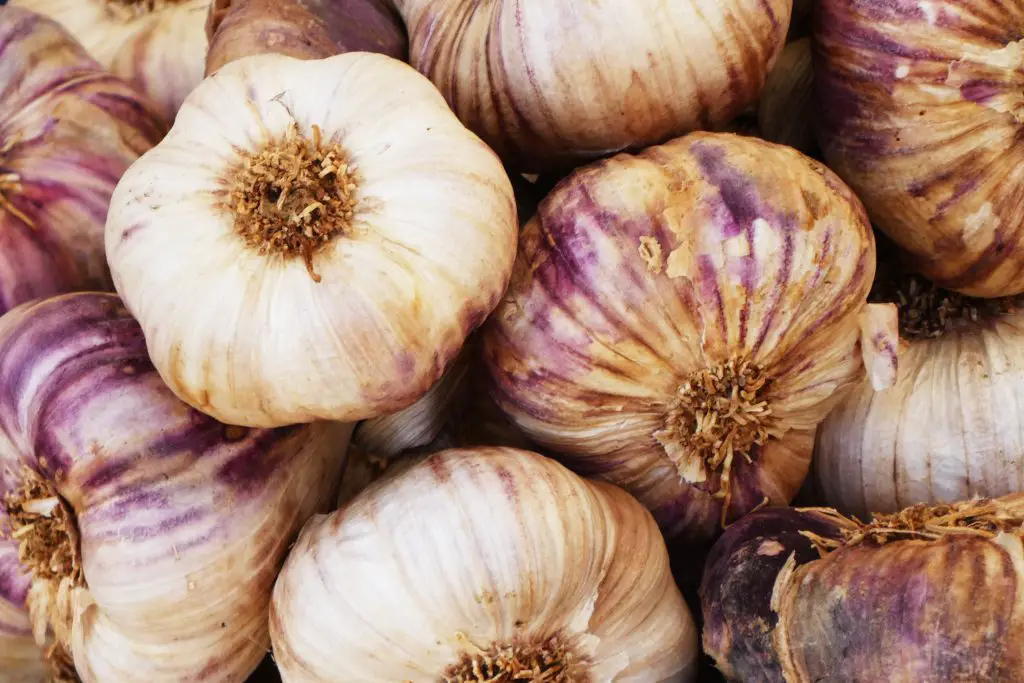
Each Garlic bulb is grown from a single clove of Garlic that is replanted in the garden. Fully developed Garlic bulbs usually have between 8 and 10 cloves of Garlic in them which means it is possible for a single bulb to create 8 to 10 new bulbs. To ensure there is a year-round supply of garlic you typically need to plant 15 to 20 cloves per person, which means that you need to save or purchase 2 to 3 bulbs per person.
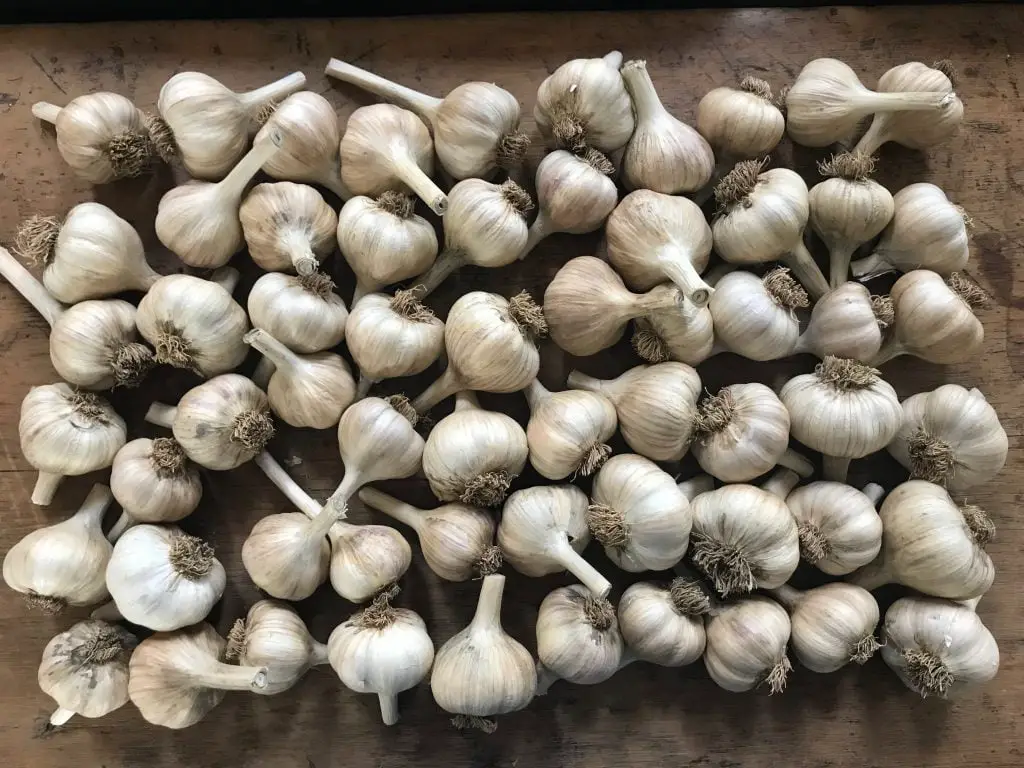
However, if you are saving bulbs from your own crop it is important to select the largest bulbs you have for replanting the following year as they will have the largest cloves. The size of the cloves will encourage the formation of high-quality bulbs the following year.
Additionally, when putting aside your bulbs for the following year it is best to add one or two extra bulbs to make 100% sure you have enough cloves to plant for the following year.

How To Grow Garlic
Garlic can be planted in Autumn or Spring however this timing difference will produce vastly different results with respect to the clove production within the bulb. For Garlic to form multiple cloves within the bulb it needs to undergo a process called vernalization, which occurs when the cold temperatures of winter create stress on the bulb resulting in division into individual cloves.
This division of the bulb to create cloves is necessary to provide clove stock for the subsequent years planting. However, if the cloves are planted in Spring the vernalization process will not occur and the bulb produced will only have a single clove. To read more about how to manage Spring planted Garlic click here.
If you growing your own Garlic for the first time it best to purchase Garlic rather than attempt to grow it from store brought bulbs. One good place to purchase Garlic bulbs is at Thompson and Morgan as they have a broad range of Garlic and also offer Elephant Garlic which is worth a try. Elephant Garlic produces huge bulbs the size of your hand that have a milder flavor than other Garlic.
Once the Garlic bulbs have been either purchased or selected from the previous years’ crop for replanting, you will need to split the Garlic bulb up into individual bulbs. When dividing cloves discard any really small cloves as they will not produce a good quality bulb the following year and also do not remove the skin of the cloves.
When planting the cloves into the soil they should be planted at a depth of approximately 1 inch (2 to 3 cm). The pointy end of the clove should be facing upward and the base plate or bottom of the clove should be facing downward.

In terms of spacing, cloves should be placed spaced at least 5 to 10 inches (10 to 20 cm) apart. I personally prefer a slightly wider spacing as it allows a hoe to be used between the bulbs which makes weeding much quicker.
As discussed earlier in the article the timing of the planting can be in either Spring or Autumn, though Autumn is preferred. In regions where the winters are cold and the ground freezes the timing of Autumn sowings can be a little tricky. Ideally, Garlic needs to be planted early enough to allow the new roots of the clove to become established before the big freeze arrives, but not so early that the top growth develops too much.
If the foliage of the Garlic is destroyed by cold weather it will re-grow without any negative impacts, however, if this event occurs more than once due to too much top growth, the yield achieved will be decreased significantly.
The general rule of thumb for planting Garlic is to put the bulbs in 2 to 3 weeks after the first frost before the ground begins to freeze. If planted at this time the Garlic will be able to withstand extreme temperatures as low as -30°F (-35°C).
When planting garlic it is best to avoid locations where the Alliums family (Onion, Leek and Chives) have been grown in the last 1 to 2 years as this will reduce the chances of disease. If you want to learn more about how to manage pests and diseases through crop rotation click here.

The other consideration for location is the amount of sunlight that the area receives, which should be at least 6 to 8 hours each day. Additionally, the soil that the cloves are planted into should contain plenty of organic matter and be moist, but not water-logged, as this may cause the cloves to rot.
The soil management technique which I find the most effective in creating these conditions is the No Dig method. This is because it reduces the amount of weeds that appear and the time required to maintain your garden. To read more about this technique click here.
Once the weather starts to improve in early spring, green shoots will appear relatively quickly, these shoots usually reach a height of 6 to 10 inches (15 to 25 cm). These shoots will thicken during Spring, before the tops begin to yellow and die back, in late Spring or early Summer. The dieback of the foliage is an indicator that the Garlic cloves are ready to be harvested.
How To Use And Store Garlic
If you are growing Garlic that was sown in Autumn it can be stored for up to 9 to 12 months in a cool dark location. However, the shelf life does vary depending upon the type of garlic being grown. Soft Neck Garlic, which is the variety that is most commonly purchased from the grocery store, can be stored for up to 9 months whereas Hard Neck Garlic will only store for around 6 months.
Hard Neck varieties have a stalk that runs through the center of the bulb that becomes rigid as it matures whereas Soft Neck varieties have stalks that are made up of leaves. These leaves remain soft and flexible at maturity hence the name Soft Neck.
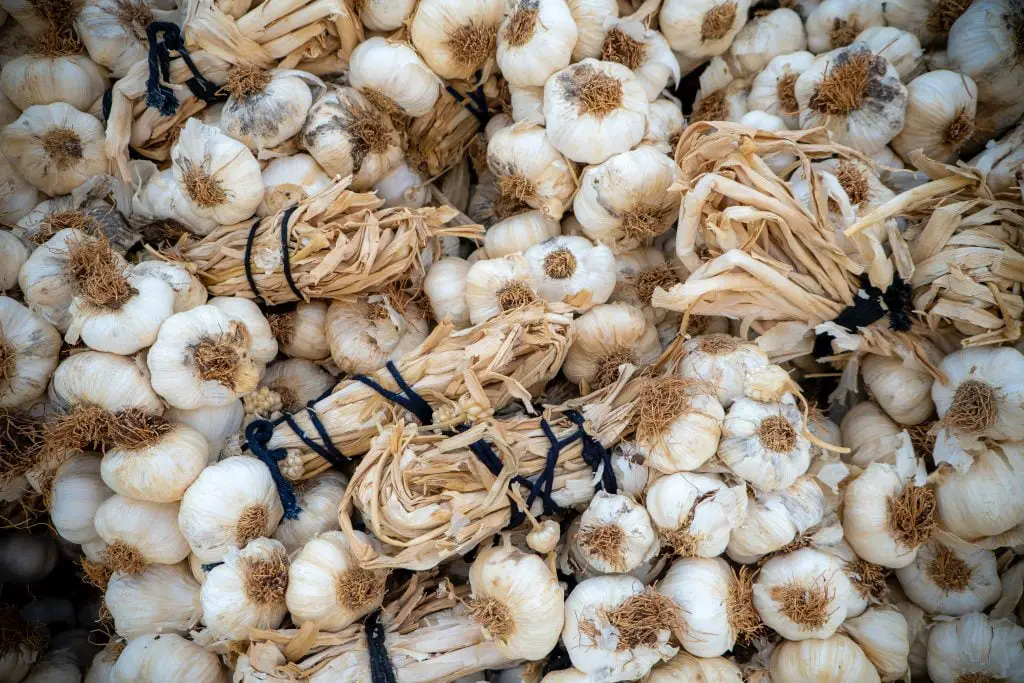
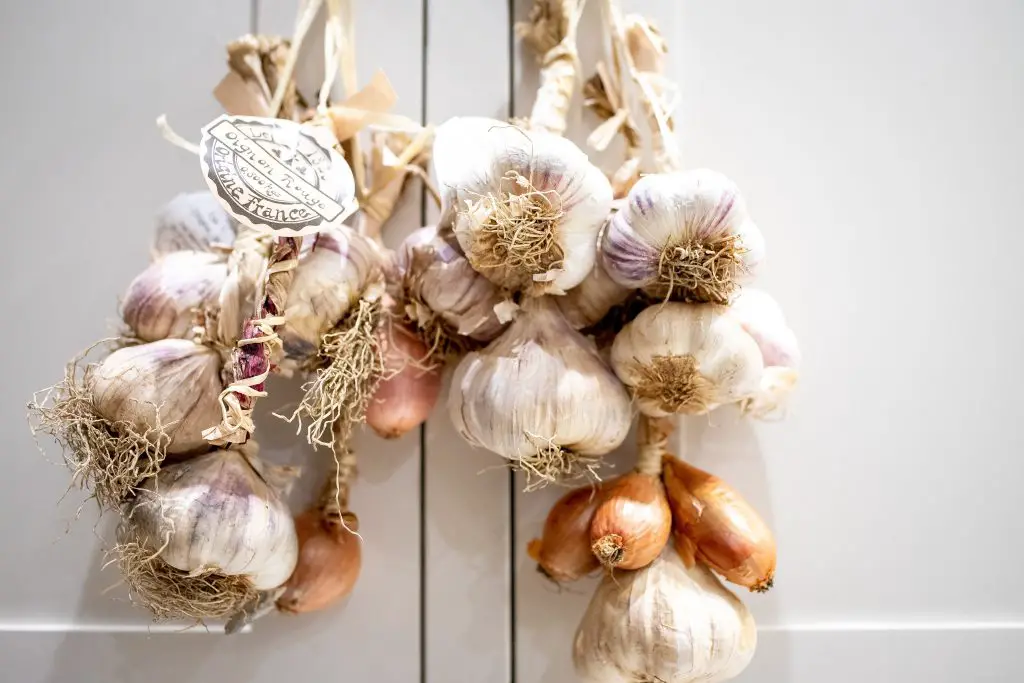
When storing Garlic it is important not to store it in a refrigerator as Garlic needs well-ventilated location to avoid the formation of mold. The ideal containers to store Garlic in are mesh bags or alternatively, they can be braided onto a string. The key advantage of braiding is it prevents vermin from getting to the Garlic when hung up high.
To braid Garlic start with a single bulb that is tied onto the end of a piece string, by its stem. Attach the other end of the string to the point you wish to hang it from, which could be a hook on a wall or to ceiling rafters.
The next step is to select two Garlic bulbs of a similar size and tie them together using the dried stems. When attached to each other they should be around 2 inches (5 cm) of stem between the bulbs. Wind central section of stem around the string, once or twice and push the Garlic bulbs downwards until they come into contact with the first bulbs. Repeat this process, until the braid has reached the desired height. To learn more about the ideal storage conditions, additional details can be found in the article by the University of California.

The other alternative method to store Garlic is to freeze it. This can be done by freezing whole cloves (peeled or unpeeled) or freezing Minced Garlic. To learn more about this, go to https://feelgoodfoodie.net/recipe/freezing-garlic/.
