
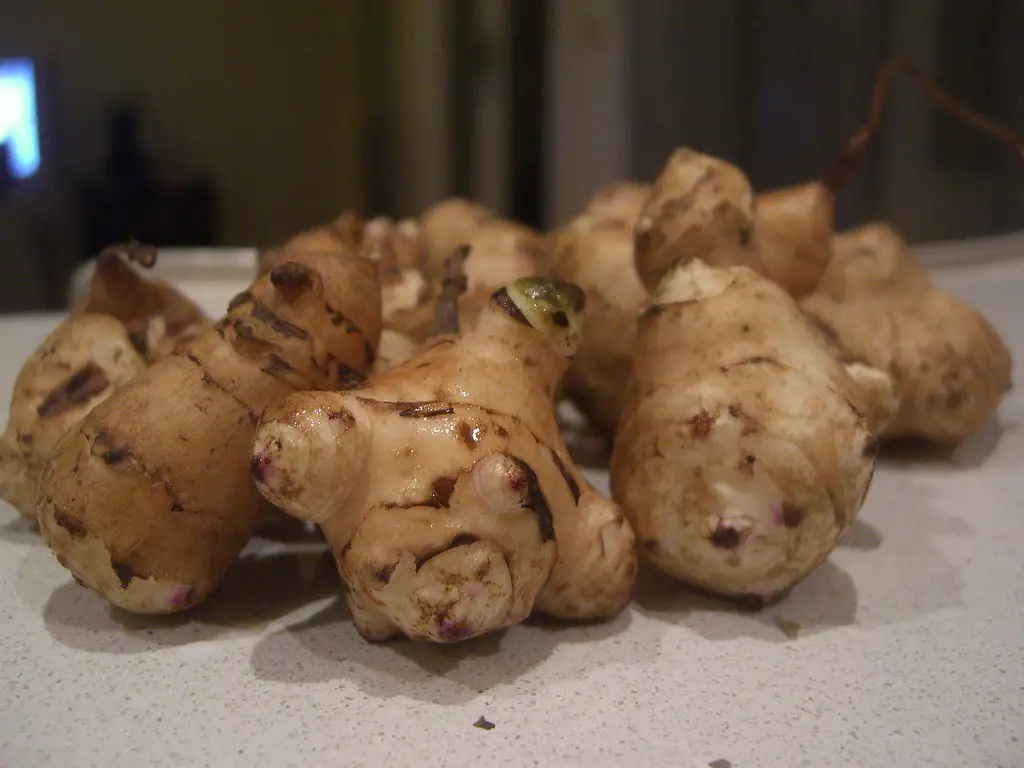
How Much Does A Jerusalem Artichoke Yield Per Plant? Jerusalem artichokes are a lesser known root crop that has distinct advantages over potatoes because of its reduced carbohydrate loading and the presence of insulin in the tubers. Both of these factors make Jerusalem artichokes an attractive alternative to potatoes. So if you’re going to grow them at home how much does one Jerusalem artichoke yield in a single season?
A single tuber of Jerusalem artichoke that is planted in the ground will produce a yield of approximately 3 lbs (1.5kg) in a single season according to a study carried out by Moscow Timiryazev Agricultural Academy. In this study, 15 different varieties of Jerusalem artichoke were tested with the highest result being 8.63 lbs (3.92kg).
These results compare favorably with the yields that you typically get from main crop potatoes which are renowned for producing an excellent yield of approximately 4lbs (2kg) per seed potato planted. The only disadvantage in growing Jerusalem artichoke compared to potatoes is that potatoes generally have a longer shelf life.
Additionally, much of the health benefits of growing Jerusalem artichokes do reduce with the age of the tubers when they’re stored as much of the fiber within the Tuber converts to carbohydrates over time when stored.

The other distinct disadvantage of Jerusalem artichokes is that they are also known to make you fart if you eat too many of them which is a problem that is not normally associated with potatoes. For your reference a list of the varieties tested and their results is provided in the table below.
| Variety | Yield |
| Vvlgorskiy | 1.53kg/3.37lbs |
| Diyeticheskiy | 2.68kg/5.90lbs |
| Nadezhda | 3.32kg/7.31lbs |
| Nakhodka | 1.47kg/3.24lbs |
| Podmoskovniy | 2.20kg/4.83lbs |
| Sireniki | 2.22kg/4.89lbs |
| Skorospelka | 2.28kg/5.01lbs |
| Blank Brekos | 2.62kg/5.77lbs |
| Interes | 2.78kg/6.12lbs |
| Interes 21 | 1.56kg/3.42lbs |
| Kaluzhshiy | 1.64kg/3.62lbs |
| Korenevskiy | 2.97kg/6.54lbs |
| Novost VIRa | 3.92kg/8.63lbs |
| Tadzhikskiy | 2.63kg/5.79lbs |
| Violet de Rense | 1.184kg/2.60lbs |
| Shpindle | 2.96kg/6.50lbs |
How To Grow Jerusalem Artichokes
Jerusalem artichokes are very easy to grow and really require virtually no time or effort to produce a crop which makes them similar to potatoes. If you are planting Jerusalem artichokes for the first time most people typically plant them in mid-spring around the time of the last frost.
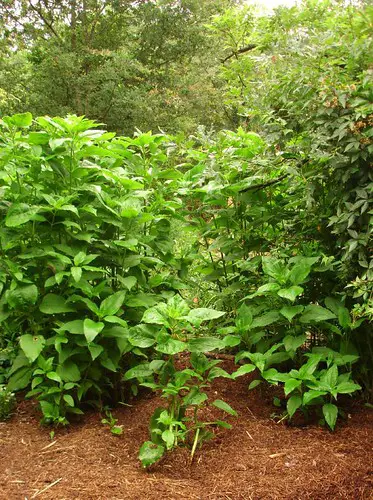
The plant should typically be placed in a location that is warm and sunny as these plants are a member of the sunflower family and will produce flowers during the season. In terms of soil conditions, the soil should ideally be rich moist, and free-draining with contain plenty of nutrients that will allow the plants to maximize its output.
The tubers should be planted at a depth of approximately 2 inches and they should ideally be spaced approximately a foot apart to provide space for the plants to produce as many tubers as possible.
Once the plant is in the ground it is important to mulch the area well to minimize competition with weeds. When this is done there is virtually no maintenance required other than to ensure that the soil remains moist by watering the plants occasionally.
Typically what you’ll expect to see is that the plants will produce shoots that are between 4 and 6 ft tall depending upon the variety. These shoots will over time produce flowers in the middle of summer before they begin to die back.
Harvesting The Plants
Once the foliage has died back completely the tubers can be dug up with a spade however to ensure that you do not damage any of the tubers is a good idea to mark their location with a stake before they die back.
When digging the plants up it is best to start approximately a foot from where you think the tubers are as this will ensure that you do not damage any of them when digging them up.
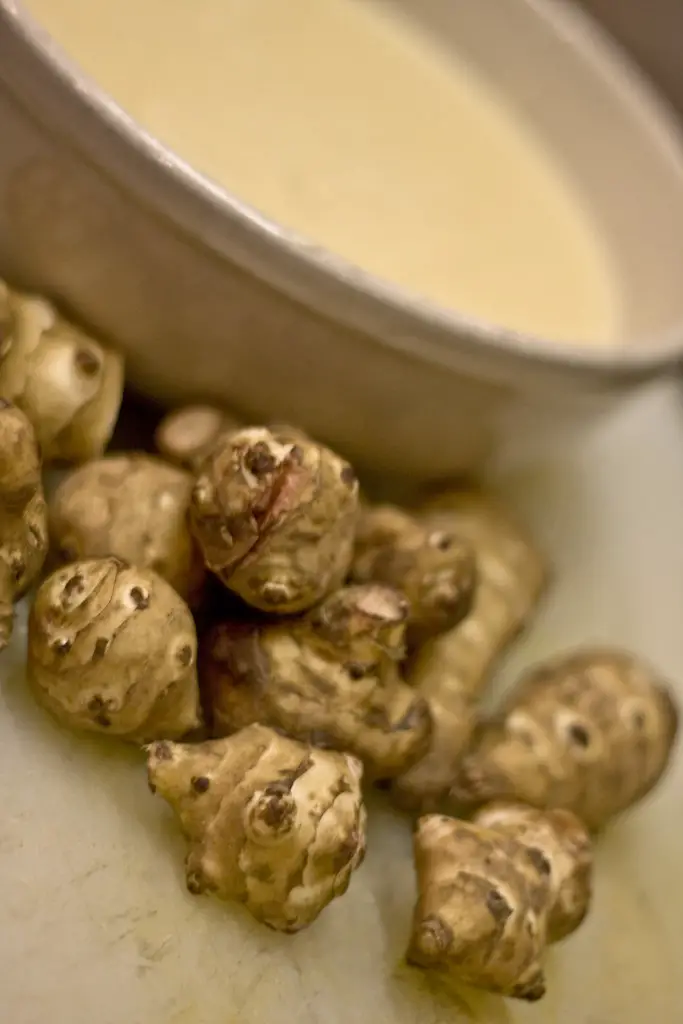
Once the tubers have been lifted with the spade it is a good idea to remove all of the soil on them before storing the tubers for eating later on. At this point is advisable to select the best quality tubers and replant them into the ground for next year.
How To Store Jerusalem Artichokes
Jerusalem artichokes are best stored in a cool dark location in damp sand. The damp sand will mimic the conditions that the tuber is experiencing underground maximizing their shelf life.
When placing the tubers into the container start by creating a thin layer of sand at the base of the container that is approximately 2 inches thick place the tubers into the sand carefully ensuring that they are not in contact with one another. The reason this is important is if one of the tubers starts to rot it will not affect other tubers from the batch.
Once the tubers are in position then a layer of sand can be placed on the tubers to cover them completely. Additional layers can then be placed on top of this until the container is full. If the plants are stored like this they will typically last somewhere between 2 and 5 months depending upon the storage conditions.
Maximizing The Output Of Your Garden
Most Gardeners will dedicate a specific location to the growth of Jerusalem artichokes which means that there is only one crop produced from that space in a year. However, if you want to get more out of your garden you may also consider companion planting the same area with compatible plants.
One of the most common things to do is to plant things like pumpkins, watermelons, or cantaloupes with climbing beans and the Jerusalem artichokes. This method is a variation on the traditional three sisters method that is used by Native Americans. Traditionally, this is done with corn pumpkin and climbing beans however Jerusalem artichokes can be used to substitute for corn in this planting scheme.
The advantage of planting these three crops together is that they provide complementary benefits to each other. The climbing beans provide additional nitrogen to the pumpkins and Jerusalem artichokes while pumpkins provide a ground cover that reduces moisture loss and suppresses weeds, and finally, the Jerusalem artichokes provide a structure for the beans to climb up allowing you to harvest three different crops from the same place.
I hope you found this article useful and have great success with your Jerusalem artichokes, if you have any specific questions or comments please leave them in the section below.
Relevant Articles
Are Jerusalem Artichokes Easy To Grow?
Are Potatoes A Root Vegetable?
Can You Compost Potatoes? Or Will They Start Growing?
Photo Credits
“Jerusalem Artichokes tubers” by allispossible.org.uk is marked with CC BY 2.0.
“Adelaide. Jerusalem artichoke flowers and bees March 2020.” by denisbin is marked with CC BY-ND 2.0.
“Jerusalem Artichokes Puree with Apple and Spices: Finished dish” by Indiana Public Media is marked with CC BY-NC 2.0.
“Jerusalem Artichokes with thick mulch” by hardworkinghippy : La Ferme de Sourrou is marked with CC BY-SA 2.0.
“Jerusalem Artichokes from Kenny’s garden” by avlxyz is marked with CC BY-SA 2.0.
