
Why Won’t My Parsnip Seeds Germinate? For many gardeners, one of the most frustrating vegetables to grow is Parsnip. It is common for some gardeners to sow Parsnips multiple times, and have nothing come, or experience very patchy germination. A similar experience occurs with Carrots and Parsley, as they come from the same family. To read more about this, go to https://planyourpatch.com/tricks-to-planting-carrot-seeds/.
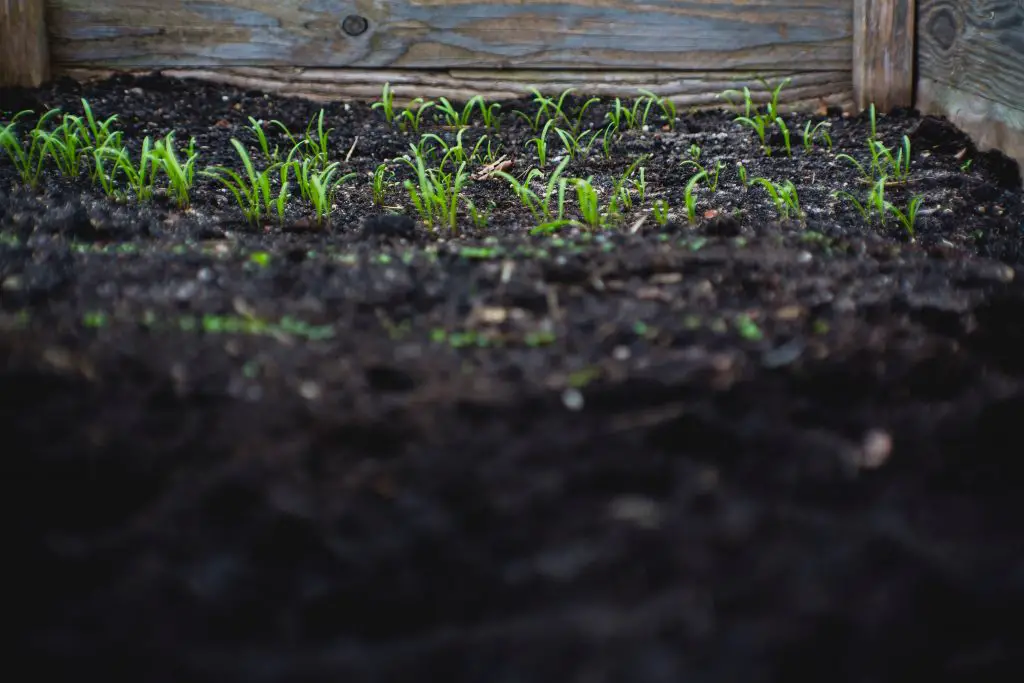
Parsnips are generally slow to germinate, so when they do come up, it is often difficult to tell what are weeds, and what are Parsnips. Additionally, like Carrots, it is one of the few vegetables that is not suited to be planted in trays, as the process of transplanting can damage the taproot.
The main reason Parsnip seedlings do not appear is insufficient moisture during germination. This occurs frequently because Parsnip seeds are sown into the soil, at a depth of 0.5-1 inch (1-2 cm). At this depth, it is easy for the seeds to dry out, particularly in hot weather. The best method to ensure consistent germination is by priming the seeds, by pre-soaking them in water.
Additionally, it is generally recommended, that the planting of seeds not be attempted, unless the temperature range is between 4-26°C (39-78°F), to ensure that the seeds remain in a moist environment, for a sufficiently long period, to ensure germination.
The other potential problem that may impact seed germination, is the formation of a crust on top of the soil. This most frequently occurs, when rain causes the soil to compact and form a crust. This can also occur when heavy overhead irrigation is applied to the soil.
To avoid these problems, there is a couple of techniques that can be used to ensure reliable germination.
How To Ensure Parsnip Seeds Germinate
The best method to ensure a reliable harvest is to germinate the seeds, before they go into the ground, which requires you to pre-soak the seeds and germinate them, on a damp towel. The seeds will be primed and ready to go, in approximately 3 to 4 days. This will ensure that the germination rate increases dramatically.
Priming The Seeds
Priming the seeds, prior to planting, start by soaking Parsnip Seeds in water, for approximately 40 minutes to 1 hour. After they have been soaked, transfer them onto a damp paper towel and place them in a sealed airtight container, or an old takeaway or Tupperware container. Sealing the container will ensure that the environment remains humid, throughout the process. Seeds can be purchased from Seeds Now or St Clare Seeds in the US or Thompson & Morgan in the UK.
The easy way to achieve this is by pouring the desired amount of seeds into a glass and adding just enough water to submerse the seeds. At that point, it may be necessary to agitate the water, with an Icypole stick to ensure all the seeds get wet.
Place a dry paper towel in the bottom of the plastic container, and transfer the seeds to the container, by pouring the contents of the glass directly into the container. At this stage, it is common to see the seeds sticking to the sides of the glass, the remaining seeds can be transferred, either by scraping them out of the glass using an Icypole stick, or bread and butter knife, or adding additional water to the glass to flush them out.
The use of the water will be dependent upon how wet the towel in the bottom of the container is, as it needs to be damp, not sodden.
Once the seeds are sealed in the container, leave it at room temperature for at least 3 days, before planting the seeds out into the soil. At 3 days, it is unlikely that you will see significant germination, however, this time in moist conditions is often enough, to ensure a high germination rate.
When transferring the Parsnip seeds to the soil, make a furrow in the soil 1 to 2 cm deep, and water the bed well. Place the seeds in the furrow and cover the seeds over with soil. Water the bed again, and then also over the next few days to ensure it remains moist.
Pre-Germination Of Seeds
If priming the seeds fails, then Pre-germination of seeds will definitely work, as it allows the gardener to assert even greater control over the early stages of growth. This technique is essentially a variation of priming the seeds, but is relatively labour intensive, as such, I would only recommend it as a last resort.
As with priming seeds, start by soaking the seeds in water for 40 minutes to 1 hour. After this time, transfer the individual seeds, one by one onto the damp towel. The individual seedlings should be separated on the towel, to ensure that they can be picked up individually later. Transfer the damp towel into a sealed airtight container and store it at room temperature, away from direct sunlight.
Check on the seedlings every few days, until clear signs of germination is observed, for most of the seeds. This will typically take 5-7 days to see definite signs of germination.
However, it is important to note, that if the seeds are allowed to stay in the container for longer than a week, the plants will begin to root into the paper towel. This can make the seeds more difficult to get them out and increase the chances of damage to the roots.
Once germination has been observed, transfer the seedlings individually into the final planting spot. To transfer the seeds, start by pre-soaking the soil with water, to ensure it is moist. Using a pencil or dibber, create holes for the individual seeds, that are approximately 5cm (2 inches) apart and 2cm (1 inch) deep. Transfer a seed to each hole carefully and cover them over.
To ensure the seedlings survive, it is a good idea to cover them with Milk Carton Cloches, with the bottom cut out. There would be nothing worse than finally getting your seeds to germinate, and then having to have slugs and snails destroy them. As such, I would also recommend preparing a second lot of seeds, just in case, there are any failures.
Tips On Growing Parsnips
Parsnips prefer a sunny location but will tolerate part shade. The soil should ideally be loose, free-draining soil. To ensure that this is the case, it is best to remove any stones from the soil. Check the pH of the soil, to ensure that it is slightly Acidic. Parsnips ideally prefer a pH between 6.0 and 7.0, to learn more about how to test the pH of your soil, go to https://planyourpatch.com/why-is-ph-important-in-soil/.
Avoid adding manure or fertilizer to the soil prior to planting, as this will also increase the tendency of the roots to fork.
Parsnips are best sown in Spring or Autumn, to avoid the Summer heat, at the critical stage of germination. During the growing season, keep the Parsnips moist to avoid having the roots split, as they mature.
As the Parsnips mature, an initial thinning may be required, but avoid disturbing the roots of the remaining Parsnips. Ideally, harvest the roots after the frosts have set in, as the Parsnip will become sweeter when exposed to frosts.
Storage of Parsnips
The Parsnip will be happy to remain in the ground for an extended period of time and can be picked as needed. It is only necessary to remove Parsnips from the ground if the soil becomes sodden, as there is a risk the roots could rot. They can even be left in the ground if it begins to freeze, however, you may need a jackhammer to get them out.
In regions where the Parsnips need to be removed, they can be stored in the refrigerator for up to 1 month. If long-term storing is required, they can be stored unwashed in damp sand, which mimics the conditions they would experience in the ground. If stored in this manner in a dark, cool place, the Parsnips will last up to 5 or 6 months.
Relevant Articles
12 Tips To Boost Your Garden Output
When Should I Plant Winter Vegetables?
10 Ways To Make Your Vegetable Garden Look Beautiful
how to prevent weeds from growing
