
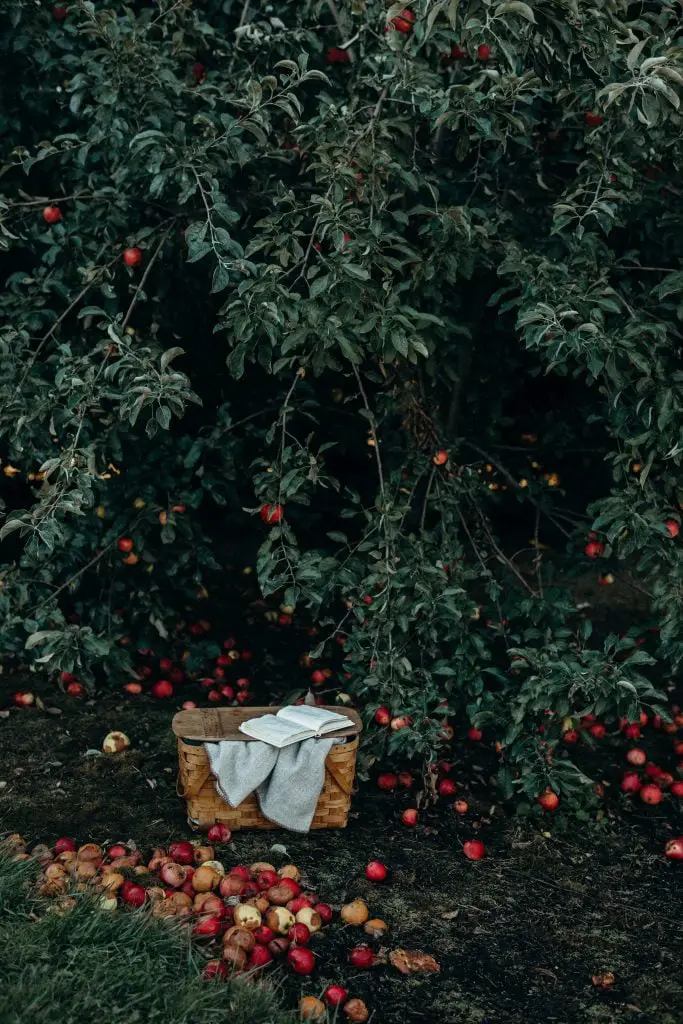
7 Easy Steps To Creating An Orchard In Your Own Yard. For those people living in suburbia there has been a tendency for people to fill their yards with ornamental plants. However, with no significant increase in effort, you can have a beautiful yard that gives you produce year round by planting fruit trees and you don’t have to own acres of land to get a large harvest.
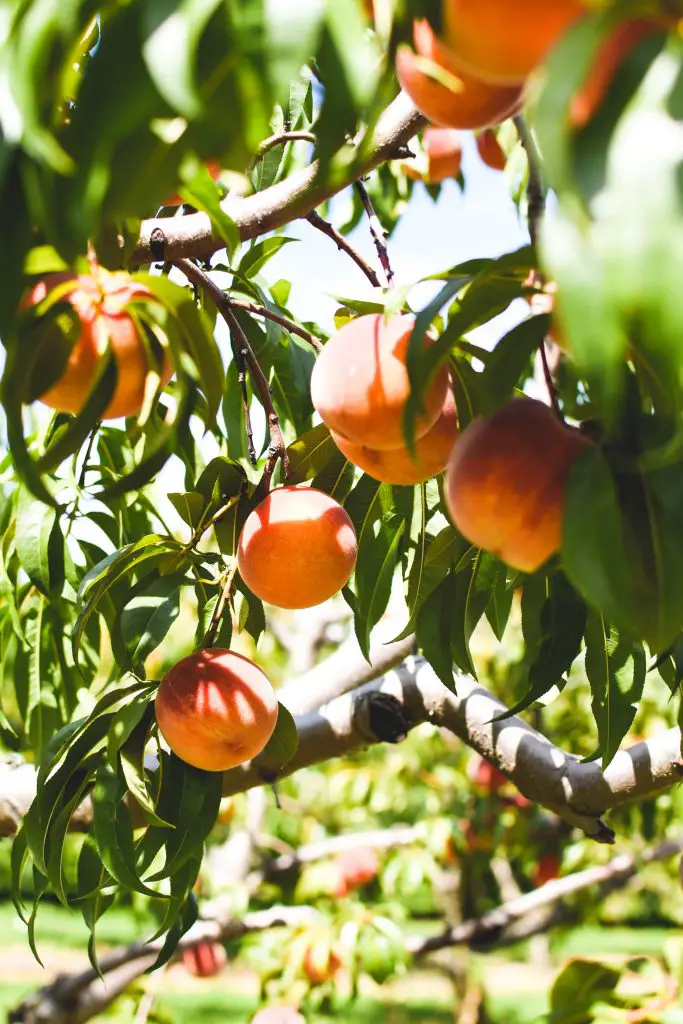
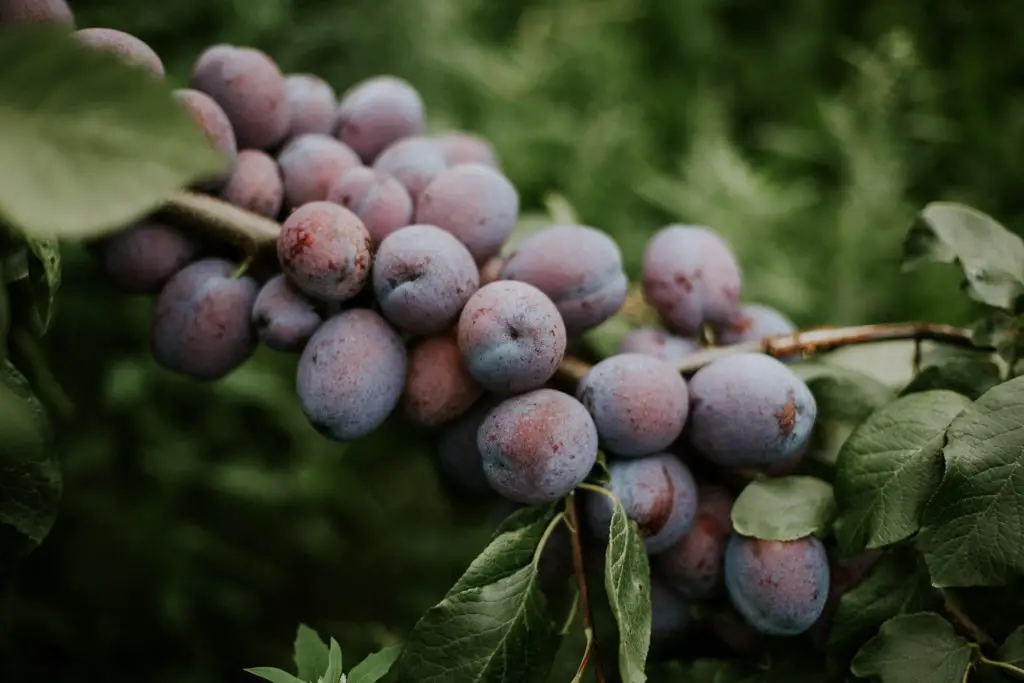
Many of the Fruit trees are as attractive as there ornamental counterparts. Plums for example with produce a beautiful bloom in Spring, followed by lush green foliage and then fruit in the Summer and Autumn.
However, when people are thinking about an orchard they tend to picture a commercial orchard where the trees are relatively large and spaced out in neat rows. This often gives the impression that huge volumes of space is required to fit a orchard in your property, which is simply not the case.
The requirements of a commercial orchard is vastly different to that of a home gardener. Commercial orchards have relatively large trees because they are trying to maximise the size of the harvest produced where as a home gardener really only needs enough fruit for those that live in the household. Secondly, ideally in a home you want to be able to pick all the fruit with your feet on the ground so smaller trees are more convenient.
As a result of having smaller trees there is no need to have large spaces between the trees, they can be packed relatively closely together. This allows you to include a wide range of trees in a relatively small space.
However, before you start digging holes and putting trees in it is well worth spending time planning, as there is a number of considerations you should keep in mind when planning your home orchard. The steps below will guide you through the process.
Step 1 – Tree/Plant Selection
When starting the process of planning your home orchard it best to start with a wish list of the trees and plants you would like to have in your garden and then narrow it down from there. When making a list choose things that you likely to eat and purchase regularly and be sure to include all the things that come from trees. Below is a checklist to make sure you haven’t missed anything.
Have you got on your list…….
- Stone Fruit (Cherries, Plums, Nectarines and Apricots)
- Citrus (Lemon, Lime, Oranges, Tangelos & Mandarins)
- Apples, Pears and Quinces
- Banana’s (not strictly a tree)
- Avocados
- Nuts
- Figs
- Mulberry Trees
- Pomegranates
When making your list you may also want to include other productive perennial plants that are not necessarily trees but will contribute to the production of fruit from your garden. Below is a list of possible plants.
- Raspberries
- Blueberries
- Strawberries
- Kiwi Fruit and Kiwi berries
- Currents
- Pepinos
- Rhubarb
- Grapes
At this stage the wider the list the better. The aim of any home orchard should be to be able to pick fruit from your garden 9 months of the year.
Step 2 – Narrowing the List
The next step is to determine the hardiness zone for your area and select fruit trees that will grow well there. The hardiness zone isn’t a hard and fast rule as microclimates can be created in your yard by planting near buildings or fences that protect the trees from the winter’s cold.
However, if you live in a region that has relatively mild winters this may also restrict the fruit that can be grown as certain types of fruits, such as plums require a minimum period of cold in order to produce fruit. The suitability of fruit can be determined by calculating the “chill hours” in your region.
The “chill hours” is the number of the hours a tree is exposed to temperatures below 7°C (45°F). A tree like a Plum requires 500 to 1000 chill hours depending on the variety. To roughly estimate the number of chill hours in your region, one relatively simple method is used.
Take the average of temperature in your coldest month and compare it to the table provided below. If you cannot find the average temperature for the month in your region you can also estimate this by taking average of the minimum and maximium temperature in the coolest month and compare them to the table below.
Chill Hours Average Temperature For Coldest Month
0 19.7°C (67.5°F) – No Chill
300 15.5°C (59.9°F) – Low Chill
330 15.3°C (59.5°F) – Low Chill
450 14.0°C (57.2°F) – Medium Chill
500 13.6°C (56.5°F) – Medium Chill
520 13.1°C (55.6°F) – Medium Chill
600 12.7°C (54.9°F) – Medium to High Chill
800 10.2°C (50.4°F) – High Chill
1100 7.9°C (46.2°F) – High Chill
1250 0.0°C (32.0°F) – Very High Chill
To help you to narrow down the types of fruit trees you can grow the table below provides a guide of the zones that each fruit plant is most suited to.
| Fruit | Zone | Comment |
| Avocados | 8 to 11 | There are 3 major types of avocados that can be grown in USDA zones 8-11. The Mexican Avocado type are the most cold tolerant and are most suited to Zone 8. Followed by the Guatemalan tree and finally the West Indian types that are the least cold tolerant. |
| Apple | 2 to 10 | Apples are the most common fruit tree grown in the far north of the US. The University of Saskatchewan in Alaska has a research program focused on developing new varieties that can tolerate extreme cold. Some of the varieties recommended for these conditions are Red Columnar Apple, Alberta Buff Apple and Prairie Sensation Apple. |
| Apricots | 6 to 10 | Apricots are less tolerant of cooler climates because they flower and fruit earlier than Apples. To optimise fruit production in the colder regions protect the plant from late frost which can damage flowers using a fleece which can be purchased from Amazon. |
| Bananas | 9 to 13 | Bananas grow best in the Tropics and the Subtropics with a new shoot producing a bunch of bananas in a single seasons in these regions. They will survive in zone 8 but the fruiting is often poor. In zone 9 and 10 bananas will take 2 to 3 seasons to fruit. Note they require quite alot of water. |
| Blackberries | 5 to 10 | Blackberries are hardy down to Zone 5 or if you really want to push your luck you can try them in zone 4. Summer and Autumn varieties are available that to extend the harvest period. |
| Blueberries | 4 to 10 | Blueberries are an extremely hardy berry that can tolerate Zone 4, click here to see an Alaskan study. Blueberries require relatively acidic soils to do well. |
| Cherry | 3 to 10 | In zone 3, sour cherries are the most adaptable type because the they flower later than sweet cherries and so late frosts are less likely to damage them. Sweet cherries can be grown successfully in any location where the temperature does not fall below -20°F (-28°C). A few cherry trees suitable for zone 3 are Cupid Cherry, Carmine Jewel Cherry and Evans Cherry. |
| Currents | 3 to 10 | Are a small shrub that is extremely hardy. It is available in White, Black and Red forms and will take 1 to 3 years to fruit. |
| Fig | 8 to 10 | Fig trees generally don’t like hard frosts and can be grown outside in zones 8 to 10. In colder zones it is necessary to grow them in a containers and bring them inside if you have late frosts. |
| Grapes | 3 to 10 | Grapes can be grown down to zone 3 if you are selective about the variety and provide winter protection. A few varieties suited to zone 3 are Beta, Bluebell, King of the North and Marquette |
| Grape Fruit | 8 to 11 | Grapefruit trees generally lack cold hardiness, and they can take 10 years to produce fruit. Here are a few varieties that can be tried in zone 8: Marsha, Redblush, Star Ruby and Ruby. |
| Kiwi Fruit | 7 to 10 | Kiwi fruits are a climbing vine that requires protection in winter in zone 7 and 8. You require a male and female plant. |
| Lemons | 8 to 11 | Lemons do best in zone 9 to 11, Zone 8 can be a bit to cold for them. In zone 8 try to select a relatively warm part of the garden to plant them or grow them in pots. Dwarf varieties are best for this purpose. |
| Limes | 8 to 11 | Limes have a similar tolerant to Lemons, see lemons above for advice. |
| Mulberry Trees | 4 to 10 | Mulberry trees are relatively large trees that produces a large canopy. The fruit is similar in nature to a blackberry so given the size of the tree I would tend to plant blackberries over Mulberry Trees. |
| Nectarine | 6 to 10 | Nectarines generally grow in similar conditions to Apricots. Nectarines will benefit from protection against late frost which can damage the flowers in cooler regions. |
| Orange | 8 to 11 | Oranges should among the highest priority tree trees for those that live in Zone 8 or higher. The reason for this is that fruit is ready to harvest in Spring when there is not much other fruit available. If you live in Zone 8 consider dwarf orange trees grown in pots on the patio for protection. |
| Peach | 5 to 9 | Peaches are moderately tolerant of cold conditions and will grow in zone 5 but do best in zone 6 to 8. The reason for this is that the blooms are at risk of damage by late frosts which can effect the volume of fruit produced. |
| Pears | 2 to 10 | Pears like apples are extremely tolerant of cold with some pears able to grow in Zone 2. Some examples of varieties suitable for zone 2 include Delicious Pear, Beedle Pear and Simone Pear. |
| Pepino | 9 to 11 | Pepino is a small shrub that produces fruit that is slightly larger than a fist in size. It tastes like a cross between a Cucumber and a Cantaloupe. |
| Persimmon | 7 to 10 | Some sources of information say that Persimmons can grow successfully in Zone 4, however zone 7 is the first zone that you can grow them without trouble. Recommended varieties are Fuyu, Jiro and Hanagosho. |
| Plums | 3 to 10 | There are two main varieties of Plums, Japanese and European. Japanese Plums are hardy in Zones 4 to 10, while European Plums are suitable for growing in Zones 3 to 9. |
| Pomegranates | 7 to 10 | Pomegranates are plants with a limited tolerance to cold. They do better in zones 9 and 10. |
| Quince | 5 to 10 | Quince trees are an excellent choice for those gardeners that love to cook as they cannot be eaten raw. Quinces are highly ornamental tree that are prolific producers of fruit. |
| Raspberries | 4 to 10 | Raspberries are available in Summer and Autumn fruiting varieties. They generally produce a larger crop than Strawberries but are not quite as sweet. |
| Rhubarb | 7 to 10 | Rhubarb is a frost hardy perennial shrub that grows well in cool climates as it requires a period cold to produce. |
| Tangerine | 8 to 11 | Tangerine trees are small, orange-tasting fruits that are more intense in flavour and will grow in the same regions as other citrus, Zone 8 with protection or zone 9 to 11 outside. |
Step 3 – Site selection
Having narrowed down the list of fruit trees that you can grow the next important step is to select locations on your site where you can place fruit trees. As fruit trees need to flower in order to produce fruit they need at least 8 hours a day of direct sun to grow. As such it is important to make sure tall trees, or structures buildings, don’t block the sun.
However, this is the point as which you need to start to think creatively about how to arrange the trees to take full advantage of the space and microclimates that exist within your garden to maximise the volume and variety of fruit produced.
Microclimates
There will be several distinct microclimatic zones that exist within your yard that are warmer or slightly cooler than the average that can be used to your advantage to optimise conditions for your trees.
If you live in a relatively cold climate where warmer conditions are advantageous think about planting trees next to existing structures such as your house or a fence that has a south facing orientation (assuming you are in the northern hemisphere). This will maximise exposure to the sun and provide protection against cold winds.
Structures made of stone or brick are particularly desirable as they absorb the thermal energy of the sun during the day and radiate the heat at night. This can increase the minimum temperature the tree is exposed to by a 5 to 6 degrees in some cases.
If you live in warmer climates but want to grow stone fruit for example it is advantageous to look for positions in your yard that are cooler to maximise chill hours to ensure a good harvest. These positions are generally more eastly or westly facing to ensure that the trees spend longer in the shade during winter extending the duration of the minimum temperatures the tree is exposed too.
Optimising Space In Your Yard
The other key consideration when planting fruit trees in your yard is the way that they are arranged and pruned. It is important to recognise that the trees do not need to be planted all together. For example you could have some apples in the backyard, a few pears on the side yard, perhaps a cherry in the front lawn.
Additionally, Fruit tree can fit into relative small spaces so if you think creatively about the type of tree purchased and the way that it is pruned it will allow a larger number of trees to planted. On my own property, which is a 9000 sqft (836 sqm) plot I have well over 50 trees planted.
Grafted Fruit Trees
Most fruit trees these days that are sold commercially are grafted. The purpose of grafting is to control the rate and size of the growth. Fruit Trees can be purchased as dwarf, semi-dwarf, and standard size trees. Dwarf trees are ideal for people that have small yards as the trees are restricted in height to 8 to 10 feet (2.4 to 3 metres) tall.
Semi-dwarf trees grow about 10 to 15 feet (3 to 5 metres) tall and standard-sized trees grow 20 feet (6 metres) or more. The larger trees will produce more fruit than Dwarf trees but in practice, for the home gardener, they will often get a larger harvest from a smaller tree.
The reason for this is because it is impossible to net large trees to protect them from birds resulting in significant losses of fruit. Additionally, it is often difficult to harvest a large percentage of the fruit due to the height of the tree. Ideally, fruit trees should be no taller than 7 ft (2.1 metres) as this will allow the all the fruit to be harvested while standing on the ground.
Espalier Trees
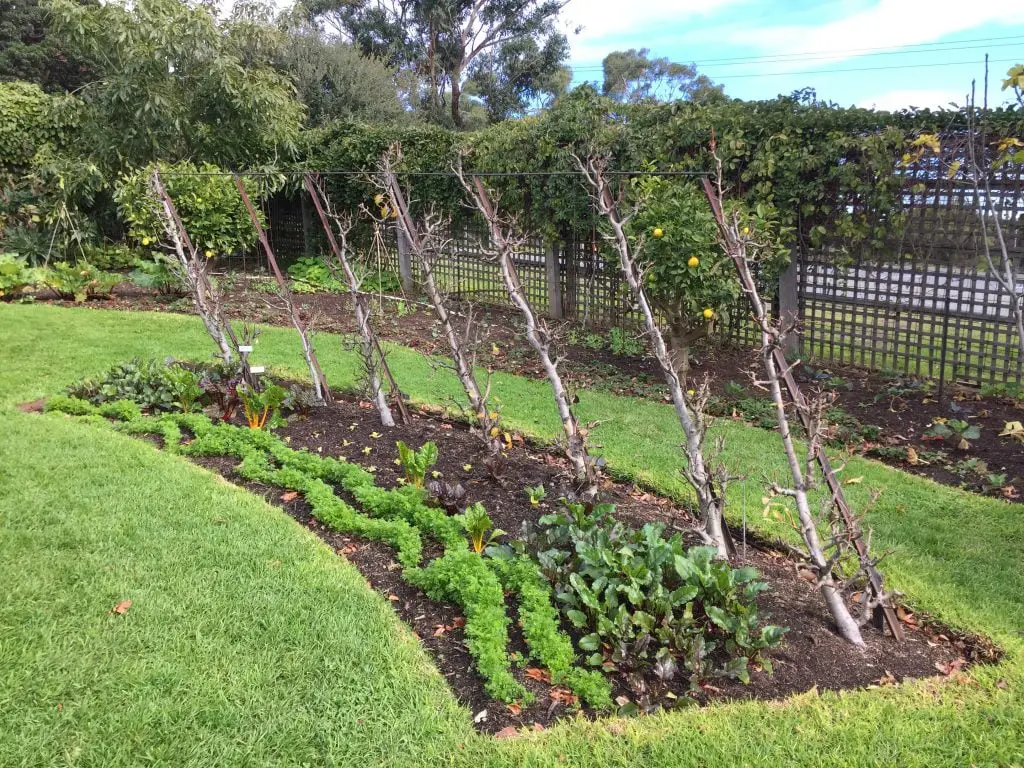
One of the most useful ways to limit the size of the tree is to prune it into espalier. For the uninitiated an espalier is when the tree is pruned into a two dimensional shape. This technique minimises the space taken up by the tree while maximising the fruit production. It works best on Apples, Pears and Stone fruit, but can also be applied to many other types of trees. A example of a formal espalier in my yard is shown in the picture below.
Most commonly the espalier trees are restricted to a height of 6 ft and a width of around of 6 ft. The reason for this is it allows easy access to the fruit and netting can to be applied easily to the tree. However, the restriction of growth can be taken to the extreme by making step over espaliers.
Step over trees, as the name suggests is a fruit tree that is so small that you can literally step over it, a height of 1 ft ( 30 cm) being common. It is trained along wires in a similar manner to an espalier to create a tree with only one tier. To read more about step over apples and espalier trees click here.
The key advantage of the espalier tree is that it allows trees to be fitted in very narrow garden beds, ie if you have 1 ft wide bed against a wall or fence some where in your garden you have space for a fruit tree. Additionally, espalier trees can also used to provide structure to garden by dividing up your spaces and creating small garden rooms, espalier trees do not have to be up against a wall.
However, their are one or two disadvantages to using espalier trees which are that they require a support structure to train the tree and there is alittle more pruning involved. Espalier trees will require a winter prune and will also require a few light summer prunes to maintain the shape. To read more about creating and maintaining espalier trees click here.
Step 4 – Selecting Varieties To Plant
Once you have identified all the potential spots in your garden that will allow you to calculate the number of trees you can fit into your garden. If you have very limited space this is the point at which you may have to begin to prioritise the trees that are most important to you.
This choice may be further limited by the fact that some trees require two trees for the production of fruit or in some cases they are partially self fertile. When they a partial self fertile this means that that the tree will produce fruit when there is one tree but the size of the yield will increase substantially if a second tree is planted nearby to encourage cross pollination.
It important to note that for cross pollination to be successful the trees do not have to be planted side by side. Anywhere on the property is fine. However, the two different varieties of trees need to bloom around the same time for successful cross pollination to occur. Some fruit trees, such as Apples have early, mid and late varieties that flower and also fruit at different times. For example if you plant an early apple and a late apple they will not cross pollinate each other because the flowing period of the two varieties will not overlap.
If all this seems super complicated, don’t worry the tags on the plants will tell you if a second tree is required and in most cases they will suggest a second variety that is suitable.
The variation in fruiting timings should also be a consideration when planning an orchard by selecting varieties that are early and late of a given type of fruit you can also extend the harvest period.
The aim when selecting trees should be to have continuous fruiting throughout the growing season to ensure that you have something to pick all the time. To help visualise this click here to view fruiting calendars by state in the US.
Step 5 – Purchasing Trees
Having selected the types and variety of trees you want to plant the next step is to purchase them. When purchasing the trees I generally recommend buying smaller trees. The main reasons for this is that advanced trees can be extremely expensive, they usually advance you only a season or two and if you are espaliering trees smaller ones are easier to train.
The second consideration when purchasing trees is the timing of the purchase. For deciduous trees, such as Apple, Pear, Stone fruit and Quince, the best time to purchase them is in the bare rooted season which is in late winter. The reason for this is that they are at least half the price, usually more, of potted trees and you can get them even cheaper if you wait to the end of the winter as stores sometimes have excess stock on sale that they need to get rid of.
If they are evergreen trees such as citrus trees they will not be available as bare rooted plants so there is no super cheap time to buy the trees. As such it is best to buy the trees when the conditions are most favourable for the tree yo be planted. In most cases this will be in Spring or Autumn to avoid the Summer heat which can sometimes kill the plant.
For those living in cold regions (USDA zone 7 and lower) a spring planting is best as it provides an opportunity for the plant to get established before having to survive a cold winter. If you are planning to purchase trees online check out Thompson & Morgan’s website they are a specialist nursey that has a really broad range of trees and other edible perennial plants.
Step 6 – Planting Trees
Once you have ordered your trees you should be start to prepare the site where you intent to plant as it is best plant the trees as soon as possible after purchase. If you are creating espalier trees the support structures should be erected before the soil is prepared.
When preparing soil it is best to add compost to the soil and dig it through thoroughly. When the plants arrive dig a hole approximately equal to the height of the pot or root ball if it is bare rooted. Place the tree in the hole and backfill with soil ensuring that the depth of the tree is approximately equal depth it had been planted in the pot.
If you are planting larger trees it may be necessary to provide additional support to the tree particularly if the site you live in is prone to strong winds. This can be done using stakes however when tying the tree to stake it is best to tie the tree relatively loosely using rubber tie as this will reduce the chances of the tree snapping in high winds. Click here it see an example of the rubber ties.
Step 7 – Maintaining Your Home Orchard
Having planted your orchard the primary concern is ensuring that what goes into the ground survives. If you planted in Spring the primary consideration is ensuring that the tree survives that first summer. In the first season that the tree is planted is the period in which it is most susceptible to hot conditions as the roots are yet to spread out fully.
To avoid problems it is important to ensure that the plant remains moist even in hot conditions. To do this water thoroughly once a week and ensure that the plant is well mulched to avoid problems. Additionally, the plants also need to be well fed with fertiliser every 3 months or so.
As far as pruning goes it is dependent upon whether the trees are being a espaliered or not and also the type of espalier.
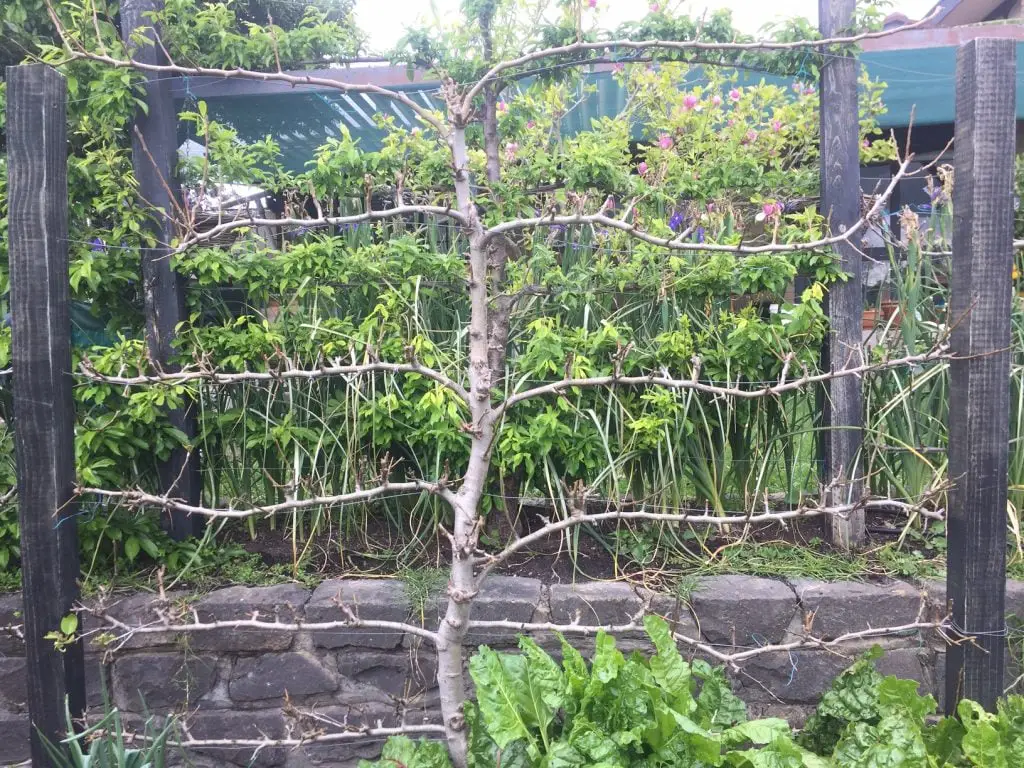
Formal Espalier
As discussed earlier in the article formal espalier trees have a predefined branch structures, with the most common being a T-shape (shown in the picture above), though there are many other shapes that can be created. For the purpose of simplicity we will limit the discussion to the creation of this particular shape.
To create the T-shape ensure that you have a support structure that has horizontal wires approximately 1 ft (30cm) apart. This will allow each tier to trained into the desired position over time. To encourage the formation of the tiers the main stem needs to be cut in winter at the height of the tier you want to create.
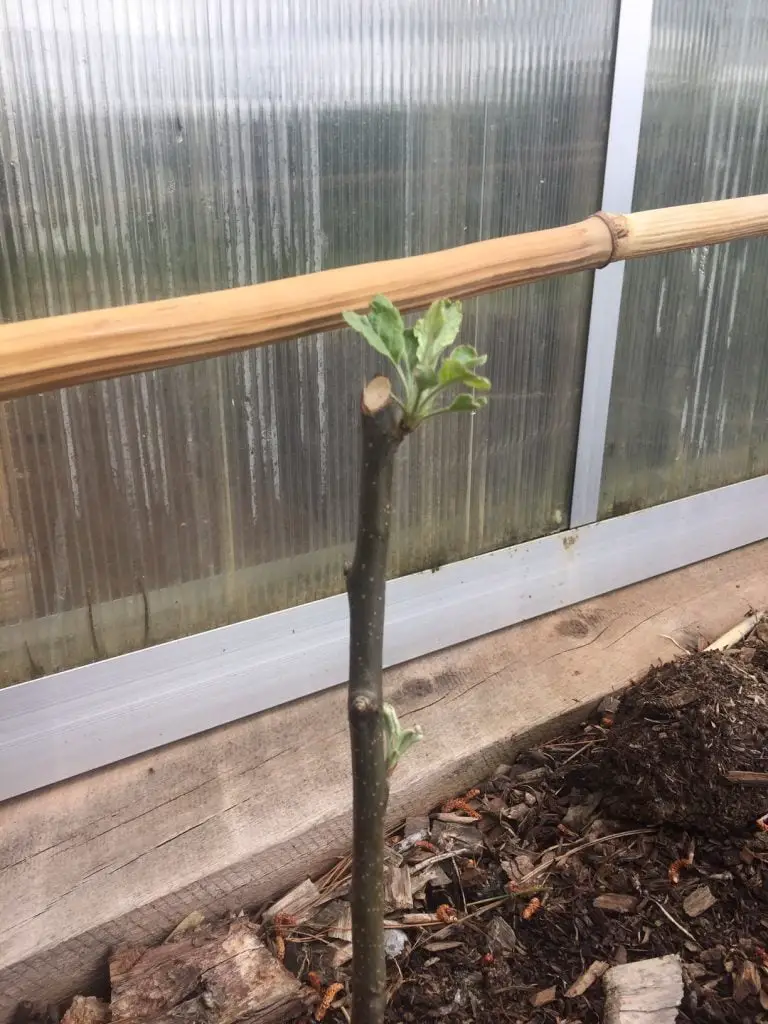
Pruning in winter encourages the tree to produce three new stems in spring. Two of these stems can be tied to the support on either side of the main stem to create a tier in the espalier, while the central stem is allowed to grow upward until the following Winter. At this point the process is repeated to create the next tier.
As the espaliers becomes established you will find that the tree will produce new growth along the tiers that needs to be removed to maintain the shape and encourage the formation of the fruiting spurs. This will need to be done every 6 weeks in the growing season.
When pruning the branches along the tiers of the espalier the side shoots should be cut 1 to 2 inches from main branch leaving sites for the fruiting spurs to form.
Informal Espaliers
Informal espalier, as the names suggests, have a less symmetrical structure where the branches are tied into the structure where ever there is space. This type of espalier are generally used on citrus trees because the they are not suitable for a formal espalier.
With this type of espalier most of the pruning is done in the growing season. During this period any new branches are tied into the support structure if their is space on the surface of the structure. If there is not space or it is not practical to tie the branch it is removed.
This process is best done in summer as it will restrict the growth reducing the maintenance. If pruning is done in Winter it will encourage growth the following year.
Pruning Trees That Are Not Espaliered
If you have trees that are not espaliered the objective is to maintain an open vase like shape that encourages light and air into the structure of the tree. To encourage the formation of a vase like shape young trees should be pruned in winter about 1 ft above where the branch forks, ideally just above an outward facing bud. This will encourage vigorous growth in the following spring.
Any branches that are crossing over or are pointing inward should be removed from the structure. After a few seasons when the tree has reached the desired height any new “whippy” growth at the top of the tree should be removed in Summer rather than winter.
Protecting The Trees In Winter and Early Spring
If you live in a relatively cold climate it may be necessary to protect the tree from the worst of the winter weather by placing a frost blanket over the tree. Whether it necessary to do this will be dependent upon the cold tolerance of the tree. Blanket can be left on all winter until there is signs that the buds are beginning to swell.
At this point it may be necessary to remove the protection during the day to ensure that pollination occurs. You need to be vigilant about this process in the early spring as the flowers are more susceptible to damage from severe frosts than the buds. If they are damaged during this period your harvest will be significantly affected.
Given, the critical nature of this period it is worth spending the money on appropriate frost protection material. There are a number of different types of products that can be purchased through Amazon. Here is an example of a frost blanket that is easy to apply.
In Conclusion…..
When starting you own orchard try to pick a range of fruit trees that are hardy in your area. You will find that you will have variable performance from year to year, so having lots of different varieties will ensure you always have a reasonable harvest.
Keep the trees relatively small as it will allow you to fit more different varieties in and make the picking of fruit and application of frost protection a lot easier.
