
A Step by Step Guide For Starting a Vegetable Patch. Starting a vegetable patch can be a daunting prospect for many people that have not gardened before. This is because there is often a lot of conflicting advice covering a range of topics that can overwhelm a beginner gardener.
This article is designed to help those that have never gardened before to just get started in their own vegetable garden with a minimum of cost, effort, and fuss.
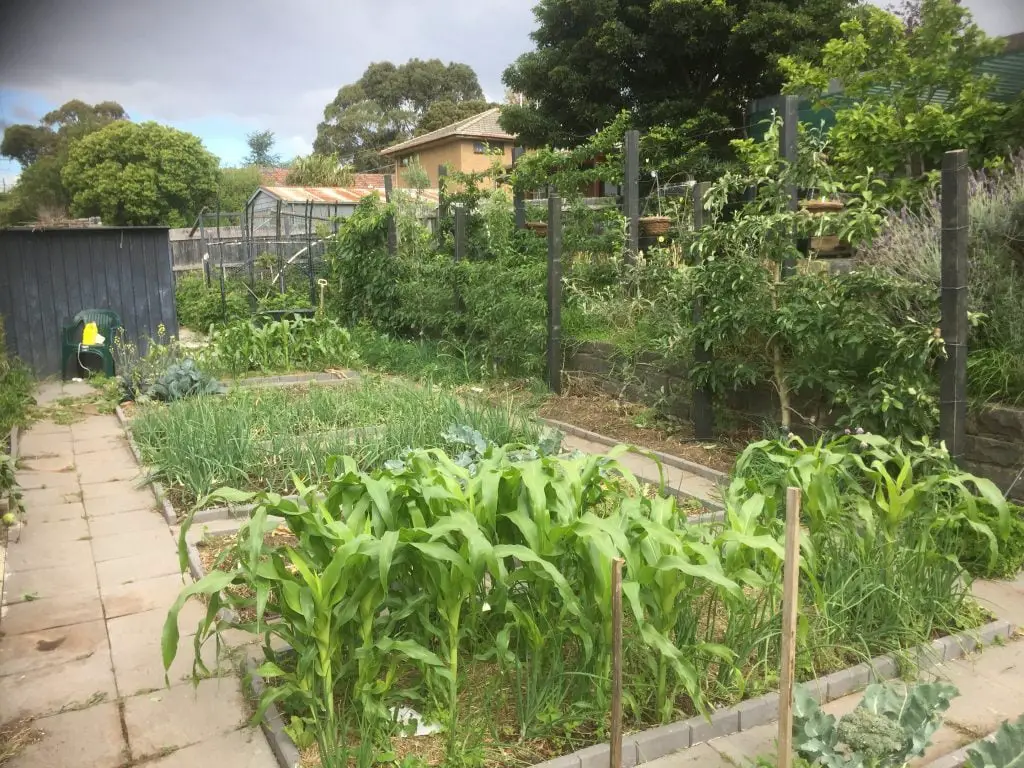
When start a vegetable garden it is best to start small, with an area that you can easily maintain with high yielding crops that are easy to grow. This will allow you to build up your knowledge and confidence.
I started out growing only a few Tomatoes and Zucchinis from seedlings purchased from a garden centre. I progressively expanded my garden to the point where I produce around half a tonne of vegetables on my suburban block.
Selecting a Location
The first step to starting a garden is selecting the location to grow vegetables. The ideal location is a sunny spot that gets at least 6 to 8 hours of sun as most vegetables require full sun.
However, there are some vegetables that will tolerate shade. As a general rule, these are vegetables that do not need to flower to produce a crop such as Lettuce, Kale, and Silverbeet. So if you have a shady spot you can give these vegetables a go.
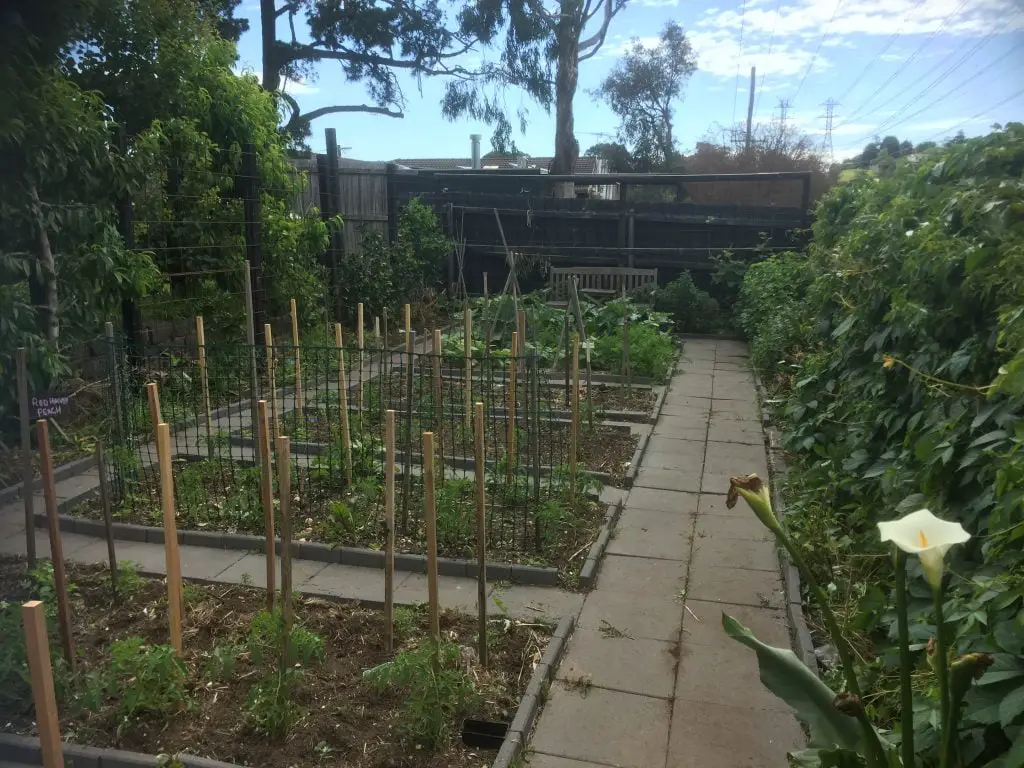
When starting out it is best to use a bed that already exists if possible. However, if there is a need to create a new bed there is a general perception that the beds need to have sides or need to be raised. This is not the case, sides and raised beds simply add cost and effort to the process of creating a garden.
The only reason a raised bed is required is the ground is paved or if roots from a large tree are interfering with the ground. If none of these issues exist then don’t use sides. How to establish a new bed is covered in the soil preparation section of the article.
Selecting Vegetables to Grow
The next key step is to deciding what vegetables you want to grow. When starting out it is best to select vegetables that are easy to grow, are high yielding and are things you like to eat.
The choices in this regard are can be limited by the climate you live in. In really cold or really hot climates there may be vegetables that simply don’t do well, so it is a good idea to research this. However, here are my top choices for beginner gardeners.
Potatoes would have to be the easiest and most reliable vegetables to grow. All that is required is to plant seed potatoes, 4 weeks prior to the last frost in soil 30cm (12 inches) deep and 60 cm apart (2 ft). 3 to 4 weeks after the plant flowers the tubers will be ready to harvest. Typically, 2 kg (5 lb) of potatoes can be expected from each seed potato. If you would like to read more about how to optimize your potato crop click here. Seed Potatoes can be purchased in the UK from Thompson & Morgan or yougarden.com and Seeds Now in the US.
Courgettes (Zucchini in some countries) would be my next choice based purely on yield. A single plant will produce easily 10 kg (over 20 lbs) of more. So purchasing one punnet of seedlings (3 plants) is more than enough to supply an average family and give plenty away. Courgettes should be planted in mid-spring after the risk of frost has passed around 75cm (30 inches) apart. The only thing you need to do is water the plants occasionally and wait for the Tsunami of Courgettes to arrive in mid-summer. To learn more click here.
Silverbeet (also known as Chard or Rainbow Chard) is by far the longest-lived leafy green vegetable which will allow harvests to be taken multiple times throughout the year. If you live in a region where the Winters are relatively mild, a Spring Sowing of plants will last all the way through to the end of the following winter. They are best planted approximately 50cm (20 inches) apart in mid-spring. To learn more click here.
Pumpkin is another extremely high yielding crop that produces fruit that will store for months after being picked as long as 5 cm (2 inches) of stork is left attached to the fruit. It is best planted in Spring after the last frost and will produce anywhere from 5 to 20 kg (10 to 40 lbs) of pumpkin per plant. However, many varieties of pumpkin produce an extremely vigorous vine that spreads out covering a large area.
Tomatoes are a family favorite that will produce fruit that are significantly higher quality, in terms of flavor, than what you can purchase at the grocery store. You can expect to get between 5 to 10 kg per plant (10 to 20 lbs) though this does vary a little bit with the variety and your climate. Like Pumpkins and Courgettes tomatoes can be planted in spring after the last frost. The tomatoes will need to be supported with a stake as they develop. To learn about the different types of tomatoes click here.
Snow Peas are another vegetable that you can really taste the difference between homegrown and shop brought. The Snow Peas are a fantastically sweet and crunchy treat that can be enjoyed in Spring and Autumn. Snow peas are really easy to grow from seed and are best sown in the late winter/early Spring or Late Summer/Early Spring. They do not like temperatures above 20 to 25°C (68 to 77°F) when flowering. Like tomatoes, they need a support structure to climb on. To learn more about how to grow them click here.
Corn is another vegetable that is really worth growth for the taste. Corn picked and cooked immediately is much sweeter than store brought corn because the sugars quickly convert to starch after picking. Corn is a frost tender plant that can planted at the same time as the pumpkin. It is a good idea to sow corn every 4 to 6 weeks up to mid summer to ensure a continuous supply. 2 ears of Corn can be expected per seed planted.
Onions are another extremely productive crop that can be started in Winter. They are best grown from seed in modular trays in clumps of 4 to 5 plants. When the seedlings are 4 to 6 weeks old they can be transplanted out into the garden in clumps. They can be harvested at any stage but if allowed to grow to maturity they will be ready for harvesting in mid-summer. To read more about the different types of onions click here.
When purchasing seeds for planting it is best to buy Heirloom seeds. Heirloom seeds can be collected year on year when the plant goes to seed allowing you to minimize the amount you spend getting started in your garden. Seeds Now are quite a low-cost provider of seed that has a broad range of varieties and specializes in Heirloom seeds. Other companies smaller companies that I can suggest are Seeds for Generations and St Clare Seeds.
When To Plant What
Once you have selected the vegetables you wish to grow, the next key question is what to plant when. Generally, vegetables can be divided up into those that can tolerate frost and those that can’t.
Those plants that can tolerate frost are generally planted in Late Summer or Autumn. However, it is important to note that it is a common misconception that many of the traditional Winter vegetables are sown just before the onset of Winter.
All plants, whether they can tolerate frost or not, still require a reasonable temperature to grow. As such it is necessary to plant them well before the onset of winter to ensure there is sufficient development of the plants to allow harvest to be taken throughout Winter. An example of this is Leeks which should be planted in Midsummer to ensure a mid-winter Harvest.
If seedlings are planted too late it generally results in the harvest occurring in mid Spring. Below is a list of frost-tolerant vegetables that should be planted in Mid Summer to early Autumn. To read about how to calculate planting dates click here.
- Beetroot
- Broad Beans
- Broccoli
- Cauliflower
- Carrots
- Cabbage
- Celery
- Kale
- Leek
- Parsnip
- Peas
- Silverbeet or Swiss Chard
- Spinach
- Swede
- Turnip
Those that can’t tolerate frost will generally need to be planted after the last frost date. This general means that most crops can be planted in Mid Spring to Summer. Any crops planted after mid summer will normally not produce a harvest before the first frosts arrive. A list of the vegetables that are frost sensitive is provided below.
- Beans
- Cantaloupe
- Capsicum (Sweet and Bell Peppers)
- Cucumber
- Chilli (Hot Peppers)
- Corn
- Courgette (Zucchini)
- Eggplant
- Okra
- Potato
- Pumpkin
- Tomato
- Watermelon
If you require additional information on the best time to sown an excellent guide may be found on Charles Dowding’s site, click here for more information. Charles is a professional market garden from the UK that has over 30 years of experience.
Growing Vegetables from Seed
Most people that are growing vegetables for the first time tend to buy seedlings. The reason for this is that it is a quick way to get started and there is absolutely nothing wrong with doing this, as this is how I started out.
However, in the longer term it is far better to raise your own plants from seed as purchasing seedlings are relatively expensive and the range of varieties is often quite limited.
If you are want to try growing plants from seeds it is best to start out with plants that are really easy, such as Pumpkin, Tomato, and Zucchini, as they are big seeds that will germinate quickly.
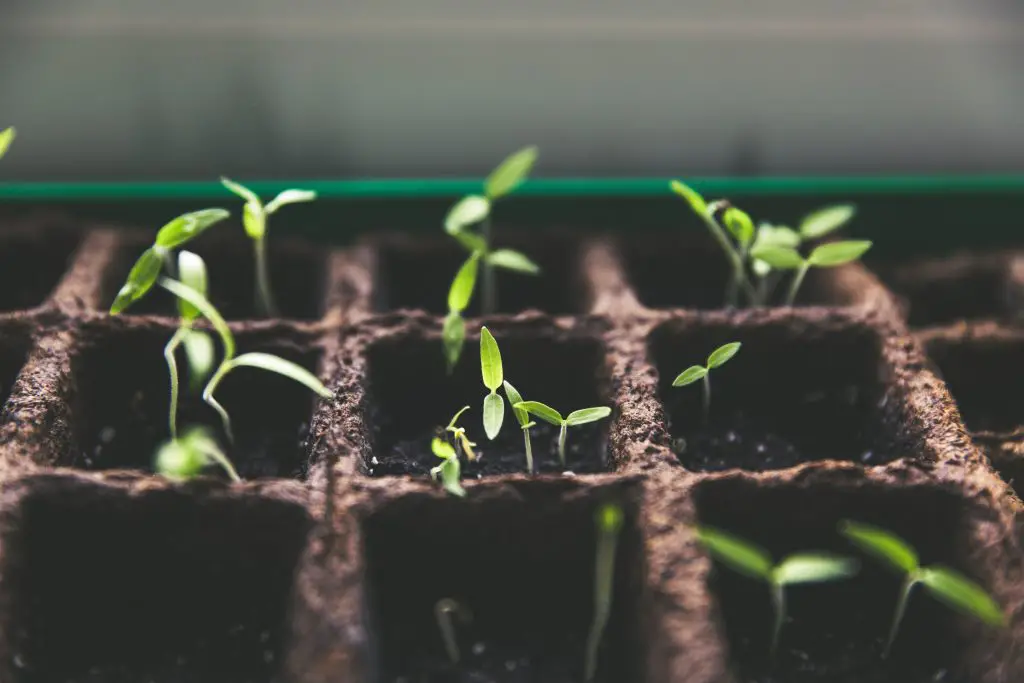
When raising plants from seeds I always recommend planting in trays rather than into the soil. The reason for this is that it is easier to control the conditions and protect the seedlings from attack from slugs and snails. A problem that is discussed later in the article.
When planting in trays I recommend using a commercial seed raising mix, also sometimes referred to as Seed Compost, because it is specifically designed for the job. The other reason is that if you use soil from the garden or home compost you will often find that weed seeds in the soil will germinate making it difficult to tell what is the weed and what is the plant. You can purchase “Seed Compost” from places like B & Q in the UK or on Amazon if you live in the US.
To start out fill the seed tray with seed raising mix firming it into the tray and topping it up with the additional mixture. Once the tray is full insert the seed into the mixture at a depth roughly the width of the seed and cover them over with soil.
For seeds, such as lettuce, that are very small sprinkle them across the surface and press them into the surface to ensure there is good contact with the soil. There is no need to cover them with soil. And then water the seedlings gently.
Place the seedlings in a warm sheltered spot and ensure that the seedlings are watered regularly. Seedlings will typically take around 4 to 6 weeks to get large enough to plant them out into the garden.
When deciding how many seeds to grow it is best to plant around double what you think you will need. This will not only ensure you have enough seedlings but will allow you to pick the strongest seedlings and discard the weaker ones.
Preparing The Soil
As a beginner gardener you will hear a lot about the need to add fertilisers and adjust the pH of the soil to specific ranges for different plants, which frankly overcomplicates things. It is best to use the No-Dig method which is simple effective and does away with the need to worry about adding 11 secret herbs and spices to the soil.
To employ this method to an existing garden bed simply place a layer of compost, 5 to 10 cm (2 to 4 inches) thick onto the bed. The layer of compost will act as a mulch while providing the soil with all the nutrients it needs. Compost should be applied once a year to the garden bed and that is all that is required. To read more about this click here.

The compost can be purchased in bags from the local garden centre if you wanted to create the garden gradually, however, a bulk delivery of Compost would be much cheaper. Once the compost has been applied you can plant directly into the garden beds.
Establishing New Garden Beds
If there is a need to put a new garden bed in the no dig method can also be applied, though there are a few additional steps required.
To start the process of building a new bed place a layer of Cardboard onto the ground ensuring that there are no gaps between the Cardboard, for light to get through to the ground. The area covered should also include any areas being used as paths and a 15 cm (6 inch) border, around the outside of the bed. The reason for the border is that the grasses have a tendency to invade your growing space, if they are allowed to run all the way to the edge of the bed.
The next step is to place a 15 to 20 cm (6 to 8 inches) deep layer of compost onto the surface. The deep of the layer is greater than on an existing bed because it will allow you to plant straight away into into the compost.
On the path and border of the bed, an additional layer of mulch will need to be added. This is required because the Cardboard will degrade over time creating gaps for the weeds to grow through. You will need to reapply regularly to ensure weeds do not reappear.
To learn more about this process, watch the video below by Charles Dowding. It provides a detailed practical guide on how to establish a No Dig Garden bed. For additional information his book can be purchased through Amazon.
Expanding Your Gardening Knowledge
As a beginner garden, it is really important to start to expand your knowledge as there are alot of preconceived ideas that exist around vegetables garden. For example, a lot of people often limit their thinking as to what can be grown, based on where it is grown commercially. This is often not a good indication of what is possible in your garden. For example, I grow Bananas and Paw paws in my garden, even though I don’t live in the Tropics or even the Subtropics.
To start help you started to expand your knowledge I have compiled a list of resources that will help build that knowledge-based.
- Edible Garden – Alys Fowler (6 episodes)
- Grow Your Own Veg – Carol Klein (6 episodes)
- Grow Your Own At Home – Alan Titchmarsh (6 episodes)
- Fork to Fork – Monty Don (6 episodes)
- Organic Gardening – Josh Byrne (1 hour Program)
The other incredibly useful resource is Charles Dowding’s Youtube channel. Charles is the leading expert on No Dig Gardening. His channel, unlike many of the main stream gardening shows listed above, provides in depth information on how to get most of a vegetable garden. I personally follow his methods because they really reduce the volume of work in a garden and simplify soil management as mentioned earlier in the article. He has over 100 videoes on his channel, along with a website.
For ongoing garden, gardening shows the one I would recommend is Gardeners World. It is Number 1 gardening show in the world and can be accessed for free on www.hdclump.com.
Other shows of interest, if you like history include Monty Don’s French Gardens, Monty Don’s Italian Gardens, and The Secret History of British Gardens that you can have access to either on www.hdclump.com or on Youtube.
The other series that I would highly recommend, is Victorian Kitchen Garden. It is a BBC series that follows Head Gardener, Harry Dodson, through a calendar year as he revives techniques used in the Victorian Era, to produce food.
Unfortunately, it is one of the few resources in this list that is not available on Youtube or HD Clump, but can be purchased from Amazon. If you are interested, there is a sequel series that has a few episodes on Youtube, that will give you a pretty good idea of the flavor of the Victorian Kitchen Garden series. Click here to watch.
