For many people renting a property often places significant limitations on any aspirations to start a garden because most leases stipulate, at the end of a lease, that the garden should be returned in a similar condition to when you moved in.
As such, if you are planning to do anything permanent, like install a garden bed, it will require prior approval of the landlord. However, in many cases the landlord doesn’t really care or is happy that you are adding value to the garden. So this is often not an impediment to creating a vegetable patch, but be sure to get permission in writing and discuss what will happen at the end of the lease.
However, with or without the landlord’s permission, it is possible to create a beautiful garden space that can be productive, that you can take with you to your next property, at very little cost. My personal view is that you are better off spending money on portable infrastructure that can be easily taken with you, rather than doing permanent alterations to someone else’s property.
This article is dedicated to helping the beginner gardener, to create a beautiful outdoor space to enjoy with friends and make you feel more at home, in your rental property.
Developing Your Knowledge As A Gardener
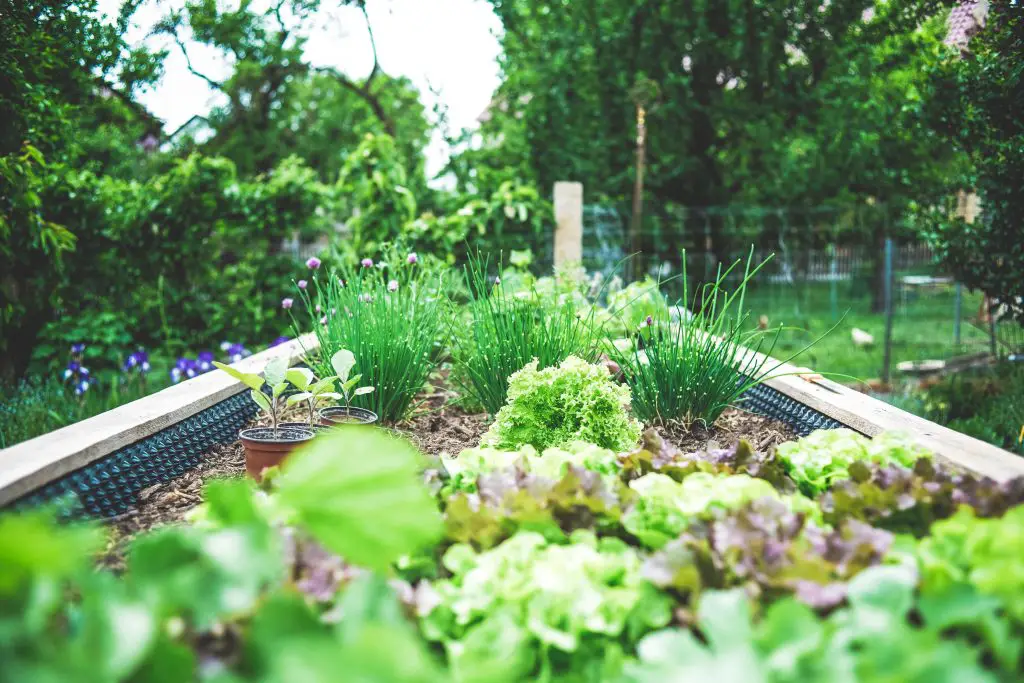
If you are a beginner that is creating a vegetable garden for the first time, it is really important to start to develop your knowledge. To start this process, it is highly recommended to immerse yourself in the subject to develop an understanding of what is possible. There is a lot of preconceived ideas that exist around what a vegetable garden should look like, that tends to provide a very narrow perspective.
A lot of people think that you must have raised beds and often limit their thinking as to what can be grown, based on where it is grown commercially. This is often not a good indication of what is possible, for example people are often amazed that I grow Banana’s and Paw Paw in my garden, even though I don’t live in the Tropics or even the Subtropics.
The second key misconception is that vegetable beds must be a productive space rather than a beautiful one, and the two are definitely not mutually exclusive. When designing your space, think about how you want to use the space when entertaining, it should be a space where you would want to spend time with friends and family.
To start the journey, here is a list of resources that will hopefully inspire you to think really creatively about how to utilise your space and create a little piece of paradise for yourself.
The number 1 show I would start watching is Gardeners World. It is pretty much the Number 1 gardening show in the world and is largely filmed from Monty Don’s own garden. You can access the last 10 or so seasons on www.hdclump.com for free.
Monty Don has also produced a number of series such as Fork to Fork (dedicated to vegetable growing), French Gardens, Italian Gardens and The Secret History of British Gardens (really interesting if you like history), that you can have access to either on www.hdclump.com or on Youtube.
The next really useful resource is Charles Dowding’s Youtube channel. Charles is a market gardener with 30 years experience and he is the leading expert on No Dig Gardening. His channel, unlike many of the main stream gardening shows, provides incredibly detailed information on how to get most of a vegetable garden.
His methods really show how to reduce the volume of work in a garden, simplify soil management, while maximising output. I have personally modified my methods, based on his videos and books, and I can tell you from personal experience that his approach absolutely works. I have imbedded one of his videos into this post, however he has over 100 videos on his channel, along with a website. Additionally, you can purchase his book, Organic Gardening: The Natural No-dig Way through Amazon, it provides great insight into how to manage your garden.
The other series that I would highly recommend, is Victorian Kitchen Garden. It is a BBC series from the late 80’s that follows the Head Gardener of Chilton Estate, Harry Dodson, through a calendar year as he revives techniques used in the Victorian Era, to produce and store food year round from the estate.
If you are interested in history and gardening, you will love this series. Unfortunately, it is one of the few resources in this list that is not available on Youtube or HD Clump, but can be purchased from Amazon. If you are interested, there is a sequel series that has a few episodes on Youtube, that will give you a pretty good idea of the flavour of Victorian Kitchen Garden series. Click here to watch.
Other notable series that you might consider watching are listed below –
- Edible Garden – Alys Fowler (6 episodes)
- Grow Your Own Veg – Carol Klein (6 episodes)
- Grow Your Own At Home – Alan Titchmarsh (6 episodes)
- Organic Gardening – Josh Byrne (1 hour Program)
Lastly, I would highly recommend that you visit public and community vegetable gardens in your local city, as these are often great sources of inspiration. Additionally, most cities run an Open Garden Scheme that allows you to visit a range of private gardens. There is normally a small entry fee associated with the Open Garden Scheme.
Designing Your Garden
When designing your garden there are two key considerations;
- The space that you have (and what is in it)
- What you want to grow
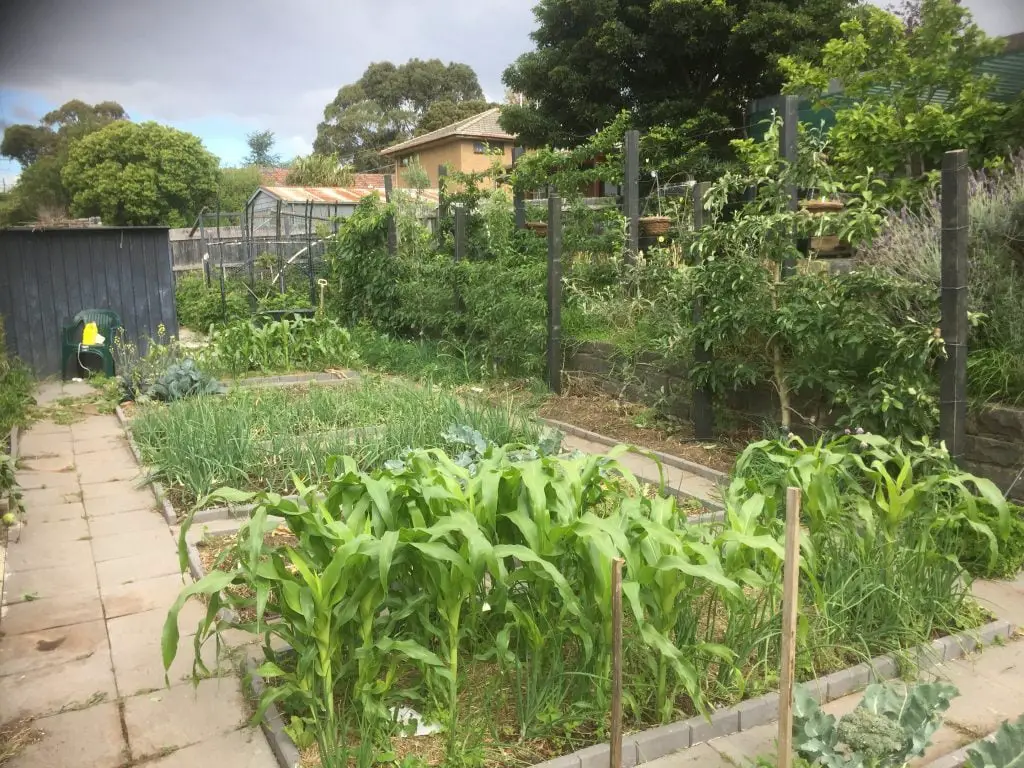
When developing your plans it is best to draw out a plan of your space, laying out the garden beds you intend to create overtime. Writing down your plans helps to crystallise your ideas and provides a structure. You will find that these plans may evolve and change overtime, as you learn more about gardening.
Along side this structural plan, you should also be trying to create a planting plan or at the very least, a list of the things you would like to grow in your garden.
Evaluating Your Space
One of the first steps when thinking about starting a vegetable garden, is evaluating the spaces you have available to you, on your property. Really well designed gardens, in even the smallest space, can produce an incredibly large amount of food.
Light
The most important consideration above all other things is the amount of light an area gets, with most vegetables (but not all), requiring a sunny position to produce a reasonable crop.
The angle of the sun at different times of the year can effect what areas are in shade. For example, in my garden there are areas that in Winter are in constant shade, due to a fence, but come into full sun from Mid September through to Mid April.
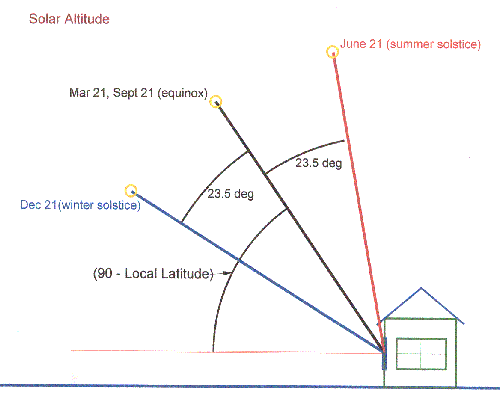
To calculate how the shade will vary, there are 3 times of the year that you need know the angle of the sun;
- The Winter Solstice (December 21st in the Northern Hemisphere or June 21st in the Southern Hemisphere), is the day where the angle of the sun is at its lowest in the sky and will create the largest amount of shade.
- The equinox (March 21st and September 21st) at which there is equal hours of daylight and darkness.
- The Summer Solstice (June 21st in the Northern Hemisphere or December 21st in the Southern Hemisphere), is the day where the angle of the sun is at its highest and the shadow created by objects is at its smallest.
The steps to calculate these angles are as follows;
- Google the latitude of the city you live in. In my case I live in Melbourne, Australia, which has a latitude of 37.8 South.
- Calculate the angle at the Equinox = 90 – the latitude of the City ie for Melbourne the Sun Angle on the Winter Solstice = 90 – 37.8 = 52.2.
- Calculate the angle at the Summer Solstice = 90 – the latitude of the City + 23.5 ie for Melbourne the Sun Angle on the Winter Solstice = 90 – 37.8 + 23.5 = 75.7.
- Calculate the angle at the Winter Solstice = 90 – the latitude of the City – 23.7 ie for Melbourne the Sun Angle on the Winter Solstice = 90 – 37.8 – 23.5 = 28.7.
With these 3 angles you can calculate where the shadow will be cast. The significance of the Summer Solstice angle, is that it allows you to identify the areas that are Full Shade, year round. The Equinox angles allow you to calculate the areas that will be in Full Sunlight in the growing season. Anything that is in Full Sun at the point of the Equinox, will remain in Full Sun for the entire growing season.
To calculate the length of the shadow cast from an object, go to https://www.omnicalculator.com/math/trigonometry, as this will avoid the need to deal with high school trigonometry. Below is a screen shot of me calculating the shadow cast from the base of a 2 M fence on the Winter Solstice, in Melbourne as an example.

The additional considerations with the degree of light, is the presence of any deciduous trees. They will significantly affect the volume of light that can get into your garden. It is easy to tell if a tree is deciduous from Autumn through to Spring, as you will see that the foliage dies back in Mid Autumn, before becoming completely bare in Winter. Regrowth will be observed in Spring.
In Summer, when the tree is in full leaf, it is not obvious. However, some indicators that may give you a clue, include excessive leaf litter on the ground, or in the gutters.
Soil And Vertical Space
The other consideration is what is on the ground, i.e. is it grass, bare soil or is it paved? Obviously, any existing growing space provides an immediate area to plant. Any areas that are grassed may be suitable areas to grow things, however their utilisation is likely to require the landlords approval, to modify the space. If the area is largely paved, then the only option will be containers.
The other key consideration is the structures that surround your planting areas which can be used to your advantage. Walls can often be used to grow climbing plants on. Below is a photograph of a space in a rental property, that at first glance does not look all that promising. However, there are a number of possibilities that would allow a surprisingly large amount of food to be grown.

There is a small strip of bare soil, that is approximately 30 cm (12 inches) wide on the left hand side of the path, that is permanently in shade. That could easily be used to grow 3 or 4 crops, such as Lettuce, Silverbeet, Spring Onions and Chives.
On the right hand side there is sun hitting the wall, but not all the way down the wall. To take advantage of the available sunlight in this space, fruit plants could be grown up the wall. The types of plants that could be grown are Tomatoes, Climbing Beans, Cucumbers, Melons and even Pumpkin. To achieve this, a temporary support structure could be placed on the wall and polystyrene fruit boxes could be used to grow the plants in.
Deciding What To Grow
The next key component is deciding what vegetables you want to grow. This is very much personal taste, however, I suggest that you simply make a list of the things that you enjoy eating and buy regularly, as a starting point. There is no point growing things for the sake of it.
Some peoples’ list of vegetables that can be grown can be reduced, based on the limitations of the climate they live in. In really cold or really hot climates there may be vegetables that simply don’t do well.
The next limiting factor for most gardeners will be the size of the garden. In most cases, you will not have the capacity to grow everything that you eat. As such, it is best to choose vegetables that will produce relatively high yields that are easy to grow. The most obvious plants are Potatoes, Tomatoes, Zucchini and Silverbeet. Other plants that do not produce as much, but easy to grow are Climbing Beans, Corn, Snow Peas, Broccoli and Onions.

When choosing what to grow the other key consideration is what plants grow vertically, as this will allow you to grow more, and which plants can tolerate shady positions in your garden. A list of plants that can be grown vertically, is provided below;
For plants that can grow in the shade, there is a surprisingly large number. As a general rule, any plants that do not produce fruit will tolerate a shady position. A list of vegetables that can be grown in shady locations is provided below.
- Beetroot
- Bok Choi
- Broccoli
- Brussels Sprouts
- Cabbage
- Carrots
- Cauliflower
- Celery
- Chinese Cabbage
- Garlic
- Kale
- Kohlrabi
- Leeks
- Lettuce
- Parsnip
- Peas
- Potatoes
- Radish
- Rhubarb
- Rutabaga (Swede)
- Spring Onions
- Spinach
- Swiss Chard (Silverbeet)
- Turnip
Having developed your list, it is best to start with a few vegetables and just give it a go. You will find that you have some successes and some failures.
When To Plant What
The next key question is what to plant when. While this may vary a little, depending upon where you are located, here is a general guide to start off with. Another excellent guide may be found on Charles Dowding’s site, click here for more information.
Autumn-Winter Sowing Plants:
- Spinach
- Radish
- Onions
- Mizuna
- Lettuce Oakleaf
- Mustard Greens
- Peas
- Broad Bean
- Carrots
- Rocket
- Kale
- Leek
- Cauliflower
- Endive
- Broccoli (Green Sprouting)
- Celery
- Cabbage
- Sugarsnap Pea
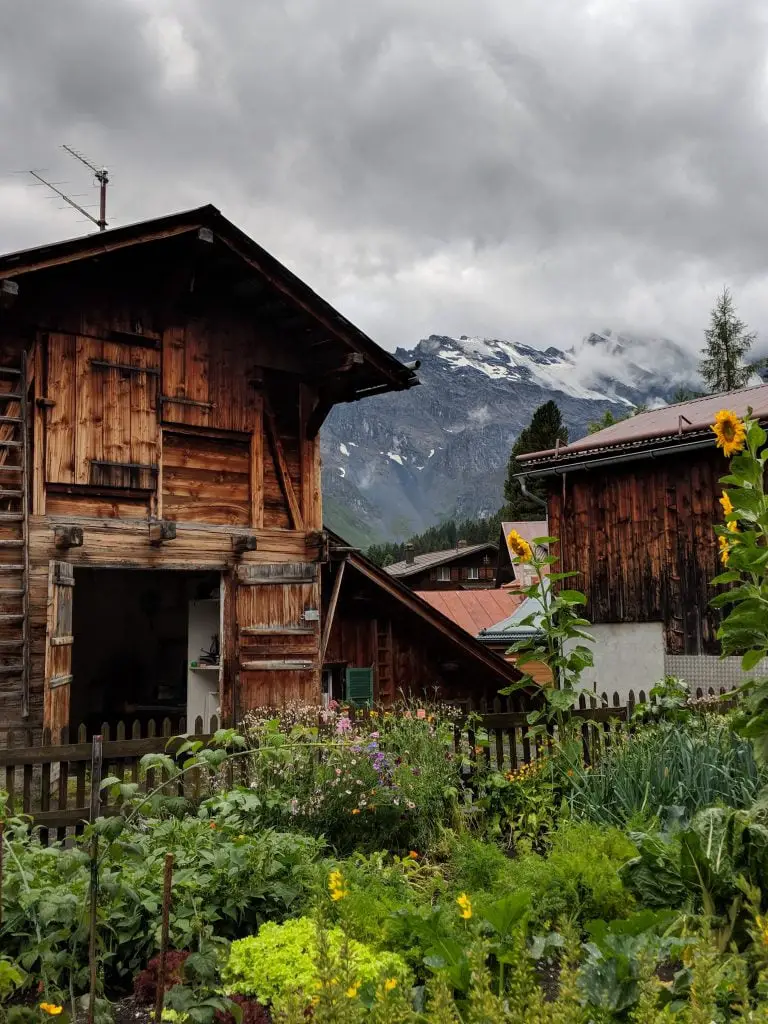
Spring-Summer Sowing Plants:
- Silverbeet or Swiss Chard
- Pumpkin
- Eggplant
- Turnip
- Okra
- Tomato
- Radish
- Watermelon
- Carrot
- Lettuce (look for slow-bolting types; this is mentioned on seed packets)
- Capsicum
- Leek
- Cucumber
- Broccoli (choose a re-sprouting type)
- Zucchini
- Cabbage
- Beetroot
- Dwarf or Climbing Beans
Getting Started
Existing Spaces
When getting started it is best to start with an area that will not require significant effort to start, but will allow you to build up experience with your garden and start getting some produce. Ideally, the space should be an area that has an existing garden space already. One good example of this, is shown in the photograph below.

This is the front courtyard of a rental property that a friend of mine lives in. It is located in the inner city suburb of Melbourne. At first glance this is far from an ideal space to grow food, because it has very little sunlight coming into the space, due to the presence of the wall on the right and the house. However, this space could easily produce heaps of food and be setup in less than one afternoon.
The steps that would need to be taken, are as follows;
- Clip back the Box Hedge plants to create a neat square hedge. Click here for how to prune Box Hedges.
- Place a 10 cm (2 Inch) thick layer of compost on the surface the court yard, this will act as a mulch and also a planting medium.
- Plant the seedlings directly into the compost.
The layer of compost could be purchased in bags from the local hardware store if you wanted to create the garden gradually, however a bulk delivery of Mushroom Compost would be much cheaper. At the time of writing this article, a Cubic Metre of Mushroom Compost cost between $60 and $100. Any excess compost could be used to fill up any containers that you have lying around or cover other garden beds on the property for later use.
To get going quickly, seedlings could be purchased from a local garden centre. However, in the long term it is cheaper to grow plants from seed. Creating a space to do that in, is discussed later in this article.
Establishing New Garden Beds
If you are considering putting a new garden bed in, it usually means there is an area where there is bare soil, grass or weeds. When creating the bed, there is often misconceptions that it must have sides. Sides are really not required, unless there is a need to create a raised bed. The reasons that a raised bed would be required is;
- The ground is paved.
- Roots of a large tree are interfering with the ground.
- The gardener has mobility issues.
If none of these issues exist then don’t use sides, as they will simply cost you money. The other disadvantage is that they provide greater access for grass bordering the bed to reinvade the growing medium, as many vegetable gardens have grass that runs up to the side of the beds. Additionally, the structures often provide habitat for slugs and snails, allowing them to hide during the day.
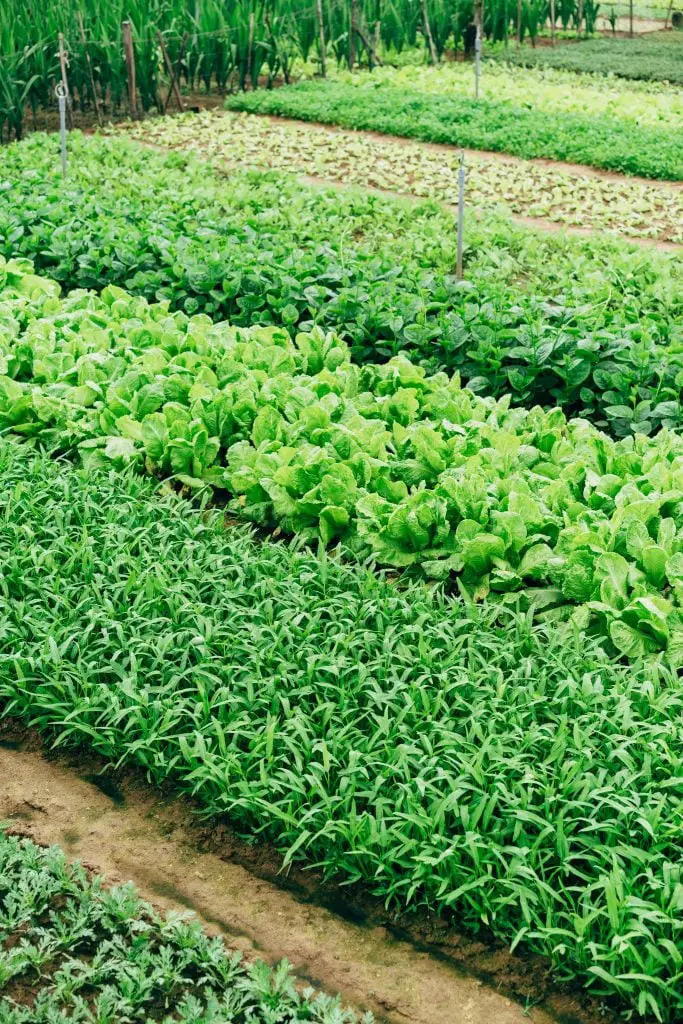
When creating a new bed we recommend using the No Dig Method, as it is quick and easy to prepare and will reduced the amount of weeding required in the long term.
The first step required to create a No Dig Garden will depend upon the quantity and type of weeds present in the ground. Perennial weeds such as Brambles are best removed by hand, because they have a tendency to pop up through the mulch, before they die. However, if removing them by hand is not a viable option, start by laying down Opaque Sheets of Plastic, Old Carpet or Tarpaulins (or anything that excludes light), for 8 weeks or so. This will give you a head start on killing off the weeds.
To start the process of building your garden, lay down a layer of Cardboard. When doing this, take care to ensure that there are no gaps between the Cardboard, for light to get through to the ground. The area covered should also include any areas being used as paths.
Additionally, the area covered should also include a 15 cm (6 inch) border, around the outside of the bed. The reason the border is required, is that the grasses have a tendency to invade your growing space, if they are allowed to run all the way to the edge of the bed.
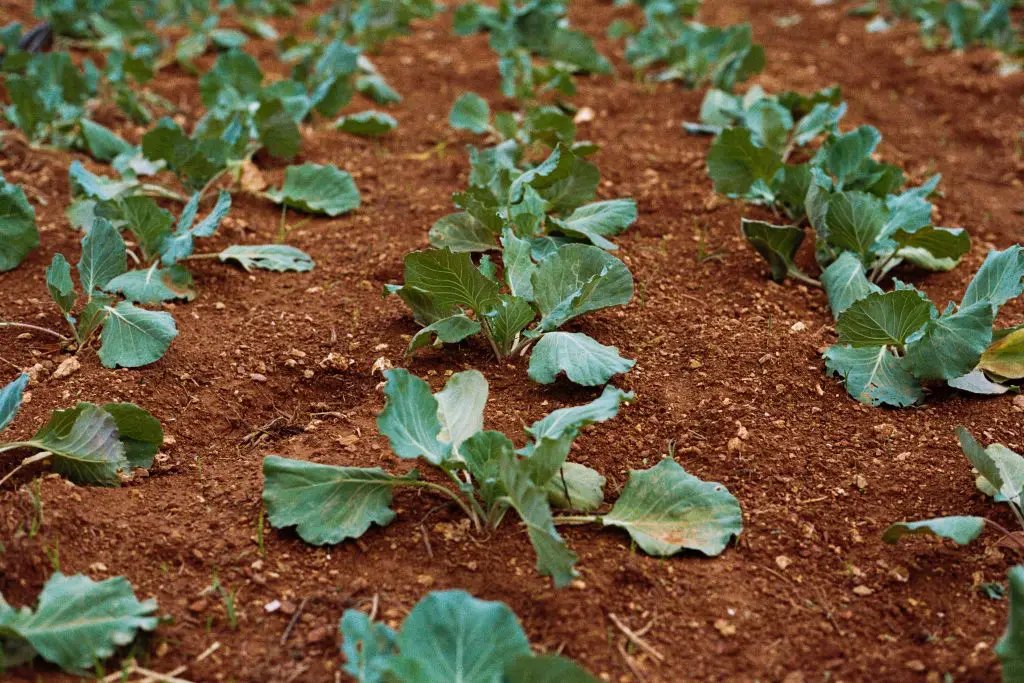
Once the desired area is covered with Cardboard, place a 15 to 20 cm (6 to 8 inches) deep layer of compost onto the surface. At this depth, it will allow you to plant immediately into the compost. Additionally, the compost will settle over time.
To maintain a weed free environment on an ongoing basis, path and edges need to be maintained. To do this, an additional layer of mulch needs to be added. The reason for this, is that the Cardboard will degrade over time which will create gaps for weeds to exploit. To avoid this, it is best to spread a thick layer of wood chips over the paths. Periodically, you will need to reapply the mulch to ensure weeds do not reappear.
To learn more on this process, watch the video below by Charles Dowding. It provides a practical guide on how to set up a No Dig Garden bed.
Establishing Containers
If existing garden space is limited and establishing a new garden is not an option, then establishing new containers is the only other option. When planning to do this, there are a few things to be considered, which are as follows;
The Size Of The Container. In a temporary garden the ability to move the container, limits the size that can be used. Generally, I find that Polystyrene Fruit Boxes are an ideal size, as they are reasonably large, but still able to be picked up by a single person. The other option which is used frequently is grow bags, they are low cost and give a nice look to your mobile garden if you use the same type of grow bag through your garden. A picture of a grow bag I would recommend is shown below. A wide selection of grow bags can be found by clicking on the link.
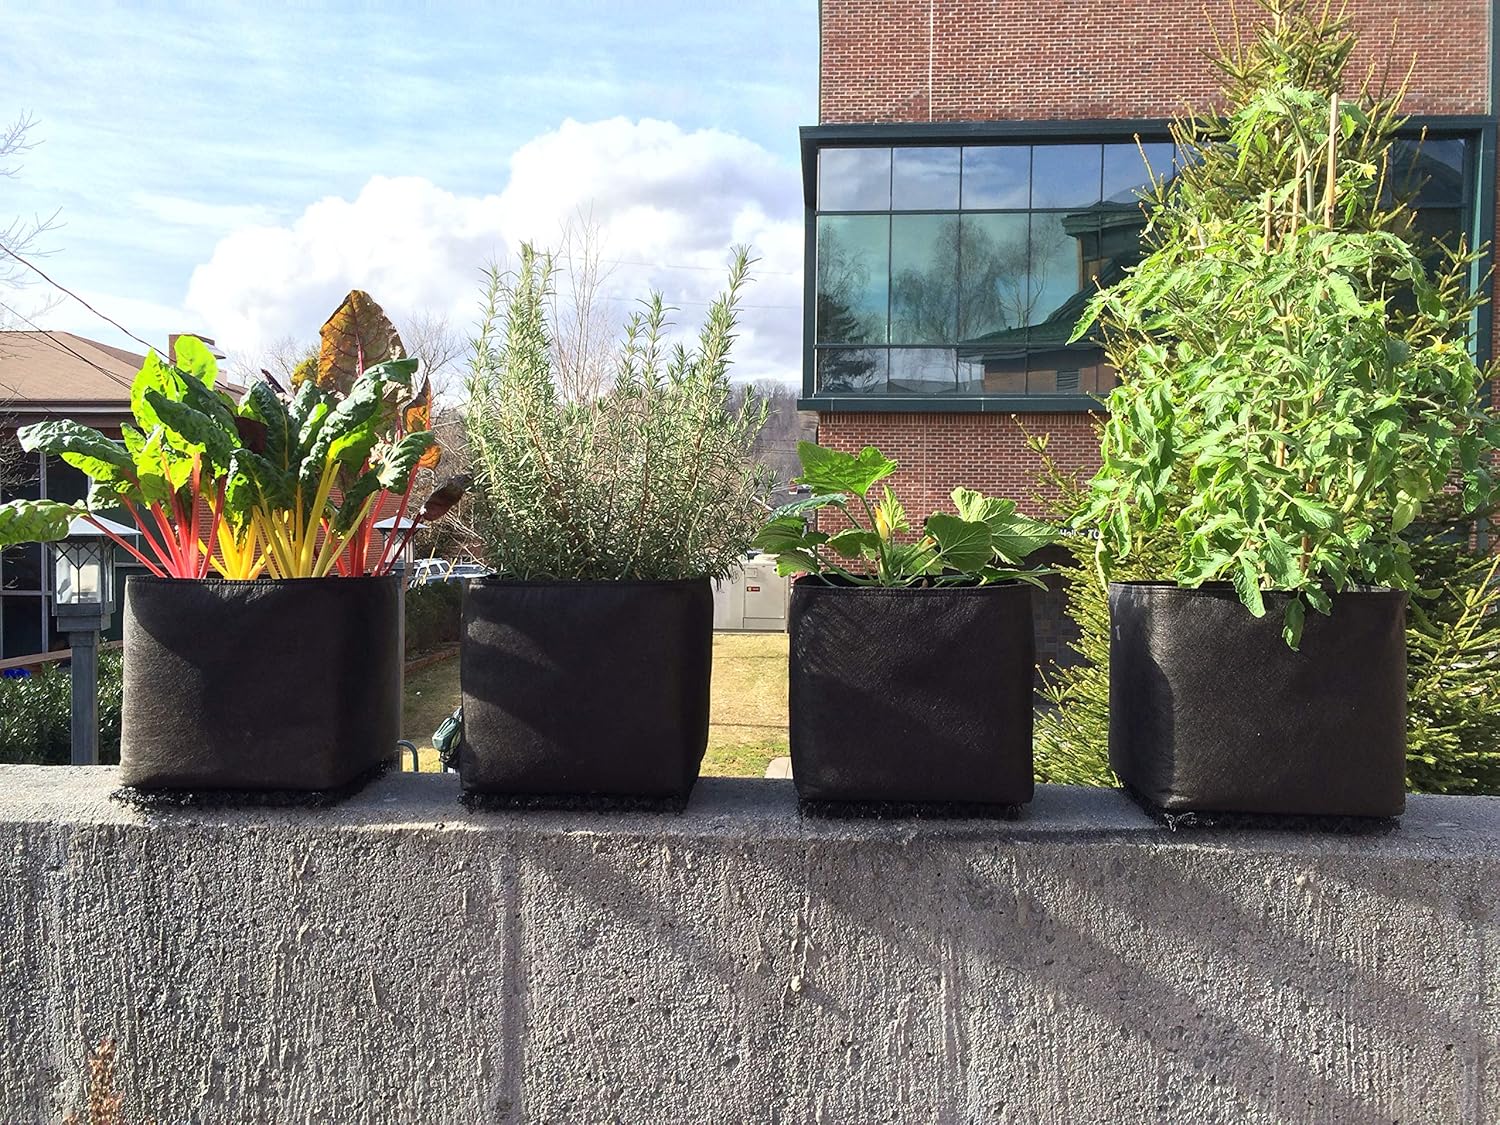
The issue with small containers, is that they dry out easily and the temperature can also fluctuate wildly, if the container is exposed to direct Sunlight in Summer which is far from the ideal growing conditions.
The Growing Medium. Due to the limited size of the containers, the plants have limited access to nutrients and water. To maximise the available nutrients fill the box with compost, rather than potting mix. The reason for this, is that commercial Potting mixes tend to be stripped of nutrients relatively quickly by hungry plants.
When growing in containers, it is recommended that you fertilise once a month, to ensure that plants have adequate nutrition.
Additionally, it is a good idea to use water crystals to help retain moisture in the containers for longer. Water crystals are water soluble polymers that hold around 5 to 10 times its weight, in water. They are available from a garden centre and you can buy them online at Amazon.
When adding them to the container, it is best to presoak them in water to hydrate, before mixing the crystals into the growing medium.
Building A Beautiful Mobile Garden
While functionality and the output of space is important, the aim should also be to create a space that you love to spend time in. When designing your mobile garden, there are few general principles that will help you create a cohesive feel to the garden.
- Try to have a uniformly dark colour on the walls of the garden. This can be achieved by asking the landlord of you can paint the fence or clad the fence with panels. (cost effective ways to do this are discussed, further along in this article)
- Use only a few different types of materials to make your containers from. The best materials are Galvanised Steel because it is light, and you can use a range of items that will look good together, such as Old Pots, Galvanised Bins and Tubs which can be scrounged from Hard Rubbish Collections and Op Shops. The material that I would recommend is making planters from Aged Timber, which you can get for free by recycling Old Pallets. Or stick with the black grow bags shown earlier in the article, I particularly like the cubed one.
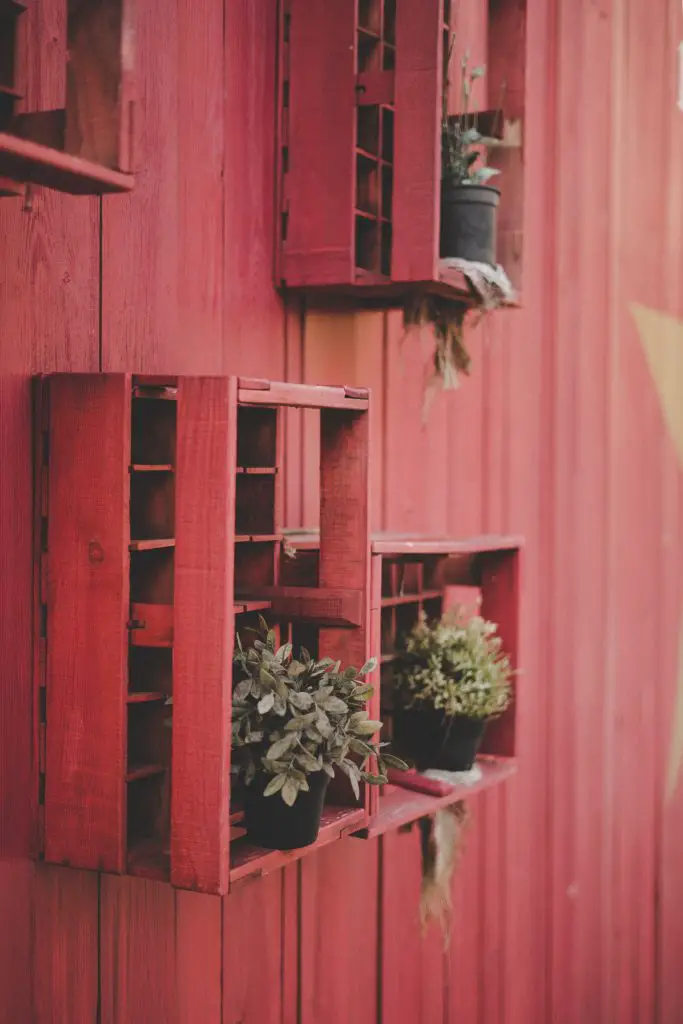
- If you do need to use different materials, clad them with Timber to tie them into the garden scheme. The cladding can be temporary and sit in front of the containers. The best materials to use for this purpose are Pallets and Old Fencing.
Choosing Containers To Grow In
For most people wanting to create a mobile garden, at least some portion of it will need to be grown in containers. When selecting containers, the key considerations of the type of container that you use, is as follows;
- The cost.
- Size.
- Weight.
- Appearance.
If cost is your sole consideration, the best option is using Polystrene Boxes, which can be obtained usually by the rear of Green Grocer stores. They are relatively large, light weight and in plentiful supply. The next cheapest option is the grow bags listed above which cost around $7 each.
The other option is to use Old Pots or Galvanised Steel Tubs, Bins and Old Watering Cans. These can of course be purchased, but often you find that people are throwing them out.
I would generally avoid Terracotta Pots because they are relatively heavy and fragile, which is far from ideal when moving rental properties.
Vertical Spaces
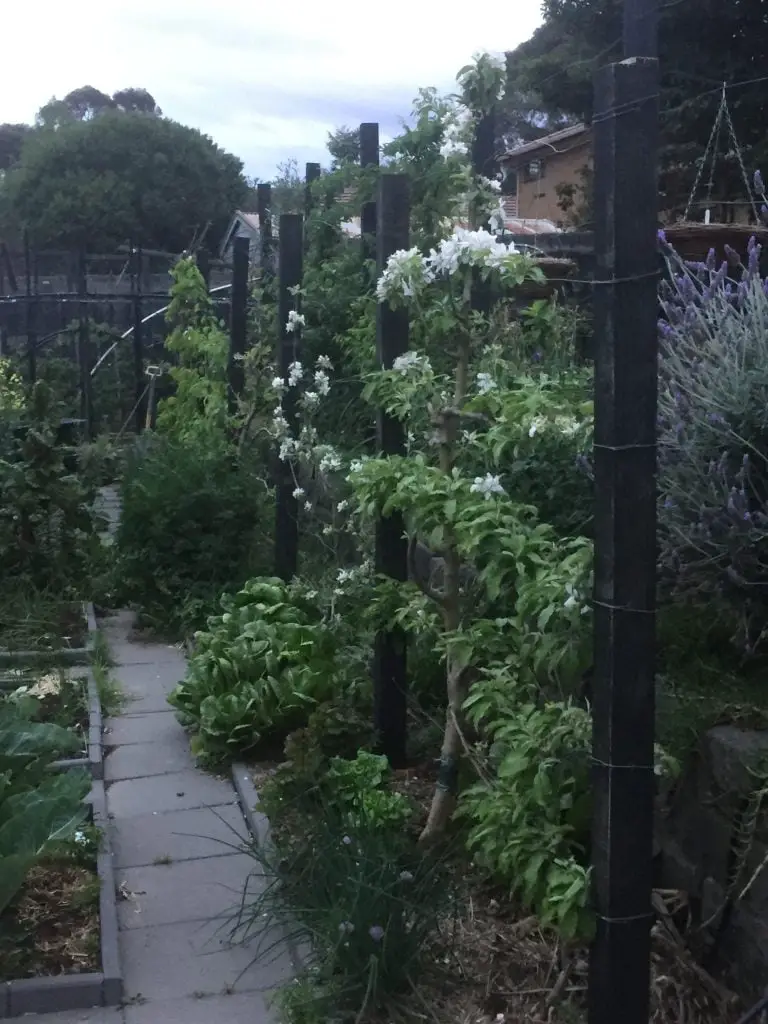
Vertical spaces, as discussed earlier in this article, provide a great opportunity to increase growing space, as they can also be used to great effect to define and beautify the space. The 2 main options, which I would recommend are;
- Reo Mesh.
- Temporary Fencing.
These two materials are recommended because they are light, strong, low cost and highly durable (they will last for years). So any investment is absolutely worth it, as the materials can be taken from property to property and hopefully one day, into a garden on your own property.
Reo Mesh
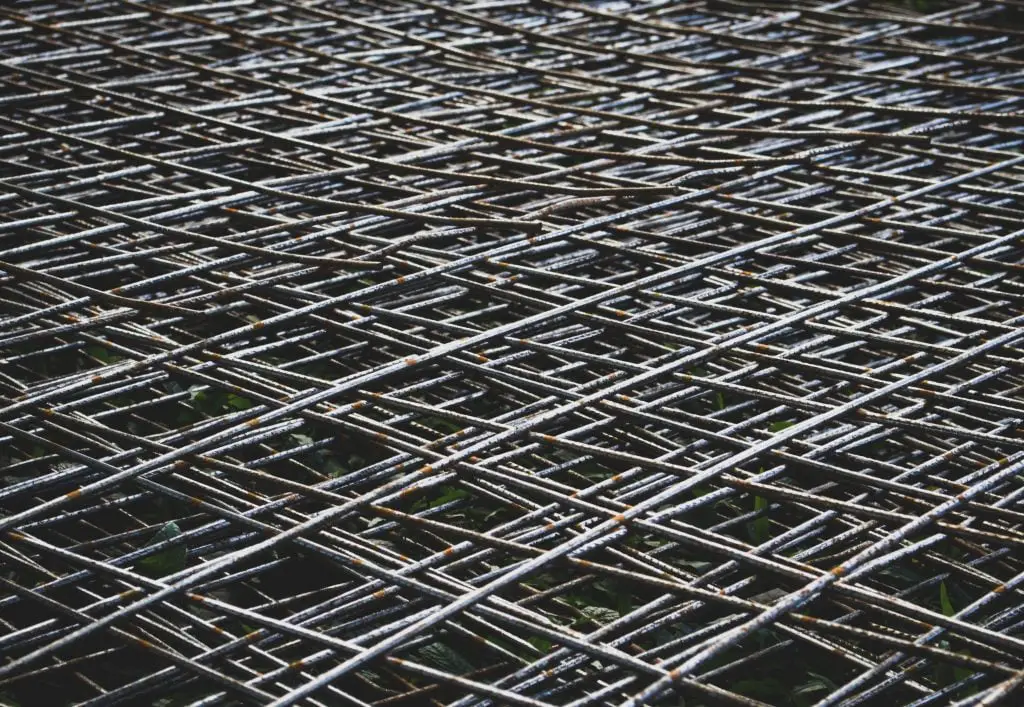
Reo Mesh is an ideal material for hanging on walls, to cover brick walls or fences. To erect, simply place a couple of hooks in the wall and hang the Mesh. It also rusts over time, giving it a worn and rustic feel.
Reo Mesh can be purchased in a range of sizes with 1.8 M (6 ft) by 1.2 M (4 ft) being common. However, it is much cheaper to buy full size panels and cut them down to size. They can be easily cut using a Hack Saw or Angle Grinder.
Temporary Fencing
Temporary fencing used on construction sites is also a really good option. The panels are relatively low cost and it has some advantages, but also some disadvantages over Reo Mesh.
Advantages
- Stronger (usually has an outer border made of steel poles).
- Can be easily used to create free standing walls by attaching it to stakes.
- Longer lasting than Reo Mesh (but both will last at least 20 years).
Disadvantages
- Panel sizes are large and cannot be adjusted (usually 2.4 M (8 ft) by 2M (6 to 7 ft)).
- Panels do not look as nice as Reo Mesh (most panels made from Galvanized Steel).
The panels can also be used to hide an ugly wall, by covering one side of the panel with material to create an Opaque Panel. The cheapest and longest lasting material is Weed Mat, which is Black. It can be wrapped around the frame of the panel and tied to it quickly and easily. Creating panels like this can also be used to petition areas of the garden if desired.
Creating An Area To Propagate Plants
When starting out a vegetable garden for the first time, many people start out purchasing seedlings from a garden centre, which is quick and easy. However, there is a very limited range of varieties offered in the form of seedlings and they are relatively expensive, if the garden is a reasonable size.
Additionally, if you can save the seeds of the varieties you grow, the purchase of a packet seeds can be a one off cost. However, seed collection is limited to open pollination varieties, also know as heirloom varieties. The lowest cost source of heirloom seeds that I have been able to find in the US is Seeds Now. In the UK I would suggest Thompson & Morgan as they have a really wide range of seeds so their website is well worth checking out. To learn more about the different types of seeds, go to https://planyourpatch.com/what-is-an-f1-hybrid-seed/.
General Guide To Growing Seeds
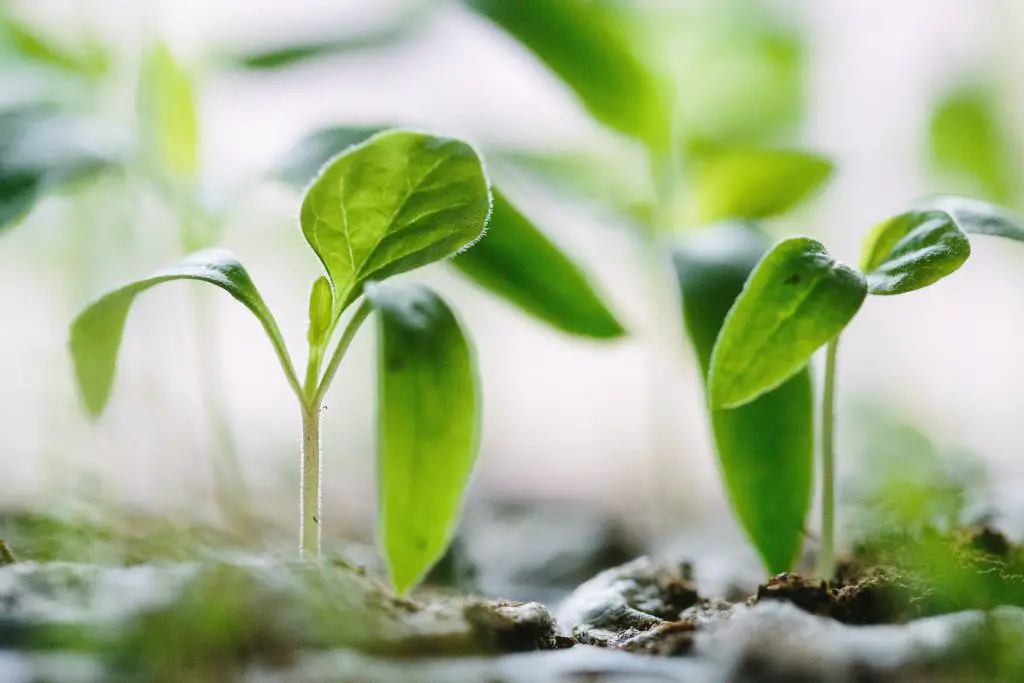
When growing from seed for the first time, it is best to purchase a specific seed raising mix. The reason for this, is that it is sterile, which means only the seeds you plant will come up. If you use soil from the garden or homemade compost, it is likely that it will contain weed seeds that will also come up. There is a number of companies that offer Seed raising mix through Amazon, click here to see the options.
For containers, it is best to re-use the trays that any seedlings you purchased came in. However, if they are not available, any plastic container with drainage holes will do. For example, a used Margarine Container with holes poked into it, is adequate.
Start by filling the container with soil. It is a good idea to press down on the soil to ensure it is firm. This may require you to top up with additional soil.
The next step is to sow the seed. The general rule applied to most seeds, is to plant it at a depth that is twice the height of the seed. However, for Lettuce, which requires light to germinate, I would simply sprinkle the seeds across the surface and press on them.
Water in well, and place the seedlings in a sheltered, but warm spot. Ensure that the soil remains moist to touch until the seedling emerges. This can take 1 to 3 weeks, depending on the variety. Most seedlings need to spend between 4 to 6 weeks in a seed tray, before they can go out into the garden.
When sowing seeds, aim to plant about double the number you need for the garden. The reason for this, is that not every seed will germinate and if the seedlings get damaged, then they can also be replaced with your excess plants.
One technique you may want to try is multi-sowing. It is efficient and it saves time when planting out the seedlings. To learn more about this technique, go to https://charlesdowding.co.uk/multisowing/ or watch the video below.
Creating An Area For Seed Propagation
When growing seeds, I find that it often doesn’t work that well because the seed trays are placed in an area where the plants receive too little light, resulting in the seedlings becoming leggy. As such, it is best to have a dedicated space for this process.
There are several commercial offerings that range from a heat Mini Propagator unit that covers a single tray and costs around $40 to a Walk-In Greenhouse that costs around $100, shown in the picture below.

The alternative is to build your own propagating space that is slightly cheaper and is quick to assemble and disassemble when you need to move. It will cost around $30 to $40 assuming you can find the French door in the hard rubbish collection. Most years there are plenty of people throwing out doors. Below is a photograph of a door I picked-up for free.
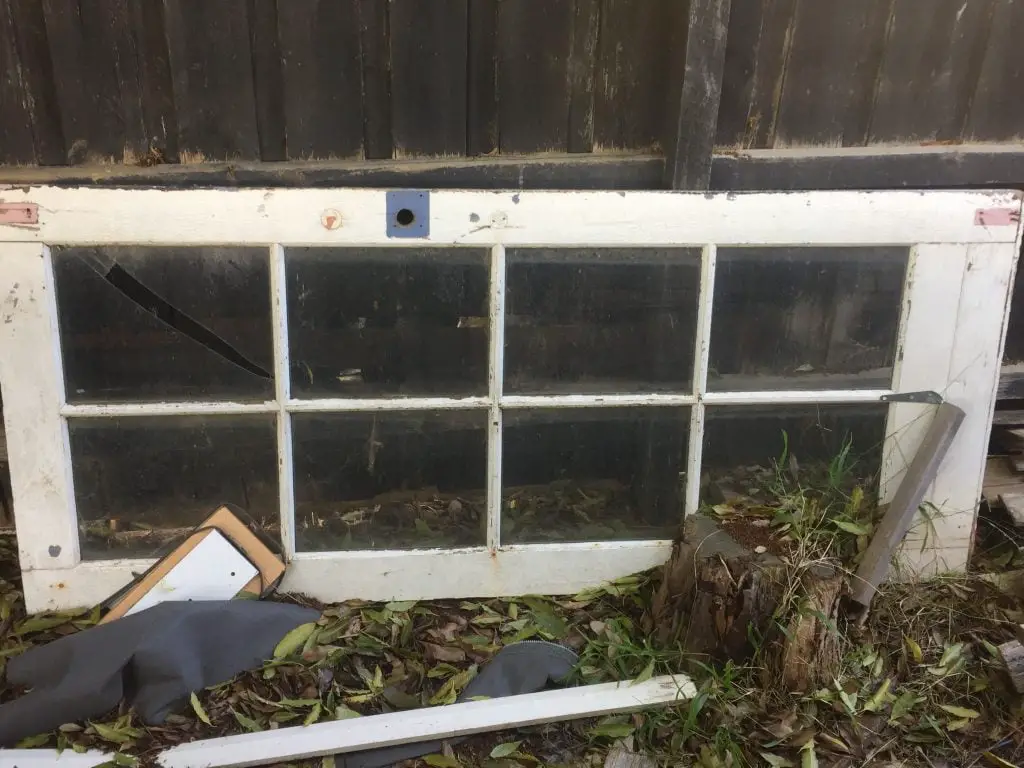
To make a stylish Mini Green house for yourself, you will need to collect 4 Old Timber Doors, preferably with as much glass in the doors as possible, to maximise the light. It does not matter if the style of the doors are not the same. They can always be painted to give a uniform appearance.
In addition to the doors, you will also need to purchase the following items from the local hardware store.
- A packet of Zinc Plated Brackets.
- 4 Hinges.
- A handle.
- 4 Bricks.
- 2 pieces of Timber, the width of the French doors (Pine Studs are fine).
- 1 piece of Marine Plywood (The Marine Plywood can be cut to size by your local hardware store, to save you time).
To make your greenhouse, start by standing the doors up in a similar way to the picture below and connect them, using the Zinc Plated Brackets. It will require at least 2 brackets (one at the top and one at the bottom), possibly a third one in each corner to secure the doors.

Attach the Marine Plyboard to the top of the doors, to create the roof of the greenhouse. This can be done using brackets or you can simply screw the board to the doors from above.
To strengthen the structure start by screwing a piece of Timber at the base of the front edge of the doors, to ensure the sides do not move around.
Attach the fourth door to the front of the structure with hinges and attach the handle. Lastly, prop the structure up on the four bricks to ensure that the door swings freely and the bottom of the doors don’t come into contact with the ground. This will extend the life of the greenhouse by reducing the chances of it rotting.
